16 17ninjakitchen.com
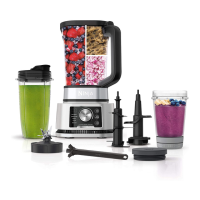
USING THE SINGLE-SERVE CUP
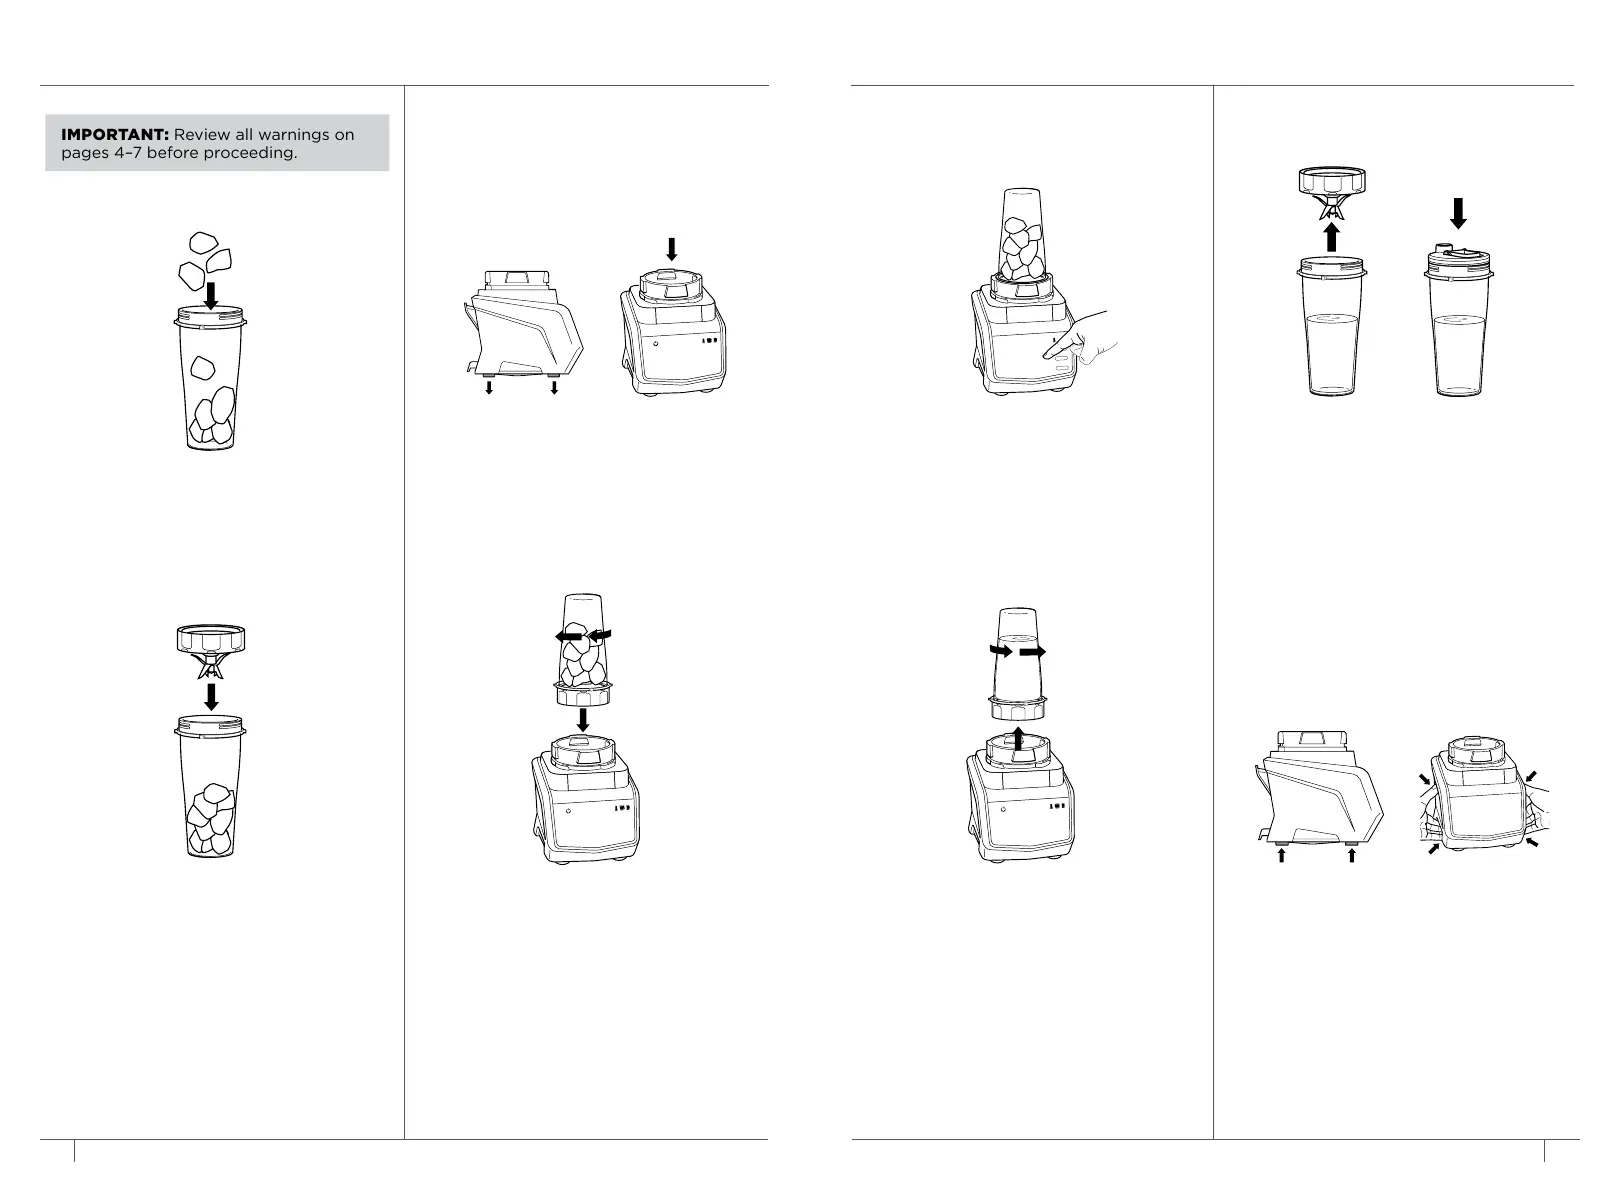
2 Place the Pro Extractor Blades® Assembly
on the top of the cup and turn clockwise
to seal.
1 Add ingredients to the Single-Serve
Cup. DO NOT add ingredients past
the MAX LIQUID line on the cup.
3 Place the unplugged motor base on
a clean, dry, level surface such as a
countertop or table. Press downward
on the motor base to adhere the
suction cups to the work surface. Plug
the motor base into a wall outlet.
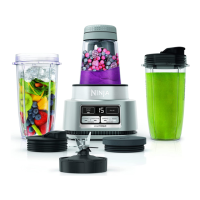
4 Turn the Single-Serve Cup upside down
and install on the motor base. Align the
tabs on the cup with the slots on the base,
then twist until it clicks into place. Touch
the Power symbol to turn unit on. The
available program buttons will illuminate
and the unit will be ready for use.
5 If using a pre-set program, first select the
program that best suits your recipe. The
pre-set feature will automatically stop the
unit at the end of the program. To pause
the unit at any time, touch the currently
active program a second time. Reference
page 12 for program descriptions.
7
Turn cup over so blade assembly is on top
.
Rotate blade assembly counterclockwise
to remove. To take your blended contents
on the go, place the spout lid on cup and
turn clockwise to seal.
8
Unplug the unit when finished. To lift the
motor base, place your hands underneath
both sides of it and gently pull the unit
up and toward you. Refer to the Care &
Maintenance section for storing instructions.
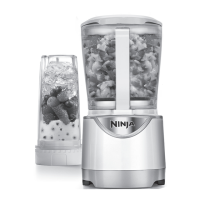
6
When blending is complete, rotate cup
counterclockwise to remove from motor
base and place cup on a level surface.
Pressure must be released before opening
the cup. The cup may be stored in the
refrigerator with the spout lid for later use.
DO NOT store contents in the cup with the
Pro Exactor Blades® Assembly attached.
IMPORTANT: Review all warnings on
pages 4–7 before proceeding.
 Loading...