44951501TH Rev.2
7-25
Oki Data CONFIDENTIAL
7. TROUBLESHOOTING
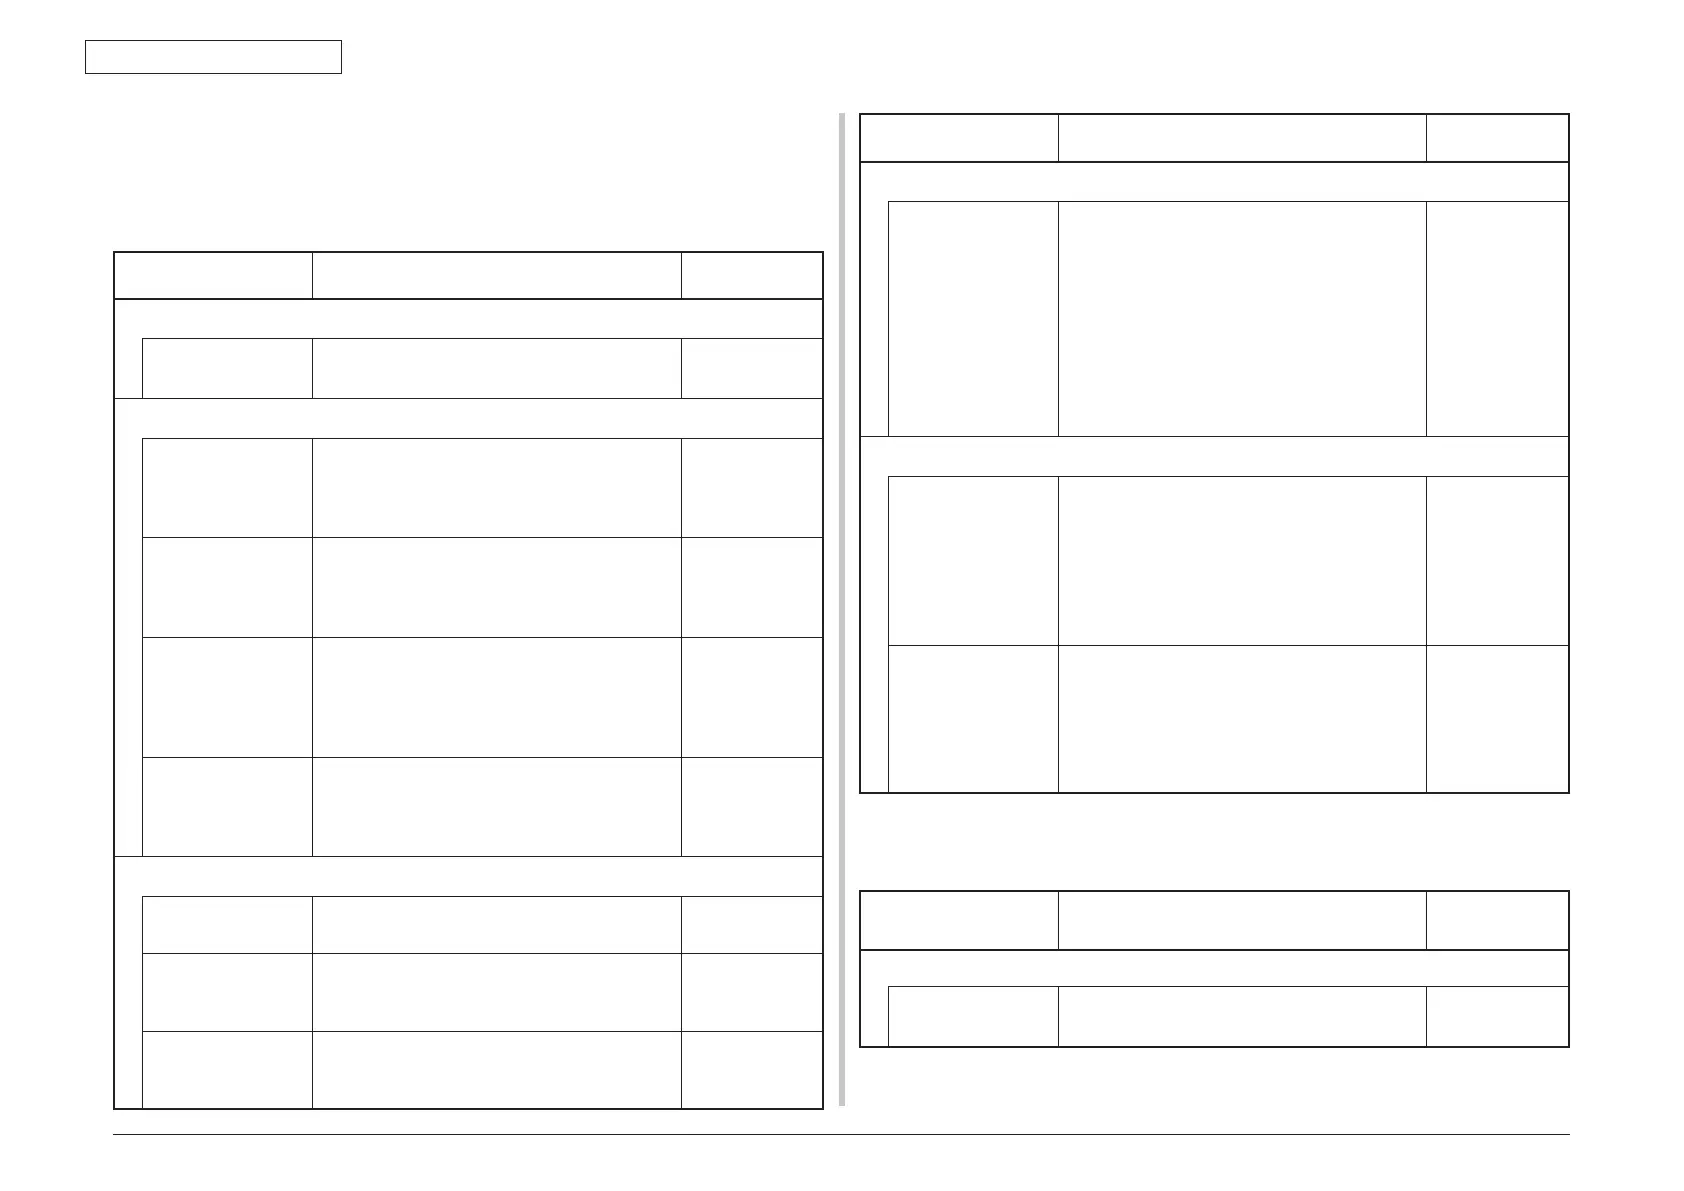
7.5.2.(1) LCD display trouble
Memo For the numbers 1 to 15 each after the connector names, see 7.5.1 (19)
Connection diagram.
(1-1) LCD displays nothing
Check item Check operation
Actions for NG
results
(1-1-1) Fuse check
CU/PU board fuse Check F5 (C531/C331/C321) or F7 (C511/
C301) is not cut.
Replace the
CU/PU board.
(1-1-2) Connection-line chec
Connection of low-
voltage power unit
and CU/PU board
Check the cord from the low-voltage
power supply to the CU/PU board POWER
connector is properly connected.
Check for half connection or skew insertion.
Re-insert the
cord properly.
Cord assembly
connecting low-
voltage power unit
and CU/PU board
Check for breakdown.
Check for sheathing removal.
Check for defectiveness of cord assembly,
such as wire removal.
Replace cords
with proper
ones.
Connection
between CU/PU
board and operator
panel board
Check that 12-pin FFC is properly connected
to the CU/PU board OPE connector 17.
Check that 12-pin FFC is properly connected
to the operator panel board CN1 connector.
Check for half connection or skew insertion.
Re-insert the
cord properly.
FFC connecting
CU/PU board and
operator panel
board
Check for breakdown with a tester. Visually
check for sheathing removal.
Replace the
FFC with a
proper one.
(1-1-3) Power supply periphery check
AC power supplied
to printer
Check the AC power supply voltage. Supply AC
power.
5V power supplied
to CU/PU board
Check the 5V power supply by using the
pins 1, 2 and 3 of the CU/PU board POWER
connector 10.
Replace the low
voltage power
supply.
3.3V power supply
to operator panel
board
Check 3.3V power supply by using the pin 7
of the CU/PU board CN1 connector 19.
Replace the
CU/PU board.
Check item Check operation
Actions for NG
results
(1-1-4) Power supply short-circuit check
5V and 24V power
supplied to CU/PU
board
Check short circuiting by using the CU/PU
board POWER connector 10.
When the following is found, separate short-
circuited points as described below.
Pins 7, 8 and 9: 24V
Pins 1, 2 and 3: 5V
Pins 4, 5 and 6: 0VL
Pins 10, 11 and 12: 0VP.
Locate short circuits by pulling out the cords
connected to the CU/PU board one by one
Replace short-
circuited parts.
(1-1-5) LSI operation check
Interface signals
from CU/PU board
to operator panel
board
Check that signals are output to the CU/PU
board OPE connector 17.
Pin 6: Transmission data (CY/PU board
transmission)
Pin 8: CLR
Signals are always output when the above is
proper.
Replace the
CU/PU board.
Interface signals
from operator
board to CU/PU
board
Check that signals are output to the CU/PU
board OPE connector 17.
Pin 5: Reception data (CU/PU board
reception)
Signals are always output when the above is
proper.
Replace the
operator panel
board.
(1-2) PLEASE WAIT
(The display changes to COMMUNICATION ERROR when printer is left unaccessed)
Check item Check operation
Actions for NG
results
(1-2-1) Operator panel display does not change
Operator panel
display
The display COMMUNICATION ERROR
persists.
Replace the
CU/PU board.
 Loading...