Optimum settings tailored to various recording scenes are provided in advance in [RecScene]
(☞P. 26), but you can also individually customize each of the [RecLevel], [RecMode], [ZoomMic],
[LowCutFilter], and [MicSelect] settings if you select [Manual] and then press the 9 button.
Selecting the recording level
[Rec Level]
You can change the recording level
(sensitivity) as needed for your recording
application.
[High]:
The highest recording sensitivity. Suited
to recording lectures, large conferences
and other applications with distant or
quiet sound sources.
[Middle]:
Suited to recording discussions and
small-group meetings.
[Low]:
The lowest recording sensitivity. Suited
to recording dictation.
[Auto]:
The recording level always
automatically changes according to the
volume of the input sound. Suited to
recording all sounds.
TIP
• To record the speaker’s voice clearly, set
[Rec Level] to [Low], and place the voice
recorder’s built-in microphone near the
speaker’s mouth (5 to10 cm away).
Setting the recording mode
[Rec Mode]
You can prioritize sound quality or recording
time. Select the recording mode that best
matches your recording application.
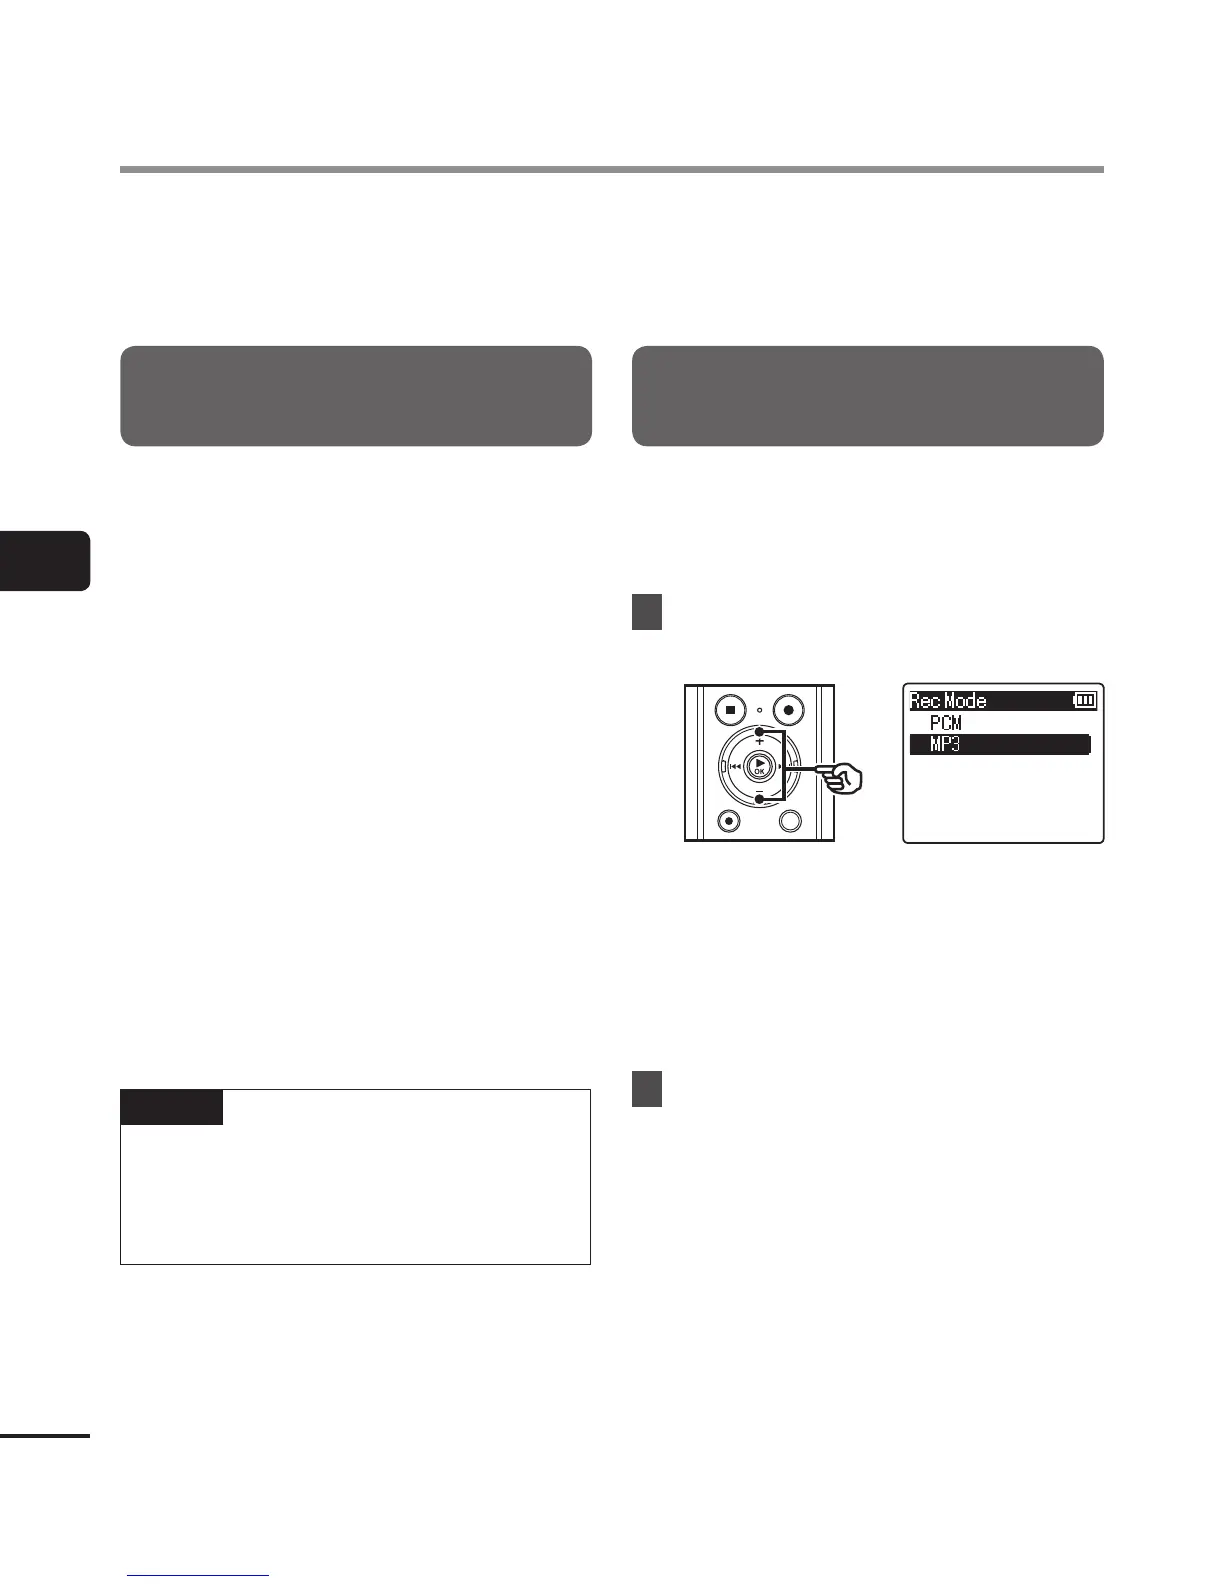
1
Press the
+
or
–
button to select
the recording format.
[PCM]:
This is an uncompressed audio format
which is used for music CDs etc.
[MP3]:
This is a common sound compression
mode. File sizes in this format are
smaller than in the PCM format.
2
Press the
+
or
–
button to select
the recording rate.
When [
PCM
] was selected:
[48.0kHz/16bit]
[44.1kHz/16bit]
When [
MP3
] was selected:
[320kbps]
[128kbps]
[64kbps mono]
*
[8kbps mono]
*
* Mono recording
Recording menu [Rec Menu]