1
Setup
10
EN
Setup
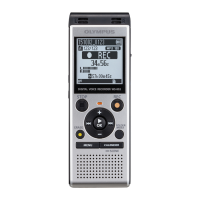
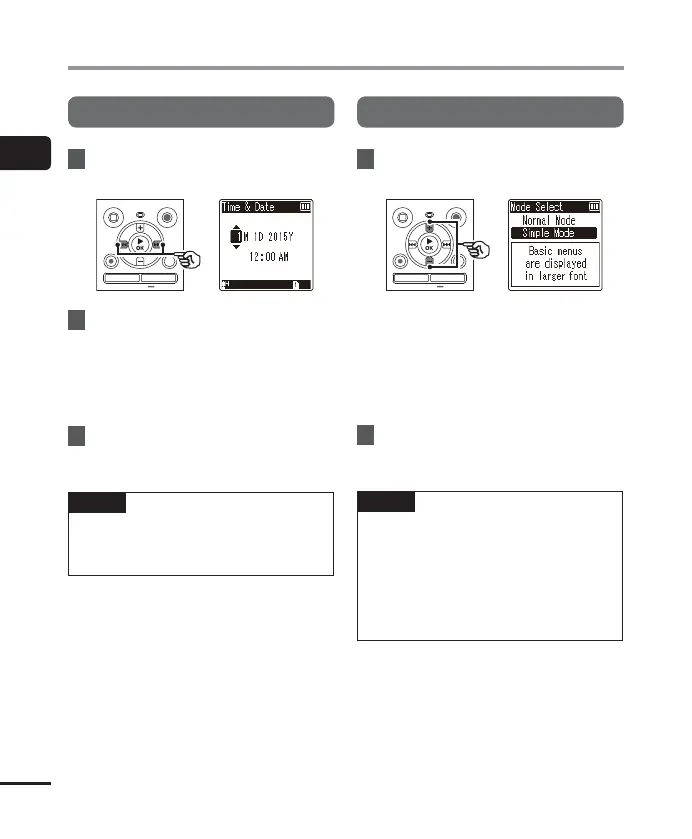
Setting the time/date
1
Press the 9 or 0 button to
select the item to set.
2
Press the
+
or
–
button to change
the number.
• To change the setting of another item,
press the 9 or 0 button to move
the blinking cursor, then press the + or
– button to change the number.
3
Press the `
OK
button to finalize
the setting.
TIP
• Y
ou can press the `OK button during
the setting procedure to set the items
entered so far and start the clock.
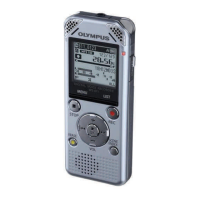
Selecting the mode
1
Press the
+
or
–
button to
change the mode.
[Normal Mode]:
This is the standard mode in which
all functions are available.
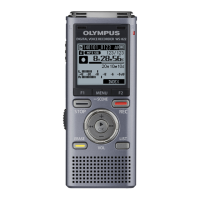
[Simple Mode]:
This mode lists frequently used
functions. Displayed text becomes
larger for easier viewing.
2
Press the `
OK
button to finalize
the setting.
TIP
• T
he mode can be switched even
after setting. “Selecting the mode
[ModeSelect]” (☞P.53)
• Once the mode is set after purchase,
the [Mode Select] screen is not
displayed again, even if the batteries
are replaced.
 Loading...