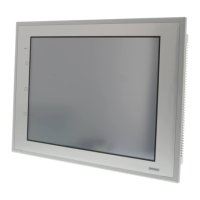
4-3 High-speed 1:N NT Link
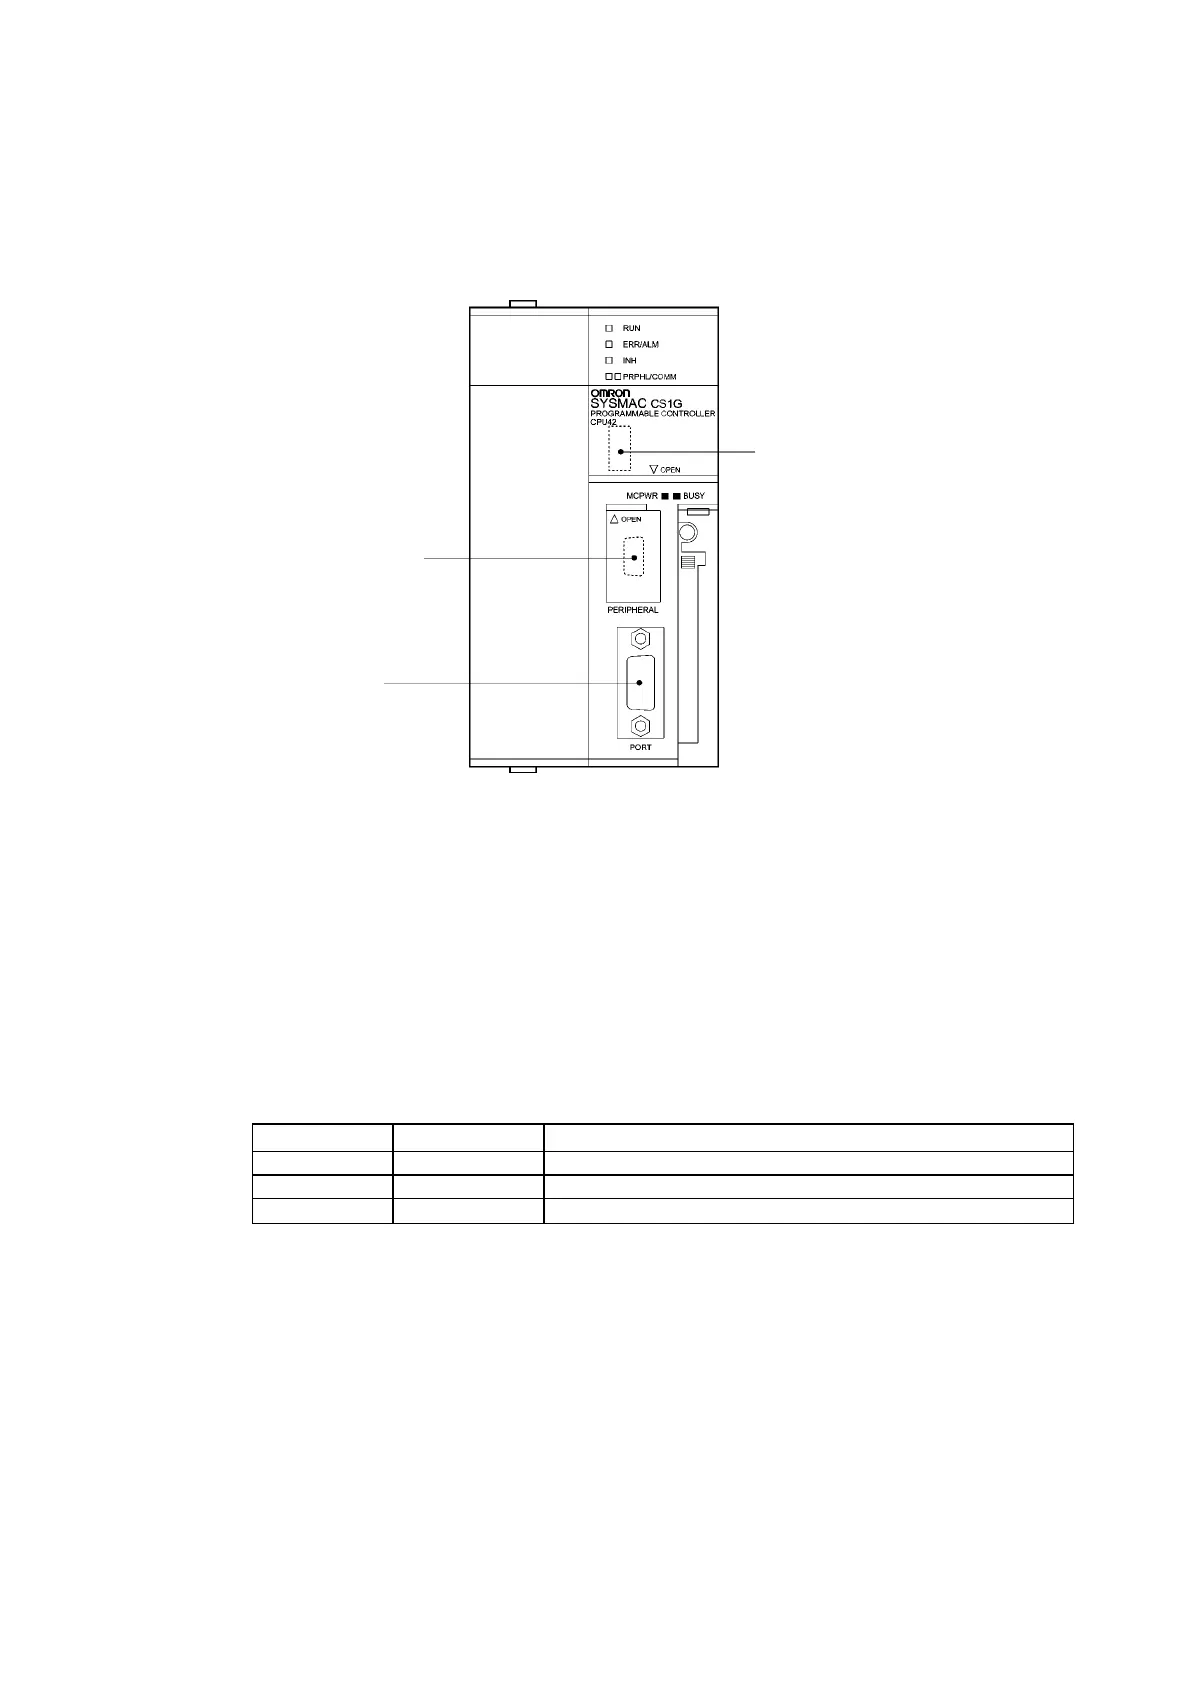
Setting the Front Panel Switches
Using RS-232C
Set DIP switch pin 4 or 5 of the CPU Unit according to the port to which the PT is connected,
as follows:
Peripheral port
Mainly connected to a
Programming Device.
RS-232C port
Mainly connected to
an RS-232C device.
(Can be connected to
a computer running
the CX-Programmer.)
DIP switch (inside battery
compartment)
Turn ON pin 4 when connecting the
PT to the peripheral port (to use the
communications settings in the PLC
Setup).
Turn OFF pin 5 when connecting the
PT to the RS-232C port (to use the
communications settings in the PLC
Setup).
Connecting to CJ-series CPU Units
CJ-series CPU Units:
CJ1G-CPU@@/CJ1G/H-H/CJ1M
PLC Setup Area
• Using RS-232C
When connecting the PT to a CJ-series CPU Unit, set the communications conditions in the
PLC Setup according to the communications port used, as follows:
Using the CJ1G/H-H, CJ1G, or CJ1M, Built-in RS-232C Port
Address Write value Settings
160 8200 1:N NT Link Mode
161 000A Baud rate (high-speed)
166
000@ @: Largest unit number (1 to 7) of connected PTs. (See note.)
Note: When connecting a single Unit in a 1:N connection, set the value of @ to 1 or higher.
For example, to connect PTs with unit numbers 0, and 2 to 5 to the built-in RS-232C port in
1:N NT Links, set address 160 to 8200 Hex and address 166 to 0005 Hex.
Set whether the PLC Setup is to be set directly from the Programming Device (Programming
Console) or created by the Support Software (CX-Programmer) and transferred to the CPU
Unit.
Refer to the SYSMAC CJ Series Operation Guide (W393) for information on the PLC Setup.
4-18

 Loading...