Omron TM Collaborative Robot: Safety Laser Scanner Installation – Ver. 1
Page 4 of 11
Omron Automation │©2019 Omron. All rights reserved. │automation.omron.com
2. Hardware Connections
Gather the necessary equipment as follows, along with a laptop installed with TMflow and OS32C Configuration
Tool.
Examples Used in This Guide
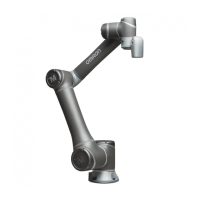
Omron TM Collaborative Robot
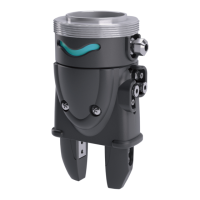
Omron Safety Laser Scanner
Set up the TM robot as you normally would according to the Hardware Installation Manual. Be sure to turn the
switch off at the back of the Control Box while you connect the laser scanner and relay.
2.1. Safety Dual Channels on the TM Control Box
The dual channels of the E-Stop, Safeguard A, or Safeguard B connect to the relay. The relay connectors are
shown in Fig. A-1 in Appendix A. 13/14 and 23/24 react instantaneously, while 37/28 and 47/48 has an off-delay.
E-Stop OR Safeguard A OR Safeguard B
Refer to the following sections to understand the differences between E-Stop, Safeguard A, and Safeguard B. A
photo of these connectors are shown in Fig. A-2 in Appendix A.
2.1.1. E-Stop
When E-Stop (Emergency Stop) is triggered (opened),
• The robot will stop movement within 610 ms
• The system will lower the upper limit of the total drive current from 20 to 3 A
• Category 1 safety function is triggered
2.1.2. Safeguard A
When Safeguard A is triggered (opened), the system goes into the Safeguard Pause state. For example, if an
object crosses a safety curtain that is connected to Safeguard A, then the system will:
1. Come to a controlled stop with power still going to the machine actuators.
2. Pause the project.
2.1.3. Safeguard B
When Safeguard B is triggered, the system goes into the Safeguard Collaborative mode. For example, if a person
steps onto a safety mat that is connected to Safeguard B, then the system will enter a collaborative mode
 Loading...