10
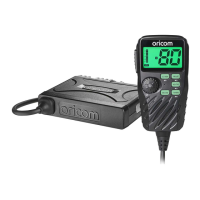
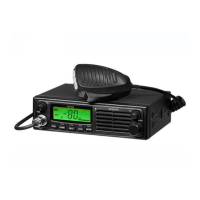
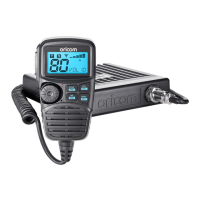
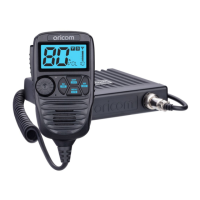
Installation of your Oricom Radio
Antenna information
The antenna (not supplied) is of critical importance to maximise
your output power and receiver sensitivity.
A poorly installed, inferior quality antenna, or one not designed
for the correct frequency band, will give poor performance. You
should only purchase an antenna designed for the 477MHz
frequency band.
Antenna installation
1. Connect the antenna to the rear antenna socket using a
PL259 coaxial connector (not supplied).
2. To obtain maximum performance from the radio, select a high
quality antenna and mount it in a good location.
Never press the PTT before connecting the antenna to the
radio.
Optional accessories
If required, you may install an external (8 ohm, Minimum 5W
power) speaker tted with a 3.5mm plug (not supplied).
Depending on the installation, it may be necessary to use an
external speaker (not supplied) to give improved volume and
clarity. This can be plugged into the external speaker (SP)
socket on the rear of the unit.
 Loading...