8
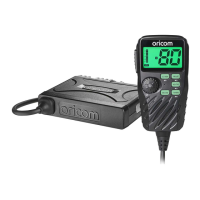
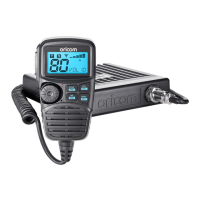
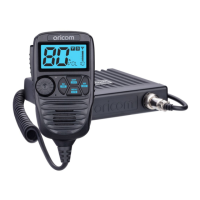
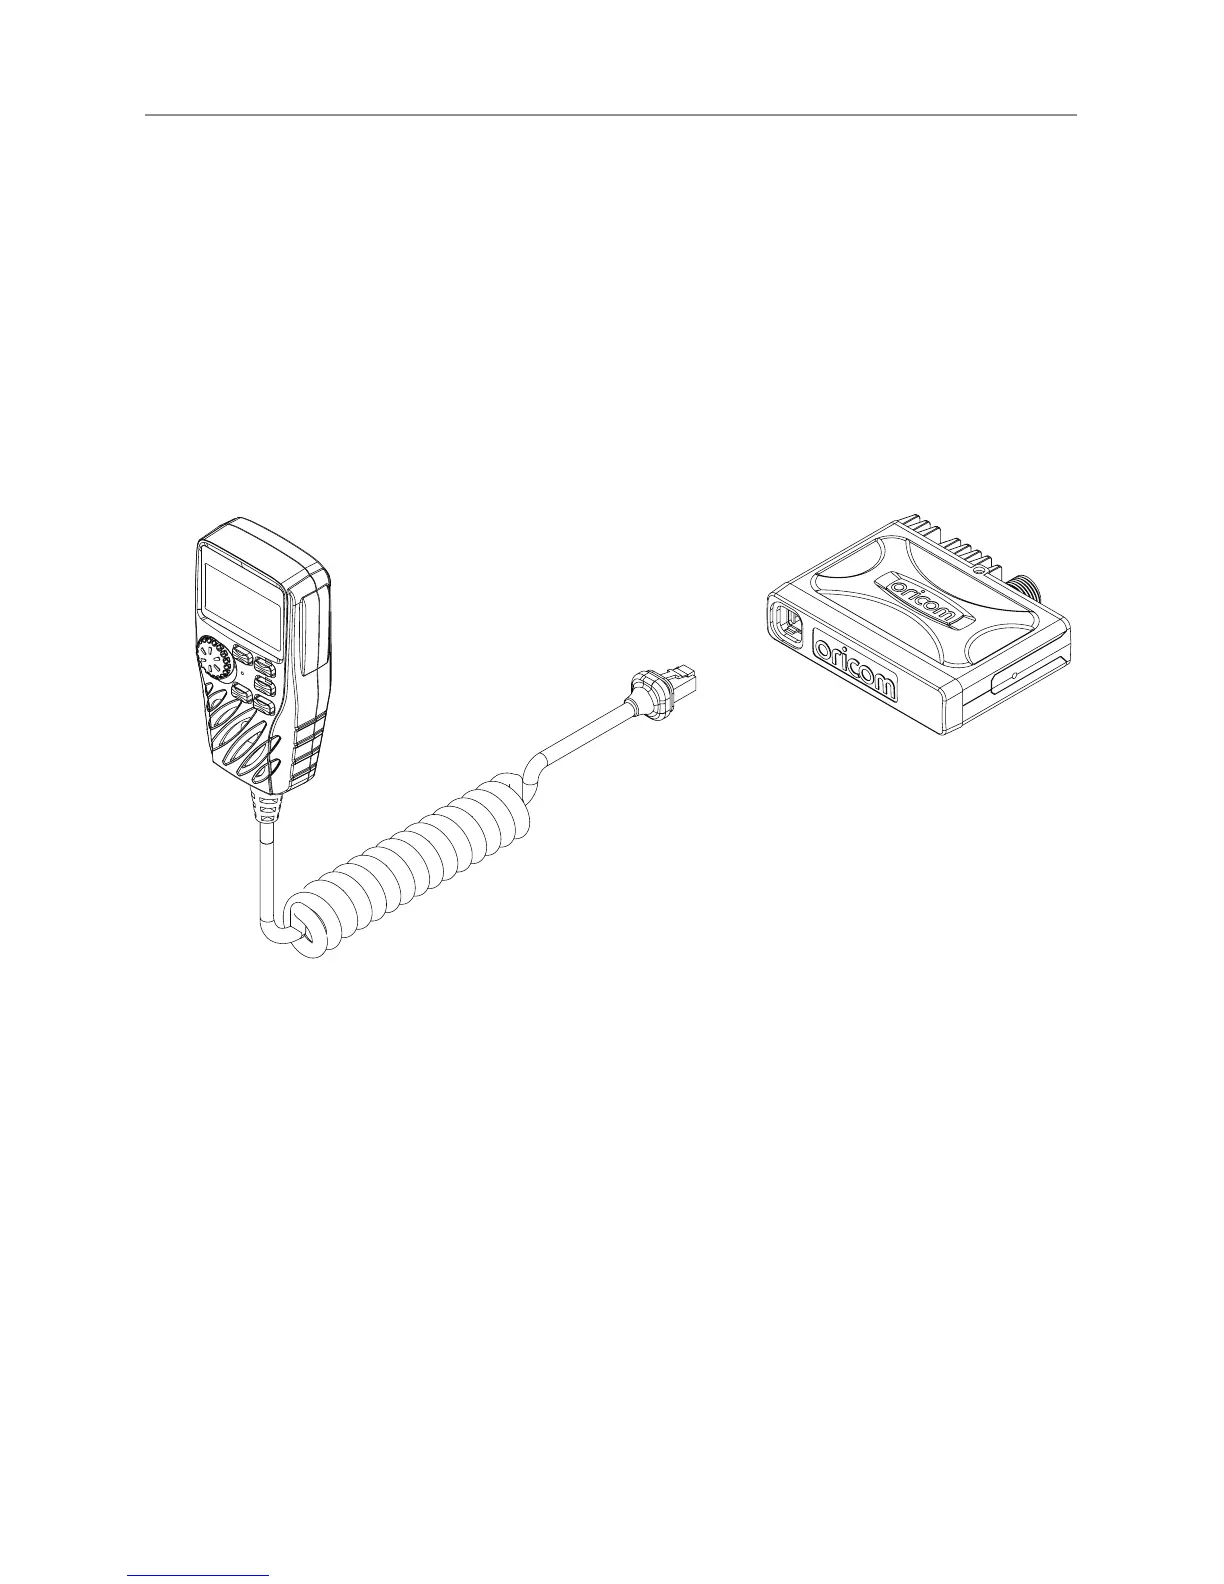
Fitting the Controller Speaker Microphone
The controller speaker microphone uses a 6-pin telephone style
plug and socket:
1. Position the microphone plug so the plastic ap faces
downwards, and insert the plug into the socket until it ‘clicks’.
2. Gently press the rubber boot into the hole surrounding the
socket so that the slot around the boot ts neatly inside the
rim of the entry hole.
Disconnecting the Controller Speaker Microphone
It is recommended that the Controller Speaker Microphone
be left permanently connected to the radio, but if it must be
disconnected, proceed as follows:
1. Lift the rubber boot and the lip of the raised area on the front
panel.
2. Ease the rubber boot out of the cable entry hole and slide it
along the cable away from the front panel.
3. Identify the plug locking lever, and move the lever towards
the plug body. At the same time gently pull the plug from the
socket.
Installation of your Oricom Radio
 Loading...