 Loading...
Do you have a question about the Panasonic CQ-DP133U and is the answer not in the manual?
| Display Type | LCD |
|---|---|
| Channels | 4 |
| CD Player | Yes |
| WMA Playback | Yes |
| AAC Playback | No |
| USB Port | Yes |
| AUX Input | Yes |
| Bluetooth | No |
| Remote Control | Yes |
| Tuner Bands | AM, FM |
| Playback | MP3, WMA |
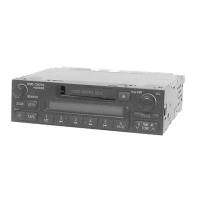
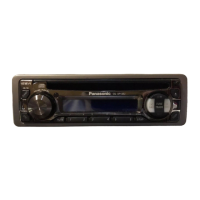
| Type | CD Receiver |
| Output Power | 50W x 4 |
| RMS Power Output | 18 watts RMS x 4 channels |
| Peak Power Output | 50W x 4 |
Warning against unauthorized modifications to FCC compliant equipment.
Details the unit's labels and their locations.
Information on laser product specifications and safety precautions.
Instructions for recording model and serial numbers for identification purposes.
Covers safe driving, protection from elements, correct power supply, and servicing advice.
Lists included hardware, remote control, battery, and warranty card.
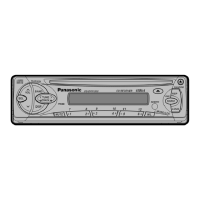
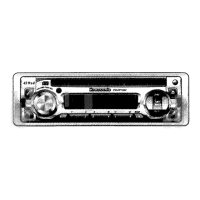
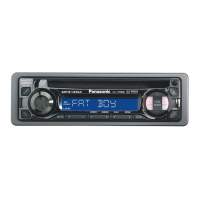
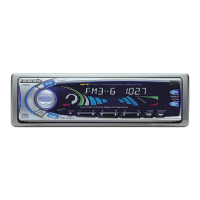
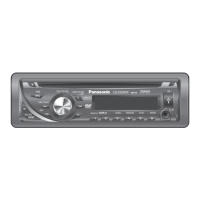
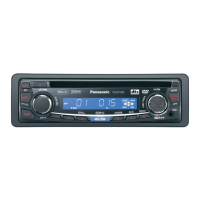
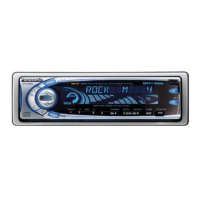
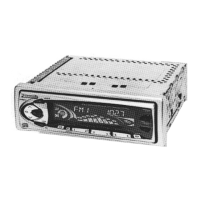
Details controls for power, volume, mute, loudness, display, and audio modes.
Instructions for setting and resetting the device's clock.
Operations for radio tuning, band selection, memory, and display.
Comprehensive guide to CD player functions, playback, and modes.
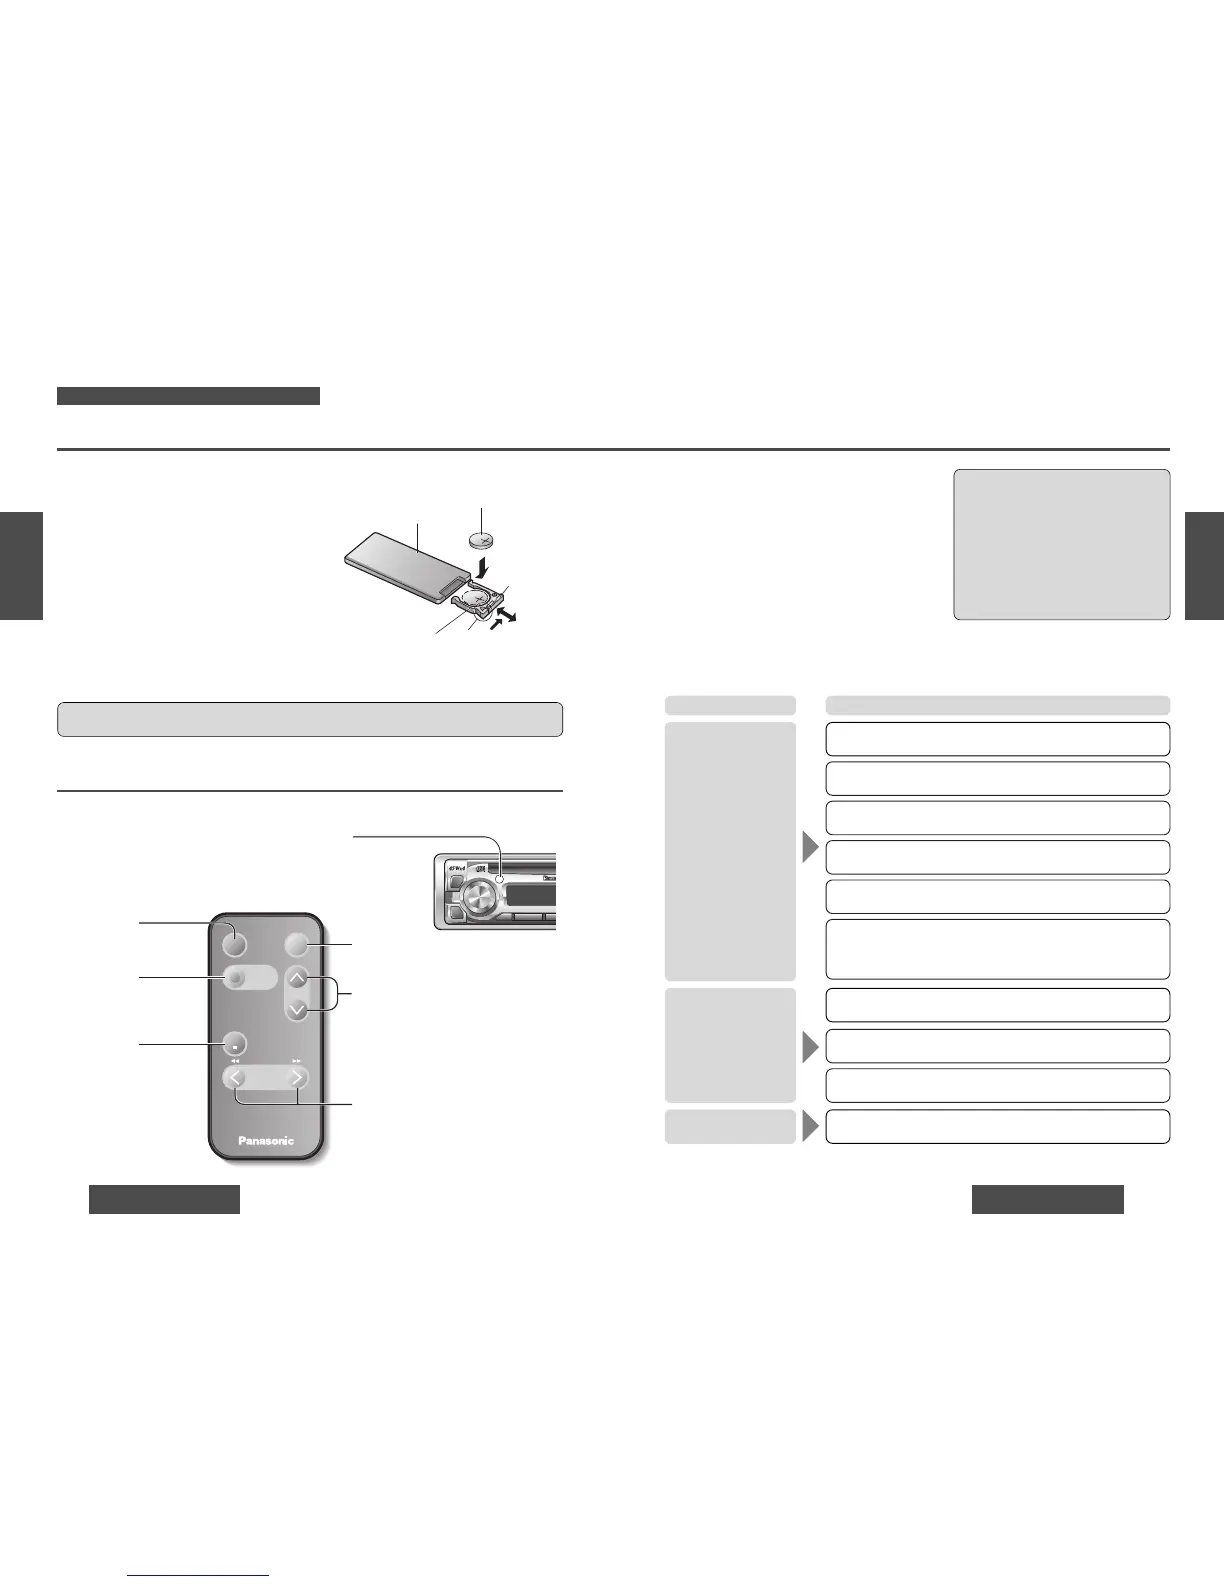
Steps for preparing the remote control, including battery installation and button functions.
Guides for diagnosing issues, troubleshooting tips, and unit maintenance procedures.
Comprehensive guide for unit installation and anti-theft system operation.
Wiring instructions, safety cautions, and detailed product specifications.
Procedure for switching to and operating radio mode.
Procedure for selecting the desired radio band (FM/AM).
Procedures for manual tuning and seek tuning radio stations.
Procedure for memorizing and recalling radio stations directly.
Procedure for programming up to 6 stations in FM1, FM2, FM3, and AM memories.
Procedure for switching the display between frequency and clock modes.
Automatic saving of 6 stations with good reception into memory.
Procedure for manually setting preset stations using designated buttons.
Procedure for recalling saved preset stations by pressing the preset button.
Procedure for inserting discs and initiating automatic playback.
Procedure for stopping playback and ejecting the disc.
Procedure for selecting CD player mode and starting playback.
Procedure for selecting the next or previous track.
Procedure for directly selecting a track using numbered buttons.
Procedure for fast forwarding or reversing within a track.
Procedure for random play and repeat play modes.
Procedure for pausing and resuming CD playback.
Step-by-step guide for installing the battery in the remote control.
Notes on battery type, lifespan, and proper disposal.
Explanation of remote control button functions.
Initial steps to take before proceeding with troubleshooting.
Immediate actions upon suspecting a malfunction.
Troubleshooting steps for power, sound, and noise issues.
Causes and solutions for excessive noise in FM/AM radio reception.
Reasons for preset station resets and corrective actions.
Troubleshooting for discs not playing or being ejected automatically.
Solutions for sound skipping due to vibration and disc ejection problems.
Troubleshooting for scenarios where time counts but no sound is produced.
Solutions for no sound from any speakers.
Procedure for correcting reversed stereo sound.
Reasons and solutions for unresponsive remote control buttons.
Error codes E1, E2, E3 related to disc issues.
General error code for unrecoverable operational issues.
Guidance on seeking professional servicing for the product.
Instructions and cautions for replacing the unit's fuse.
Instructions for safely cleaning the unit.
Guidelines for handling and caring for discs.
Specific notes and compatibility information for CD-R/RW discs.
Lists required installation hardware components and necessary tools.
Details required dashboard dimensions for proper unit installation.
General advice and steps for product installation.
Instructions for identifying vehicle power and battery leads.
Procedure for identifying antenna motor and car speaker leads.
Guidance on connecting all identified vehicle wires to the unit.
Procedure for connecting speaker wires to the unit.
Procedure for connecting antenna and power leads.
Procedure for connecting optional equipment such as amplifiers.
Finalizing wire connections, ensuring insulation, and securing.
Ensuring firm installation and testing unit operation.
Safety precautions including wearing gloves and avoiding hand injury.
Instruction to disconnect the battery terminal prior to installation.
Specifies required installation orientation and angle.
Details the required dashboard opening size for proper installation.
Procedure for removing the detachable face plate from the unit.
Procedure for removing the trim plate using a screwdriver.
Procedure for inserting the dismounting plate to release the unit.
Final step to extract the unit from its mounting.
Instructions for safely storing the removable face plate.
Procedure for reinstalling the removable face plate onto the unit.
Important cautions regarding the handling and care of the face plate.
Crucial safety precautions for electrical component connections.
Illustration of the unit's electrical wiring diagram.
General specifications of the product.
Technical specifications for the FM stereo radio function.
Technical specifications for the AM radio function.
Technical specifications for the CD player function.