- 125 -
Advanced (Recording pictures)
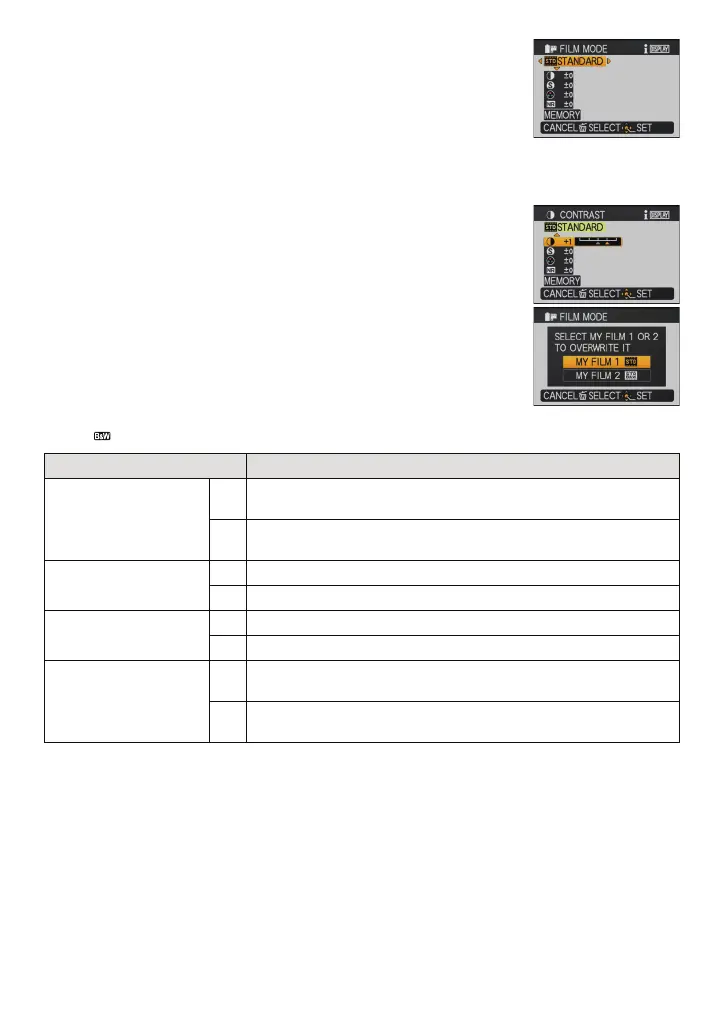
1 Press 2/1 to select a film and then press [MENU/SET].
•
When you press [DISPLAY] on the screen shown right,
explanations about each Film Mode are displayed. (When you
press [DISPLAY] again, the screen returns to the previous
screen.)
2 Press [MENU/SET] to close the menu.
•
You can also press the shutter button halfway to close the menu.
∫ Adjusting each Film Mode to the desired setting
1 Press 2/1 to select a film.
2 Press 3/4 to select an item and 2/1 to adjust.
•
Registered settings are memorized even if the camera is turned
off.
3 Press 3/4 to select the [MEMORY] and then press
[MENU/SET].
4 Press 3/4 to select an item, and then press [MENU/SET].
•
You can register 2 settings. ([MY FILM 1] and [MY FILM 2])
(After registering, the Film Mode name that was registered
previously is displayed.)
• [STANDARD] is registered in [MY FILM 1] and [STANDARD]
( ) is registered in [MY FILM 2] at the time of purchase.
Item Effect
[CONTRAST]
[r]
Increases the difference between the brightness and the
darkness in the picture.
[s]
Decreases the difference between the brightness and the
darkness in the picture.
[SHARPNESS]
[r] The picture is sharply defined.
[s] The picture is softly focused.
[SATU RATI ON]
[r] The colors in the picture become vivid.
[s] The colors in the picture become natural.
[NOISE REDUCTION]
[r]
The noise reduction effect is enhanced. Picture resolution may
deteriorate slightly.
[s]
The noise reduction effect is reduced. You can obtain pictures
with higher resolution.
 Loading...