Advanced (Recording pictures)
- 126 -
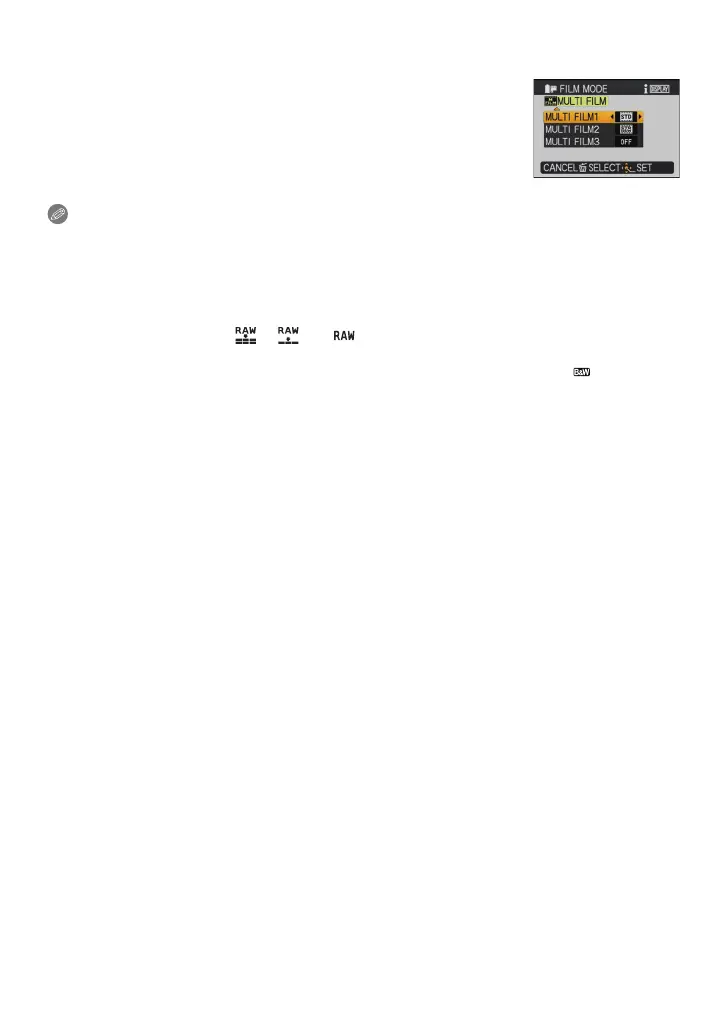
∫ Select the film you would like to use with [MULTI FILM]
1 Press 2/1 to select [MULTI FILM] and then press 4.
2 Select either [MULTI FILM 1], [MULTI FILM 2], or
[MULTI FILM 3] with 3/4, select the film to be set for each
with 2/1, and then press [MENU/SET].
•
[OFF] can be selected only for [MULTI FILM 3].
• One press of the shutter button automatically records the picture
to a selected number of films (up to a maximum of three films).
Note
•
In Film Mode, the camera may do something equivalent to pull processing or push processing
to create a picture with particular characteristics. The shutter speed may become very slow at
this time.
• Noise may become visible when you take pictures in dark places. To avoid picture noise, we
recommend setting [NOISE REDUCTION] towards [_] or setting the items except
[NOISE REDUCTION] towards [`] to take pictures.
• When [QUALITY] is set to [ ], [ ] or [ ], [MULTI FILM] does not function.
• If you adjust a Film Mode, the Film Mode icon on the screen will turn orange.
• [MULTI FILM 1] is set to [STANDARD], [MULTI FILM 2] is set to [STANDARD]( ), and
[MULTI FILM 3] is set to [OFF] at the time when this camera is purchased.
• The [MULTI FILM] setting is released when the power has been turned off (including Sleep
Mode).
• [Œ] is set for the flash when [MULTI FILM] is set.
• [AUTO BRACKET], [ASPECT BRACKET], [BURST] or White Balance Bracket will be
disabled when the [MULTI FILM] is set.
• Motion pictures are recorded with the settings for the [MULTI FILM 1] setting.
 Loading...