PBK 4 A1
■ 14
│
GB
│
IE
│
NI
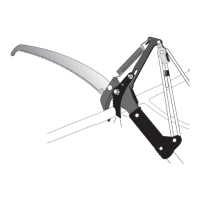
Saw in sections
Trim long or thick branches before you make the final cut (see figure).
cb a
Working safely
■ Keep the appliance, the cutting mechanism and the chain guard
in
good condition to prevent injury.
■ If the appliance has been dropped, check for significant damage or
defects.
■ Observe the specified working angle max. 60°±10° to ensure safe
working (see figure).
■ Do not use the appliance while standing on a ladder or with unsteady
footing.
■ Do not be tempted into making a poorly considered cut.
You could endanger yourself and others.
■ Children should be supervised to ensure that they do not play with the
appliance.
■ Change your working position regularly. Using the appliance for a long
time can lead to vibration-related circulation disorders of the hands.
You can extend the usage duration by using appropriate gloves or by
taking regular breaks. Note that any personal predisposition to poor
blood circulation, low external temperatures or large gripping forces
can reduce the usage period.
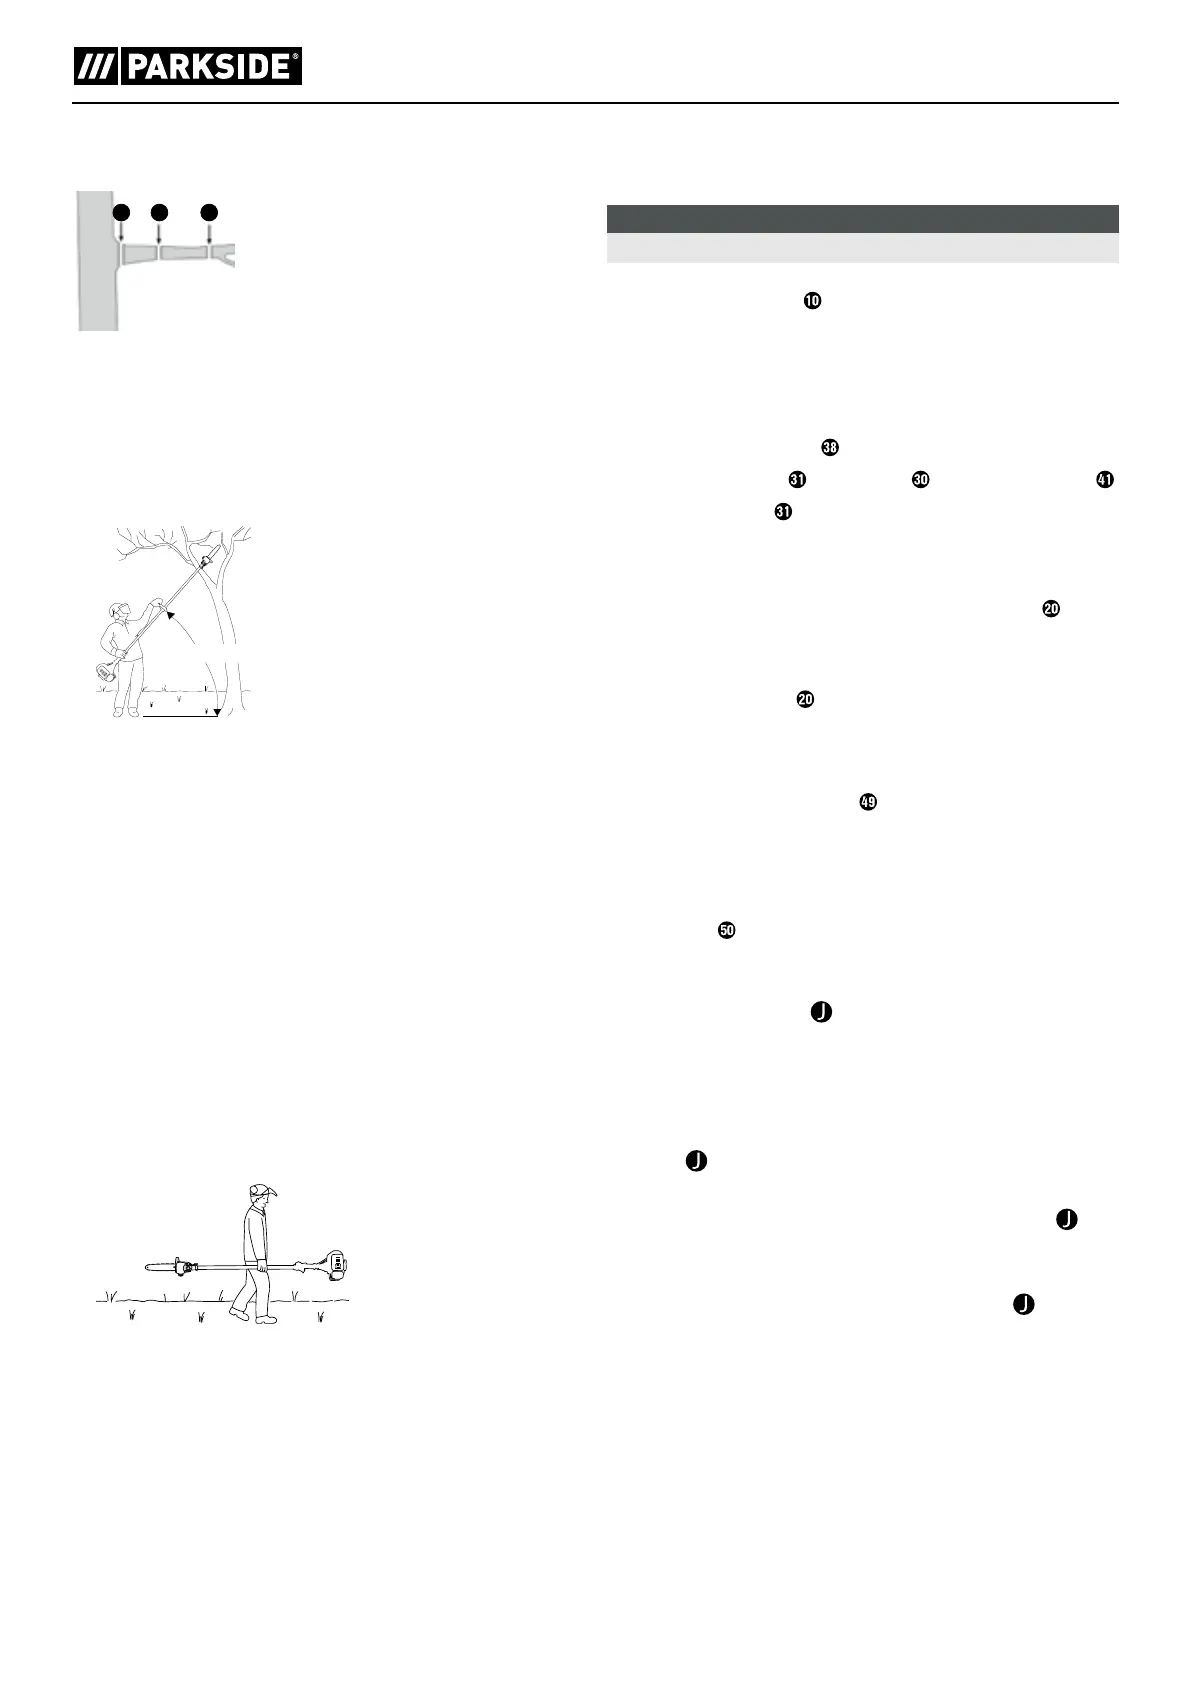
Transport
■ Use the protective cases
/
for transporting the appliance.
■ To prevent injuries, ensure that the appliance cannot switch on during
transport (see figure).
Cleaning
Cleaning the engine unit
NOTE
■
Clean the appliance thoroughly after every use.
■ Always switch off the appliance before cleaning and then disconnect
the spark plug connector
.
■ Clean the appliance regularly with a damp cloth and a mild detergent.
Make sure that no water can penetrate into the interior of the appliance.
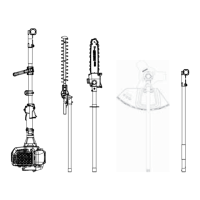
Cleaning the pole pruner
■ The pole pruner must be cleaned of sawdust at regular intervals.
♦ Remove the sprocket cover
.
♦ Remove the saw chain
from the blade and clean the guide rail .
♦ Keep the saw chain
sharp and check the tension; check the oil level
and the oil supply.
Cleaning the hedge trimmer
♦ Check the hedge trimmer for loose screws on the cutter bar
and
tighten these if necessary.
♦ Remove stuck cuttings.
♦ Maintain the cutter bar
using an oil spray or an oil can.
Cleaning the strimmer/cutting blade attachment
♦ Remove stuck cuttings.
♦ Keep the 3-section cutting blade
sharp to facilitate your work.
Maintenance
Replacing the strimmer/cutting filament
1.) The strimmer
must be removed as described in the section "Installing/
replacing the strimmer". Press the marking (see fig. 4a) and remove the
cover (see fig. 4b).
2.) Remove the spool bobbin
from the strimmer housing (see fig. 4c).
3.) Remove any remaining cutting filament.
4.) Double the new cutting filament and hook the loop that you have made
into the recess on the spool bobbin (see fig. 4d).
5.) Wind the filament tightly in an anticlockwise direction. The spool
bobbin
separates the two halves of the cutting filament (see
fig.4d).
6.) Now take the cover in your hand and place the spool bobbin
in it.
Make sure that the filament holder of the spool bobbin lines up with the
filament guide on the cover.
7.) Now release the cutting filament from the spool bobbin
and guide
it through the metal eyes in the cover.
8.) Put the two halves of the housing back together so that they click into
place.
9.) Cut any excess filament back to about 13 cm. This reduces the load on
the engine when starting and warming up.
10.) Refit the strimmer (see section "Installing/replacing the strimmer").
C A B
max. 60°±10°
 Loading...