■ 36
│
GB
│
MT
PHSHE 900 B2
Before use
CAUTION! RISK OF INJURY!
► Before any work on the appliance, disconnect the plug.
Risk of electric shock!
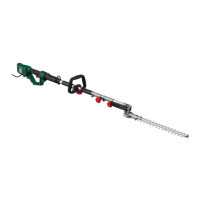
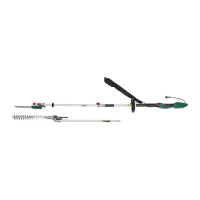
Motor unit
Attaching the round handle
♦ Place the round handle in the desired position on the boom .
♦ Tighten the screw
.
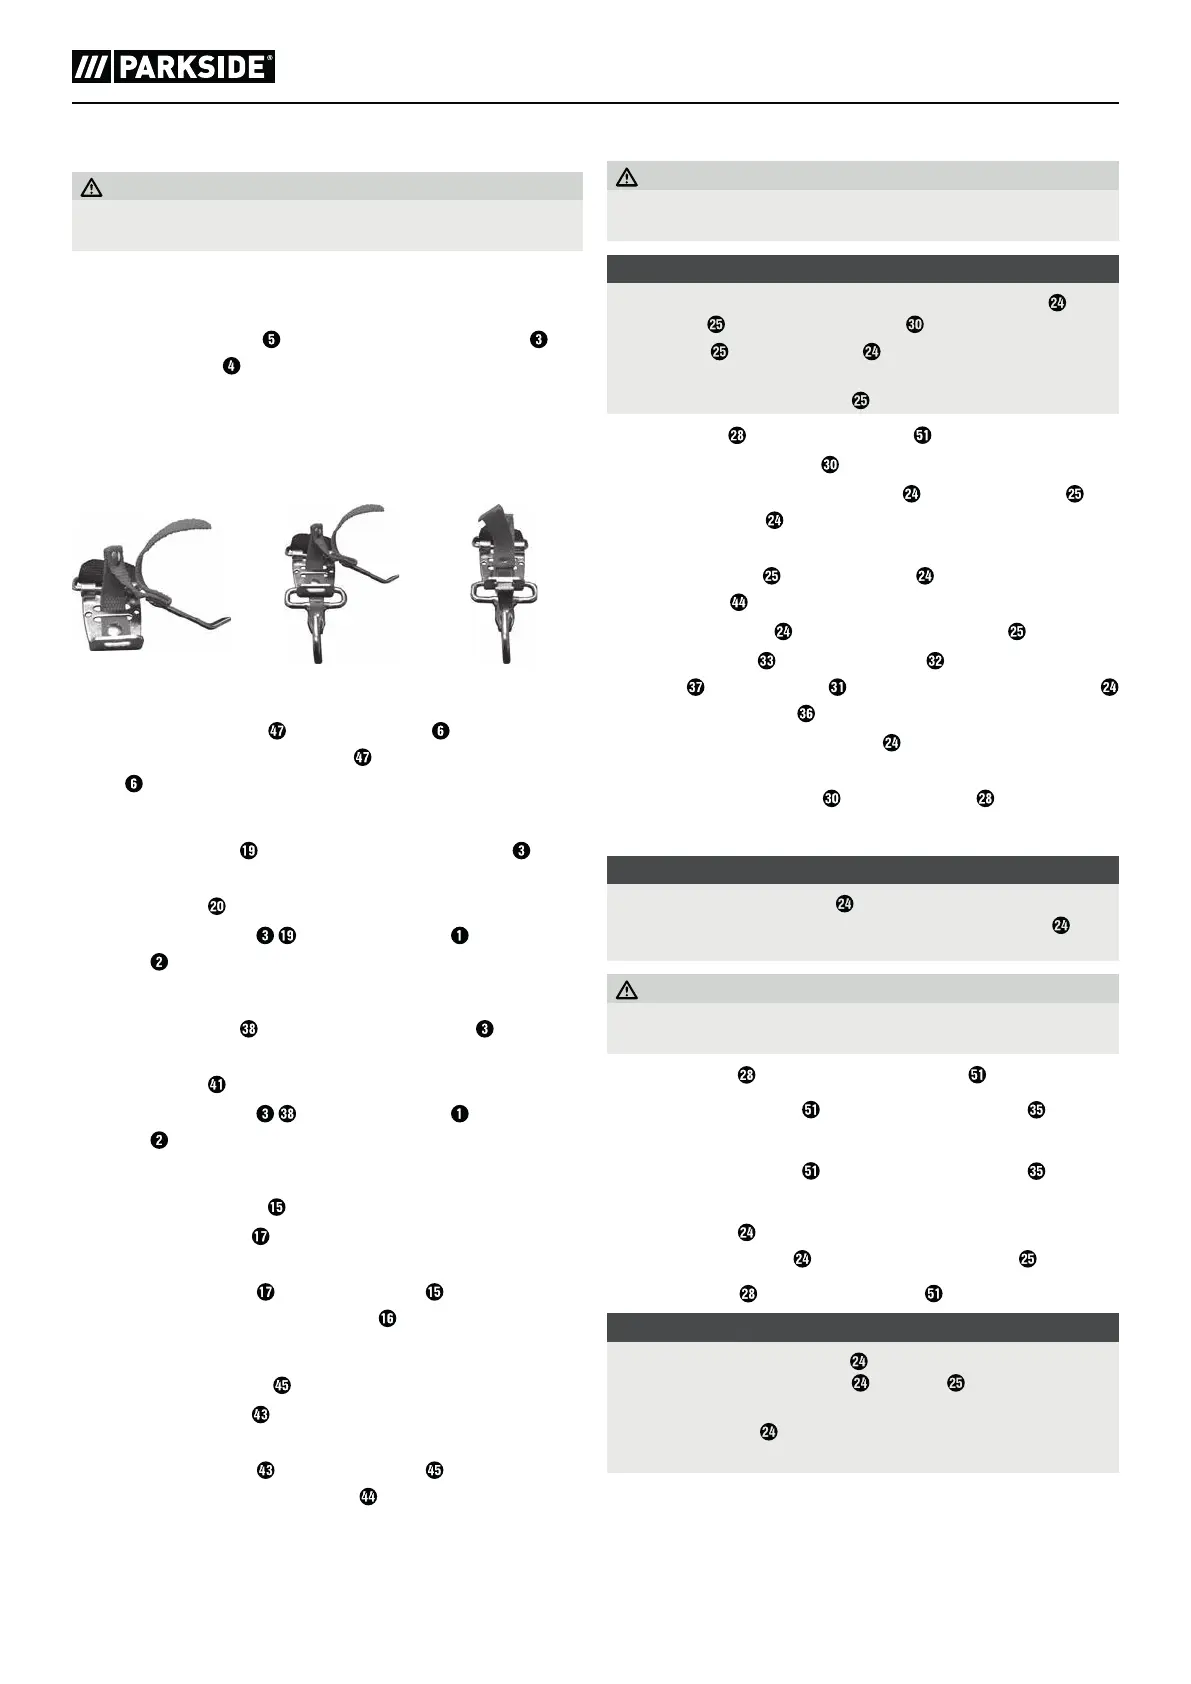
Assembling the quick release mechanism
♦ Hook in the carabiner and secure it with the red strap on the quick
release mechanism (see figures). Pull on the red strap if you have to
put down the appliance quickly.
Fastening/attaching the shoulder strap
♦ Hook the shoulder strap into the carrying lug .
♦ Adjust the length of the shoulder strap
to your size so that the carrying
lug
is at hip height when the strap is hooked in place.
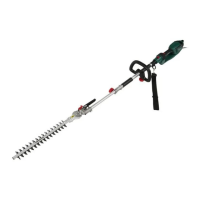
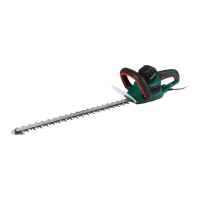
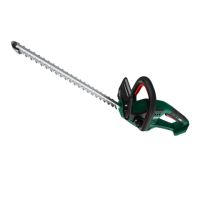
Assembling the hedge trimmer
♦ Push the front boom of the hedge trimmer onto the boom of the
motor unit.
♦ The locking pin
must engage.
♦ Secure the two booms
with the tommy screw ; to do this, fit
the nut
on the opposite side.
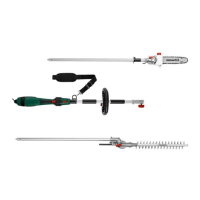
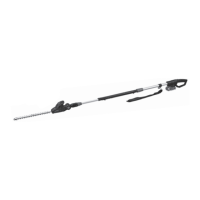
Mounting the pole pruner
♦ Push the front boom of the pole pruner to the boom of the motor
unit.
♦ The locking pin
must click into place.
♦ Secure the two booms
with the tommy screw ; to do this, fit
the nut
on the opposite side.
Swivelling of the hedge trimmer
♦ Trigger the lock/release .
♦ Press the control lever
and swivel the hedge trimmer into the
desired position.
♦ Allow the control lever
and the lock/release to click into the
recess in the base plate (hedge trimmer)
.
Swivelling of the pole pruner
♦ Release the lock/release .
♦ Press the control lever
and swivel the pole pruner into the desired
position.
♦ Allow the control lever
and the lock/release to click into the
recess in the base plate (pole pruner)
.
Mounting the saw chain and blade
WARNING!
► Wear protective gloves! There is a danger of injury from the sharp
cutting teeth!
NOTE
►
Pay close attention to the running direction of the saw chain
on
the blade and at the sprocket cover
.
► The blade
and the saw chain are already assembled upon
delivery.
► Depending on wear, the blade can be turned.
♦ Undo the nut
using the assembly tool .
♦ Remove the sprocket cover
.
♦ You may have to loosen the saw chain
to remove the blade
and the saw chain
(see section "Tightening and checking the saw
chain"). Follow these instructions in reverse order.
♦ Remove the blade
with the saw chain from the base plate
(pole pruner)
.
♦ Reset the saw chain
starting at the top of the blade .
♦ Lay the guide rail
over the blade guide , while inserting the chain
roll pin
in the blade hole . At the same time, lay the saw chain
over the chain sprocket
.
♦ Now you can tighten the saw chain
(see section “Tightening and
checking the saw chain”).
♦ Replace the sprocket cover
and tighten the nut gently.
Tightening and checking the saw chain
NOTE
►
The tension of the saw chain
is important for your safety and the
function of the appliance. A correctly pre-stressed saw chain
increases the service life of your appliance.
WARNING!
► Wear protective gloves! There is a danger of injury from the sharp
cutting teeth!
♦ Loosen the nut
a little using the assembly tool .
♦ Using the assembly tool
, turn the chain adjuster screw in a
clockwise direction to increase the tension.
♦ Using the assembly tool
, turn the chain adjuster screw
in an
anticlockwise direction to decrease the tension.
♦ The saw chain
must lie against the underside of the blade. Check
whether the saw chain
can be drawn over the blade
by hand.
♦ Tighten the nut
using the assembly tool .
NOTE
► When pulling on the saw chain
with a force of 9 N (approx. 1 kg),
the gap between the saw chain
and blade should not be more
than 2 mm.
► A new saw chain stretches and must be tightened more frequently.
► Check the chain tension before each use of the appliance.
 Loading...