EasyManua.ls Logo

Parkside PWSAP 40-Li A1 User Manual

Parkside PWSAP 40-Li A1
242 pages
To Next Page IconTo Next Page
To Previous Page IconTo Previous Page
Page #138 background imageLoading...
Page #138 background image
PWSAP 40-Li A1
SK
 127
Počas práce držte prístroj vždy pevne oboma
rukami. Dbajte na bezpečný postoj.
Najlepší účinok brúsenia dosiahnete pohybom
prístroja po povrchu obrobku rovnomerne pod
uhlom 15° až 30° (medzi brúsnym kotúčom
a obrobkom).
Pri obrábaní šikmých povrchov nesmiete
prístroj tlačiť veľkou silou na obrobok. Pre
bezpečnú a efektívnu prácu privýraznom po-
klese otáčok musíte znížiť prítlačnú silu. Ak by
sa prístroj náhle úplne zastavil alebo zabloko-
val, musíte ho ihneď vypnúť.
Rezanie: Pracujte s miernym posuvom a
rezací kotúč nedávajte do priečnej polohy.
Hrubovacie a rezacie kotúče sú pri práci
veľmi horúce. Nechajte ich úplne vychladnúť,
skôr než sa ich budete dotýkať.
Prístroj nikdy nepoužívajte na iné účely,
nežnaaké je určený.
Dbajte vždy na to, aby bol prístroj vypnutý
skôr, ako vložíte akumulátor do prístroja.
V prípade nebezpečenstva prístroj ihneď
vypnite a vyberte z neho akumulátor. Zabez-
pečte, aby bol prístroj ľahko prístupný a vprípa-
de núdze dosiahnuteľný bez problémov.
Pri prestávkach v práci, pred všetkými práca-
mi na prístroji a pri nepoužívaní vždy vyberte
akumulátor. Prístroj musí byť vždy čistý, suchý
abez oleja alebo mazacieho tuku.
Dávajte vždy pozor! Dávajte vždy pozor na
to, čo robíte, a vždy konajte s rozvahou.
Prístroj v žiadnom prípade nepoužívajte, ak sa
nemôžete sústrediť alebo sa necítite dobre.
VÝSTRAHA! Noste
vždy ochranné okuliare.
VÝSTRAHA! Noste vždy
protiprachovú ochrannú masku.
Pred uvedením do prevádzky
Nabitie akumulátora (pozri obr. A)
POZOR!
Vždy vytiahnite sieťovú zástrčku, keď vkladáte
akumulátor t do nabíjačky alebo ho z nej
vyberáte.
UPOZORNENIE
Nikdy nenabíjajte akumulátor pri teplote okolia
nižšej ako 10°C alebo vyššej ako 40°C. Pri
dlhšom skladovaní lítiovo-iónového akumulá-
tora sa musí pravidelne kontrolovať jeho stav
nabitia. Optimálny stav nabitia je medzi 50a
80%. Skladujte v chlade a suchu pri teplote
okolia medzi 0 °C a 50 °C.
Zasuňte akumulátor t do rýchlonabíjačky w
(pozri obr. A).
Zastrčte sieťovú zástrčku do zásuvky.
LED kontrolka e svieti načerveno.
Zelená LED kontrolka r vám signalizuje, že
nabíjanie je ukončené a akumulátor t je
pripravený na použitie.
POZOR!
Ak červená LED kontrolka e bliká, akumulá-
tor t je prehriaty a nemôže sa nabíjať.
Ak bliká červená a zelená LED kontrolka e
r súčasne, akumulátor t nefunguje.
Medzi nabíjaniami nasledujúcimi po sebe
vypnite nabíjačku minimálne na 15minút.
Na tento účel vytiahnite sieťovú zástrčku.
Vloženie/vybratie akumuláto-
ra do/z prístroja
Vloženie akumulátora
Obidva akumulátory t nechajte zaskočiť
v rukoväti.
Vybratie akumulátora
Stlačte tlačidlo na uvoľnenie q a vyberte
akumulátor t.

Table of Contents

Question and Answer IconNeed help?

Do you have a question about the Parkside PWSAP 40-Li A1 and is the answer not in the manual?
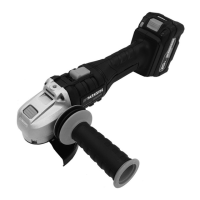
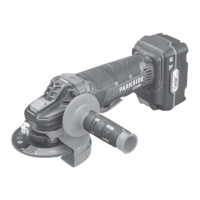
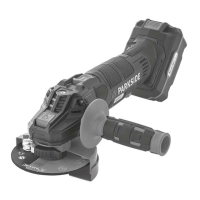
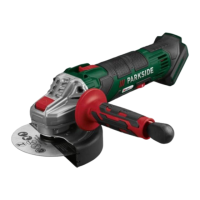
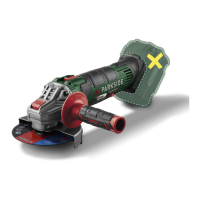
Parkside PWSAP 40-Li A1 Specifications

General IconGeneral
Battery Voltage40 V
Disc Diameter125 mm
No-load Speed8500 rpm
Spindle lockYes
Battery TypeLi-Ion

Summary

Introduction and Overview

Intended Use

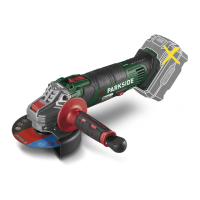
Specifies the tool's intended applications and operational limitations.

Equipment and Package Contents

Lists all components included with the tool and its accessories.

Technical Specifications

Provides detailed technical data for the grinder, battery, and charger.

Explanation of Symbols

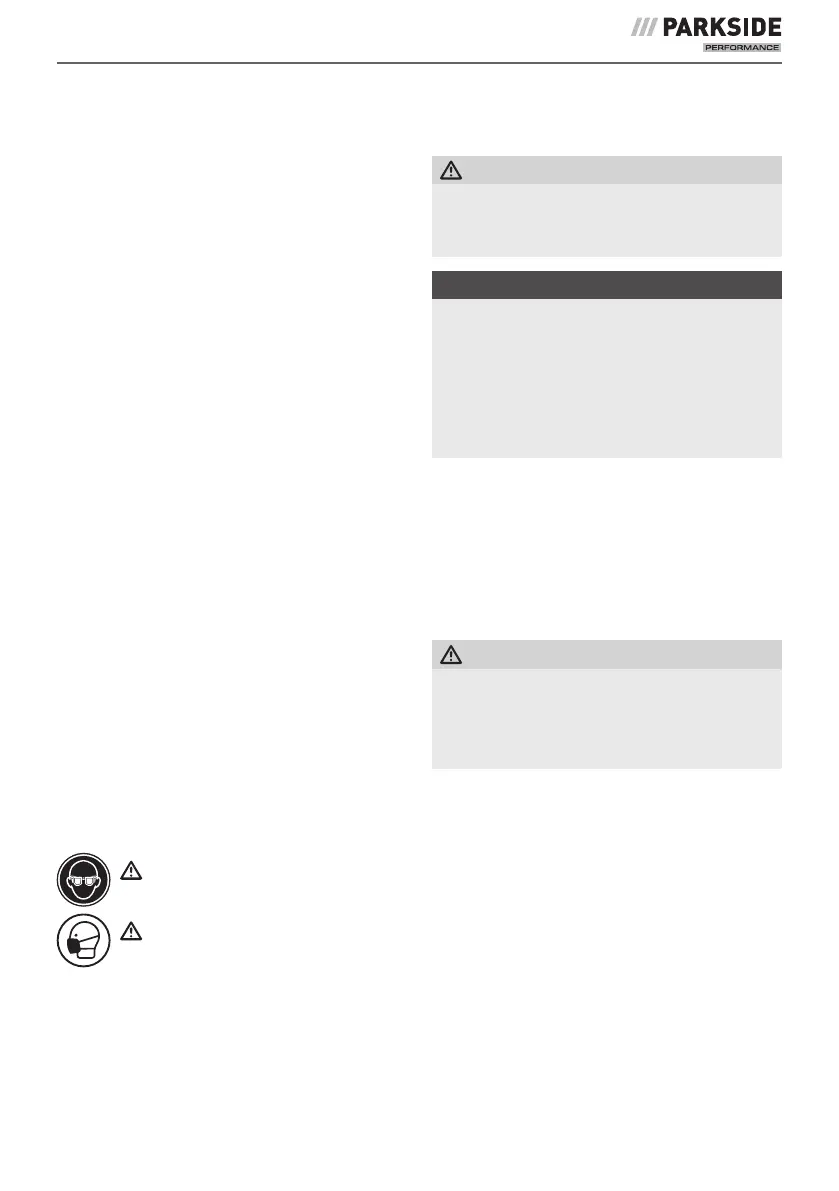
Defines the meaning of various symbols used in the manual for clarity.

General Safety Warnings

Work Area and Electrical Safety

Safety guidelines for the workspace and electrical connections during operation.

Personal Safety Measures

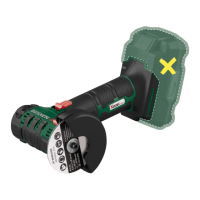
Advice on operator safety, protective gear, and common sense during use.

Tool Usage and Care Guidelines

Best practices for operating and maintaining the power tool to ensure safety.

Battery Tool Safety and Care

Instructions for the safe use and maintenance of battery packs.

Service and Maintenance Information

Guidance on servicing, repairs, and general tool maintenance procedures.

Application-Specific Safety Instructions

Grinding and Abrasive Cutting Safety

Critical safety rules specifically for grinding and abrasive cutting tasks.

Kickback Prevention and Response

Guidance on preventing kickbacks and safe handling during unexpected reactions.

Advanced Abrasive Cutting Safety

Additional safety precautions for abrasive cutting operations.

Battery Charger Safety Guidelines

Essential safety rules for operating the battery charger.

Accessories and Operational Procedures

Permissible Accessories and Storage

Details on approved accessories and best practices for their storage.

General Working Procedures

Overview of how to operate the angle grinder effectively and safely.

Rough Grinding Techniques

Step-by-step instructions for performing rough grinding operations.

Abrasive Cutting Techniques

Step-by-step instructions for performing abrasive cutting operations.

Powering Up and Battery Management

Procedures for switching the tool on/off and managing the battery.

Guard and Disc Installation Steps

Instructions for fitting the blade guard and changing cutting/roughing discs.

Additional Handle Installation

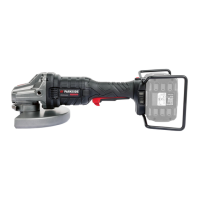
Guidance on fitting the additional handle for improved control and safety.

Maintenance, Disposal, and Warranty Information

Maintenance and Cleaning Instructions

Guidelines for keeping the tool clean and in optimal working condition.

Proper Disposal Procedures

Environmentally conscious methods for disposing of the tool and batteries.

Warranty Terms and Conditions

Details the warranty period, coverage, and exclusions.

Warranty Claim Process

How to submit a warranty claim, including required documentation.

Service Contacts and Importer Details

Contact information for service, warranty claims, and the importer.

Original Declaration of Conformity

Official statement confirming product compliance with EU directives and standards.

Ordering Replacement Batteries

Information on how to order replacement batteries for the tool.

Related product manuals