Return to Table of Contents
STEP 1.
STEP 2.
STEP 3.
STEP 4.
Starting
device
Residential Refrigeration
and Front Venting Commercial Refrigeration
Service Manual
Once charge level has been set, avoid installing
gauges as part of regular service. System should
be kept sealed.
Do not “top off” or add refrigerant to an unknown
existing charge.
Completely recover existing refrigerant in accor
-
dance with EPA regulations and thoroughly evacu-
ate the system.
After evacuating the system:
1. Close high side valve and weigh in correct
total charge amount per the I.D. plate.
2. During charging, plug in the unit so the sys
-
tem operates to reduce low side pressure.
3. Upon complete charge being weighed in,
remove charging line set with minimal pres
-
sure remaining in the line set.
4. Note: Never remove line set when in a vac
-
uum as containments can be sucked into the
system.
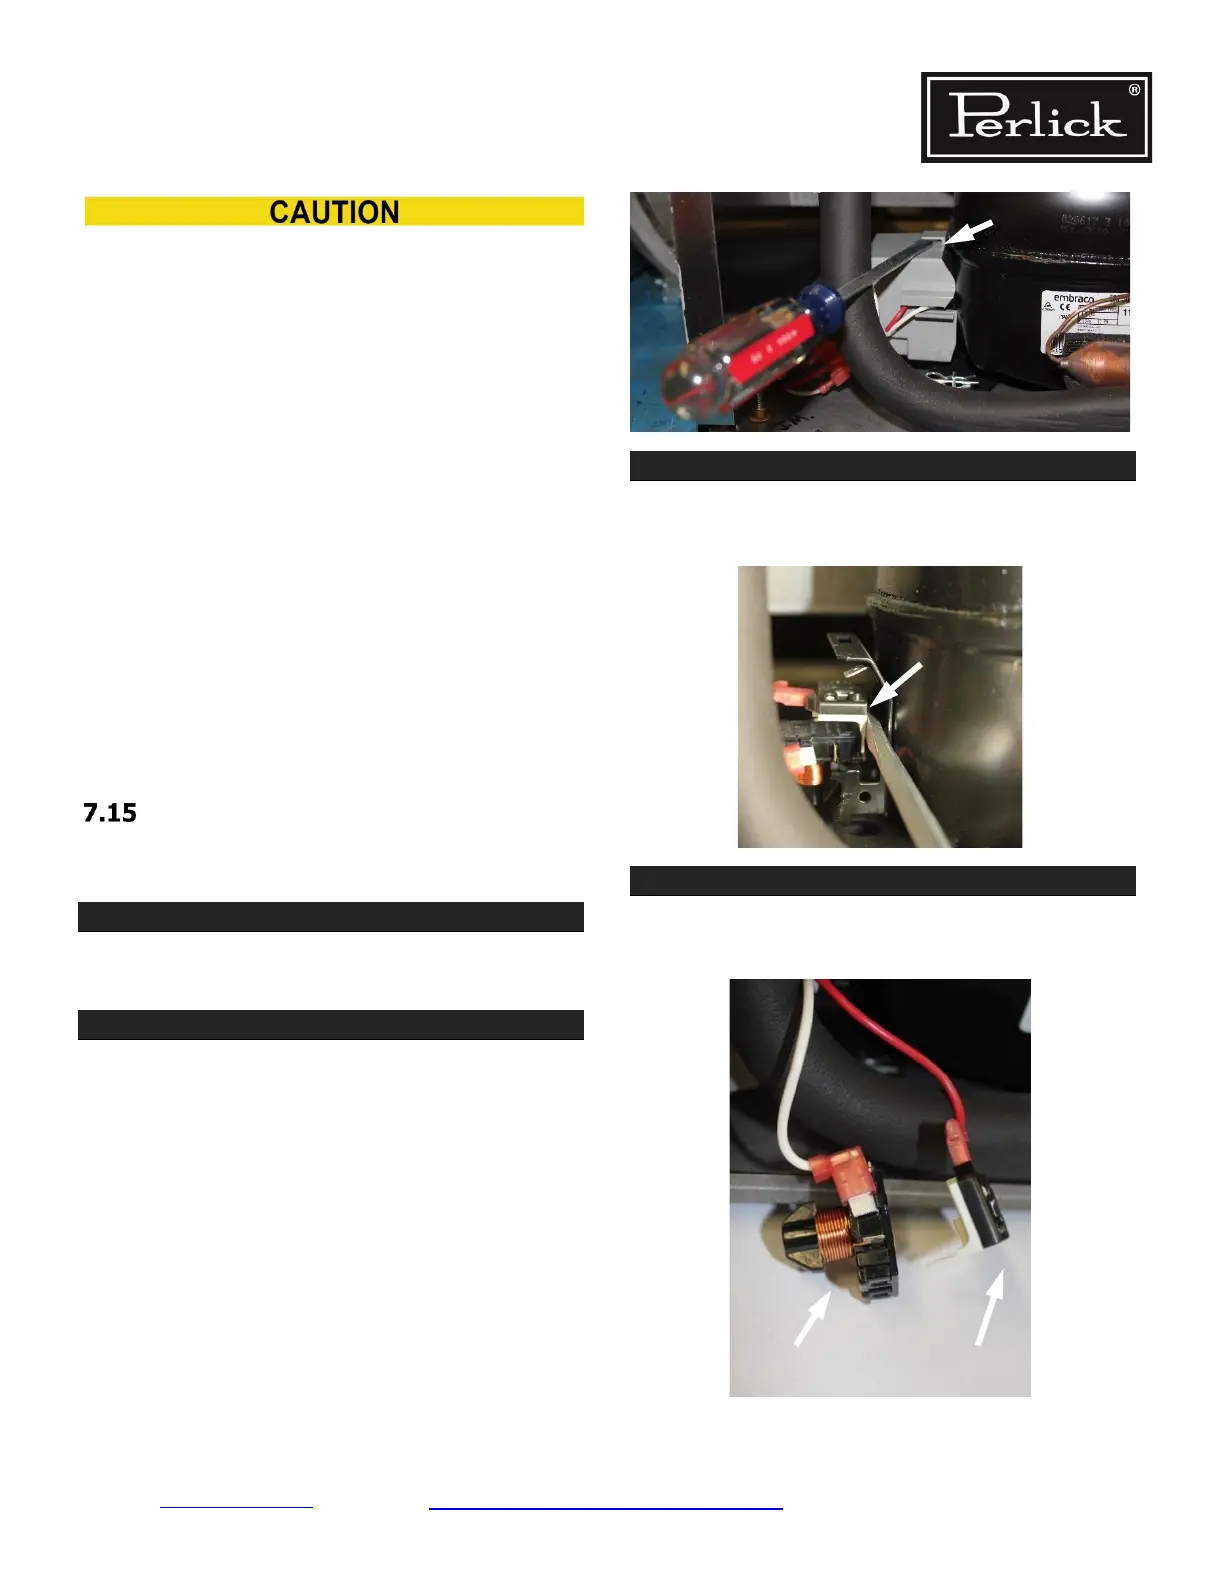
Replace compressor starting
device
Remove equipment compartment rear cover panel
(6 Phillips head screws).
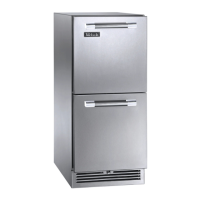
On side of compressor, lift tab to remove gray
cover.
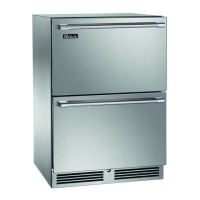
Use screw driver to pry off overload relay and
starting device.
Starting device and overload device are now
accessible. Remove leads and replace.
Refrigeration System Repair Instructions Page 7-11
Overload
device

 Loading...