6. Settings
Settings mode
In the settings mode, you can change and adjust various
settings according to your own preferences.
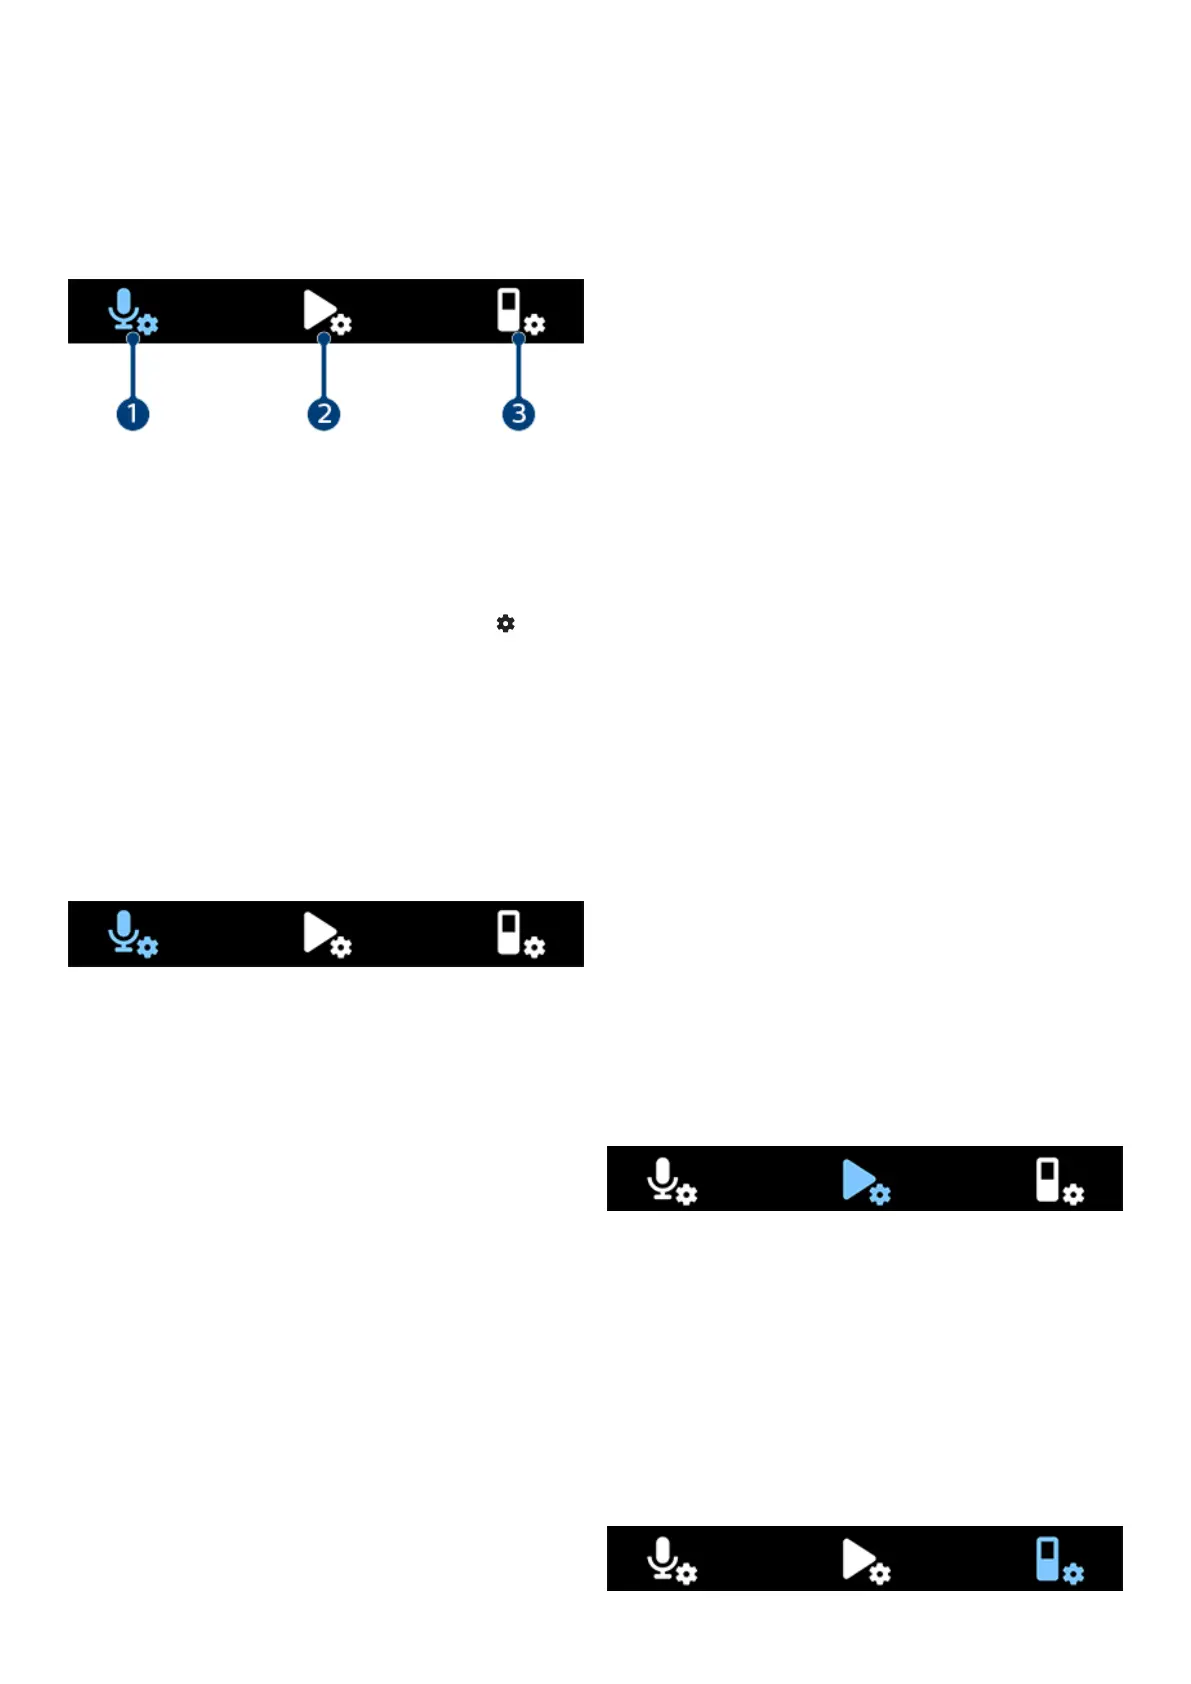
1. Recording settings [12]
2. Playback settings [12]
3. Device settings [12]
Start the settings mode
1. In stop mode, press the Right function button
to
open the settings panel.
2. Press the Record button to select All settings.
Navigate between settings
• Use the Up/Down buttons.
Select a setting
• Press the Record button.
Recording settings
Scene
Select a scene according to specic recording situations,
e.g. a lecture or an interview. Every scene has predened
settings, such as the format or the microphone sensitivity,
that cannot be changed. If you would like to change the
settings of a scene, you need to select the scene Custom
where you can dene each setting according to your own
preferences.
Format
Select the format of your recording according to specic re-
cording situations.
Mic sensitivity
Adjust the microphone sensitivity of your VoiceTracer. Select
the sensitivity according to the background noise, number
of recorded sound sources and distance between sound
source and microphones.
Limiter
Activate this function to prevent recordings from being
oversteered by sound input over the maximum sound level.
If the recording suddenly exceeds the maximum sound lev-
el, the microphone sensitivity is automatically reduced.
Mic selection
Select if the zoom mic or the 360 degrees microphones
should be used for your recordings.
Noise cut
Turn the Noise cut feature on in order to reduce background
noise while recording. This way, especially audio recordings
sound clearer.
Wind lter
Activate the wind lter to reduce wind noise when you are
recording in a very windy environment.
Folder
Select the folder you want your recording to be saved in.
Voice activation
Use voice activation to start recording when you begin
speaking. When you stop speaking, the device will automat-
ically pause recording after three seconds of silence. It will
resume only when you begin speaking again.
Edit mode
Select what should happen when you edit a recording.
Pre-recording
When the pre-recording function is enabled, the device will
start recording some seconds prior to the event.
Timer
Use the timer function to automatically start recording on a
preset date and at a preset time. You can also select when
the recording should stop.
Auto divide
During recording, the auto divide feature will automatically
split the current recording and save a new le every 15, 30
or 60 minutes.
Auto bookmark
Use the Auto bookmark funktion to automatically set book-
marks at preset time intervals.
External input
Choose between various input sources to guarantee the
best recording quality for specic recording situations.
Playback settings
Play mode
Choose between various playback options.
Equalizer
Choose between the equalizer music options Classical,
Jazz, Pop, or Rock.
ClearVoice
Activate the ClearVoice function for better playback quality.
Dynamic emphasis on quiet passages improves the intelligi-
bility of quiet voices.
Device settings
12
 Loading...