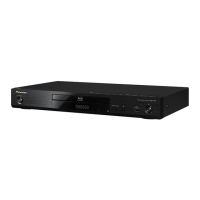
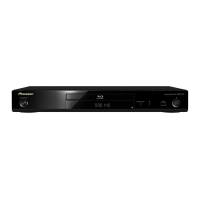
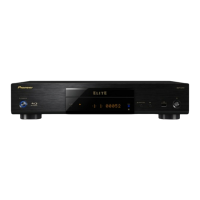
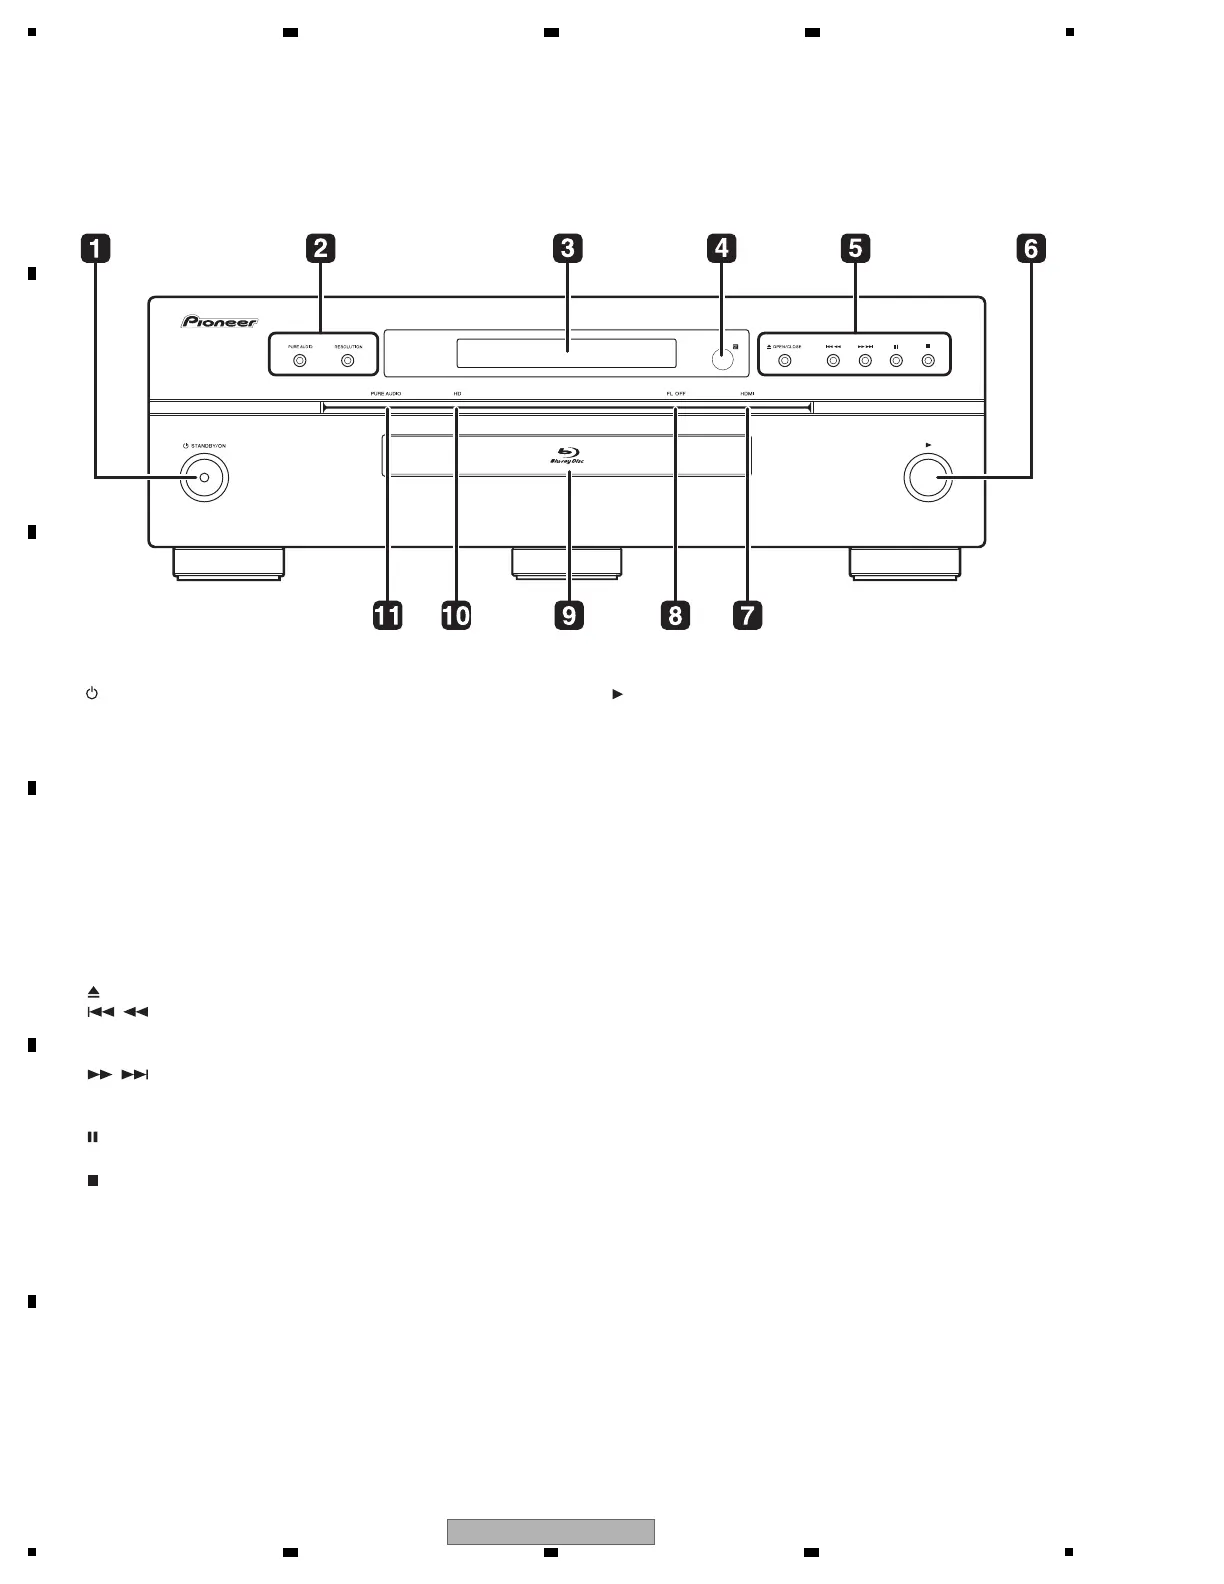
[1] Front Panel
1 STANDBY/ON
Press to turn the power on and off.
2 PURE AUDIO – High quality audio signals with any extraneous
noise eliminated are output.
RESOLUTION – Press to switch the output video resolution from
HDMI OUT or COMPONENT VIDEO output terminals.
3 Front panel display
4 Remote control sensor
Point the remote control to this, then operate it within approximately
23 feet.
The player may have trouble capturing remote control signals if
there is a fluorescent light nearby. If this happens, move the player
away from the fluorescent light.
5 OPEN/CLOSE – Press to open and close the disc tray.
/ – Press to skip to the beginning of the previous title/
chapter/track/file. Press and hold to start reverse scanning.
/ – Press to skip to the beginning of the next title/
chapter/track/file. Press and hold to start forward scanning.
– Press during playback to pause. Press again to restart
playback.
– Press to stop playback.
6
Press to start playback.
7 HDMI indicator
This lights when an HDMI-compatible device is connected to an
HDMI OUT (MAIN) or HDMI OUT (SUB) terminal.
8 FL OFF indicator
This lights when Off is selected with FL DIMMER.
9 Disc tray
10 HD indicator
This lights when an HDMI cable is connected and video signals are
being output with a resolution of 1080/24p, 1080/60i, 1080/60p or
720/60p. It also lights when a component video cable is connected
and video signals are being output with a resolution of 1080/60i or
720/60p.
11 PURE AUDIO indicator
This lights when PURE AUDIO is set to Mode 1 or Mode 2.
 Loading...