17
<DRB1251>
14
70-139
BPM
91-180
BPM
BPM
3
AUTO BPM COUNTER
2
1
MASTER
4MIC
mSec
3
PARAMETER1
2
1
/
2
1
/
1
4
/
1
2
/
1
3
/
4
14
BEAT
1682
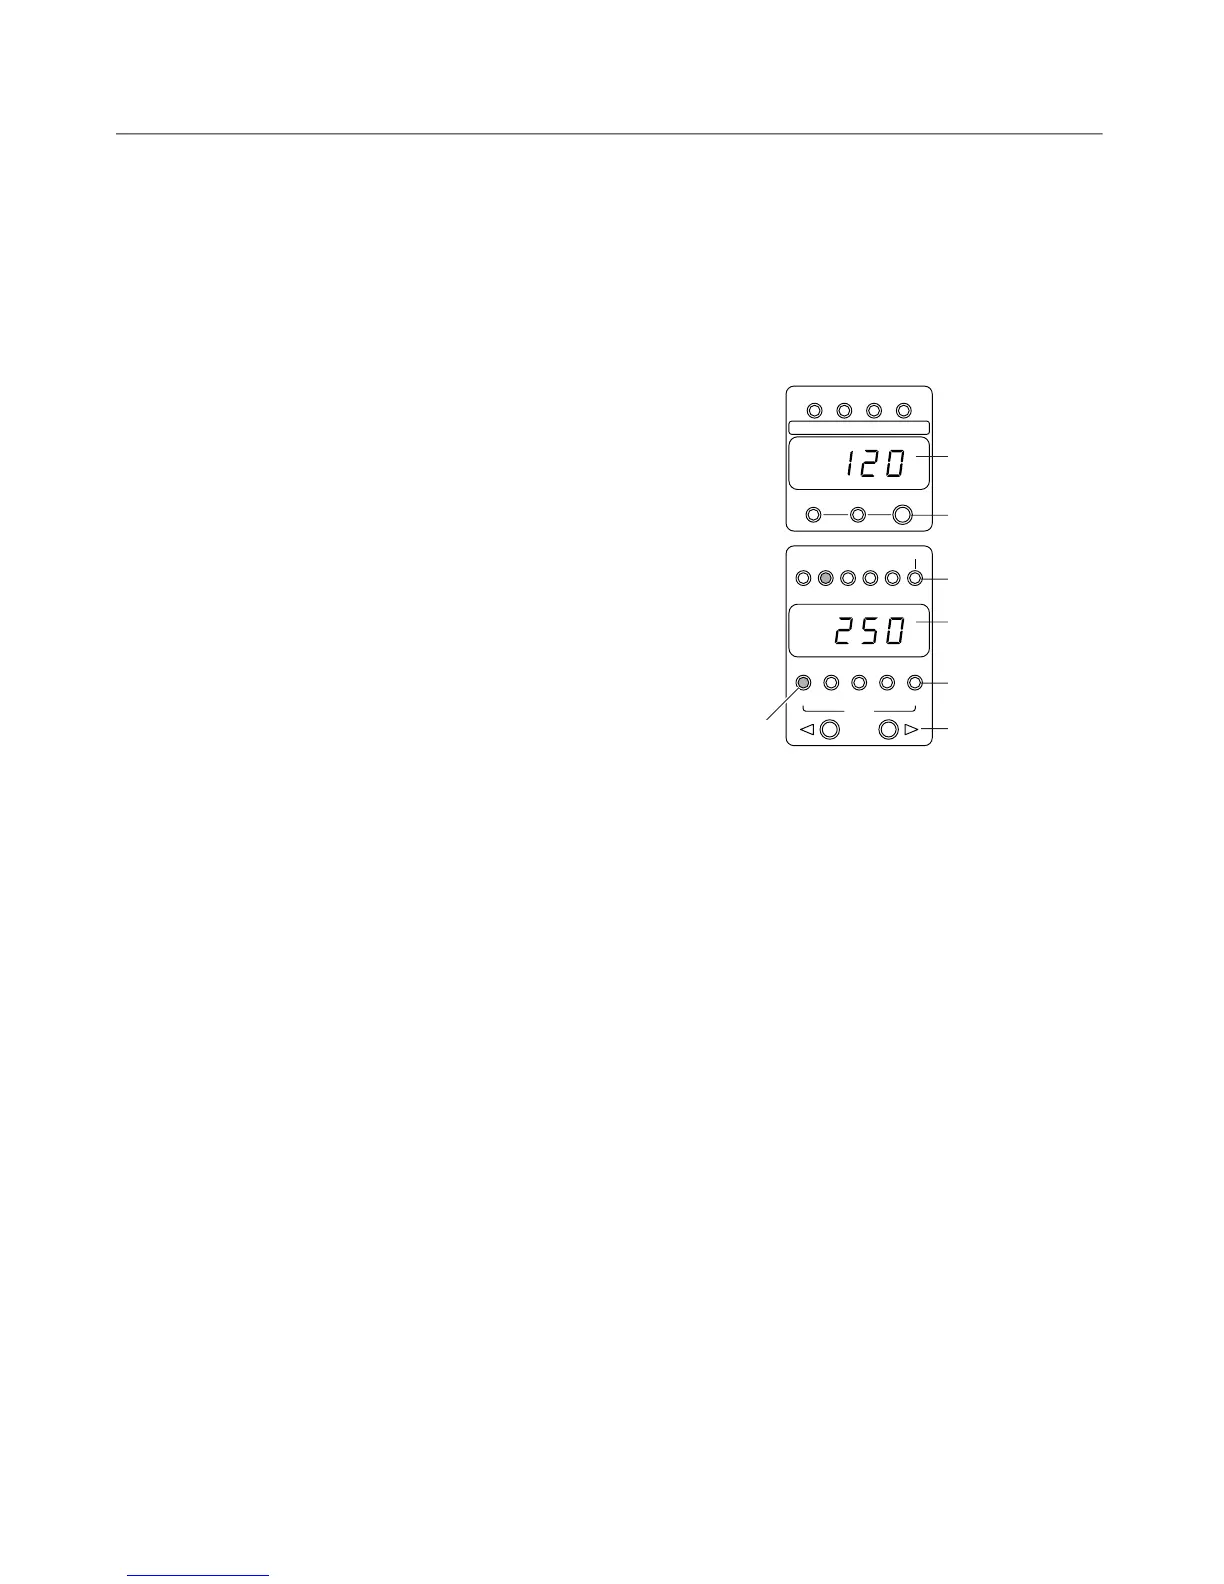
BPM display
Effect parameter/
BPM display
÷ Display where a 1/2-beat delay (250mSec) has been set to
music with a BPM of 120 (time conversion: 500mSec).
“1/2” will light
Counter
Counter
BPM measurement
range selector
switch
LED
Beat display
Effect beat selector
switch
1 Set the effect/sampler selector switch to DELAY.
2 Set the effect/sampler channel selector switch
to 2.
÷ LED “2” on the effect parameter/BPM display will light.
÷ The BPM of the music input to CH-2 will be displayed
on the BPM display’s counter.
* The BPM band that matches the music on CH-2 can be
selected with the BPM measurement range selector
switch.
* LED will blink if BPM cannot be measured for more
than 2 seconds. In this case, use manual mode to make
settings (see page 15).
3 Set the parameter value.
When headphone cue’s EFFECTS/SAMPLER is pressed,
effect sound can be confirmed via headphone output.
Setting the Delay Time
÷ Setting the delay time to match one beat of the BPM
displayed on the BPM display’s counter makes effect
application more effective.
÷ By pressing the effect beat selector switch, delay time
of 1/4 to 8/1 can be set for one beat of the measured
BPM.
÷ More precise delay times can be set with the effect/
sampler parameter 1 knob (TIME).
÷ As “1/2” will light on the beat display if delay time is set
to 1/2 of one beat of the BPM, the parameter value can
be set using the beat display as a guide.
Setting to Balance Original and Delayed Sound Levels
÷ The balance between original and delayed sound levels
is set using the effect/sampler parameter 2 knob
(LEVEL/DEPTH). Turning this knob to the left will
decrease delayed sound and turning it to the right will
increase it.
4 Turn on the effect/sampler ON/OFF switch.
÷ The effect/sampler ON/OFF switch will blink orange,
and the delay effect will be applied to master output.
÷ If the switch is pressed once more, the effect will be
turned off.
* If it is turned on in time to the beat, the effect’s cycle
will also start on the beat.
Echo, auto pan, auto trans, filter, flanger can also be set
similarly.
Precautions:
÷ If the channel has been changed with the effect/sampler
channel selector switch when delay, echo, reverb (pages
18 and 19) and similar effects have been turned on, all of
the reverberation of the prior channel’s effects will be
output.
÷ Only operate the effect/sampler selector switch when
effects are off (when the effect/sampler ON/OFF switch is
lit orange). Operating it with effects on could generate
noise.
USING THE EFFECT/SAMPLER FUNCTIONS
 Loading...