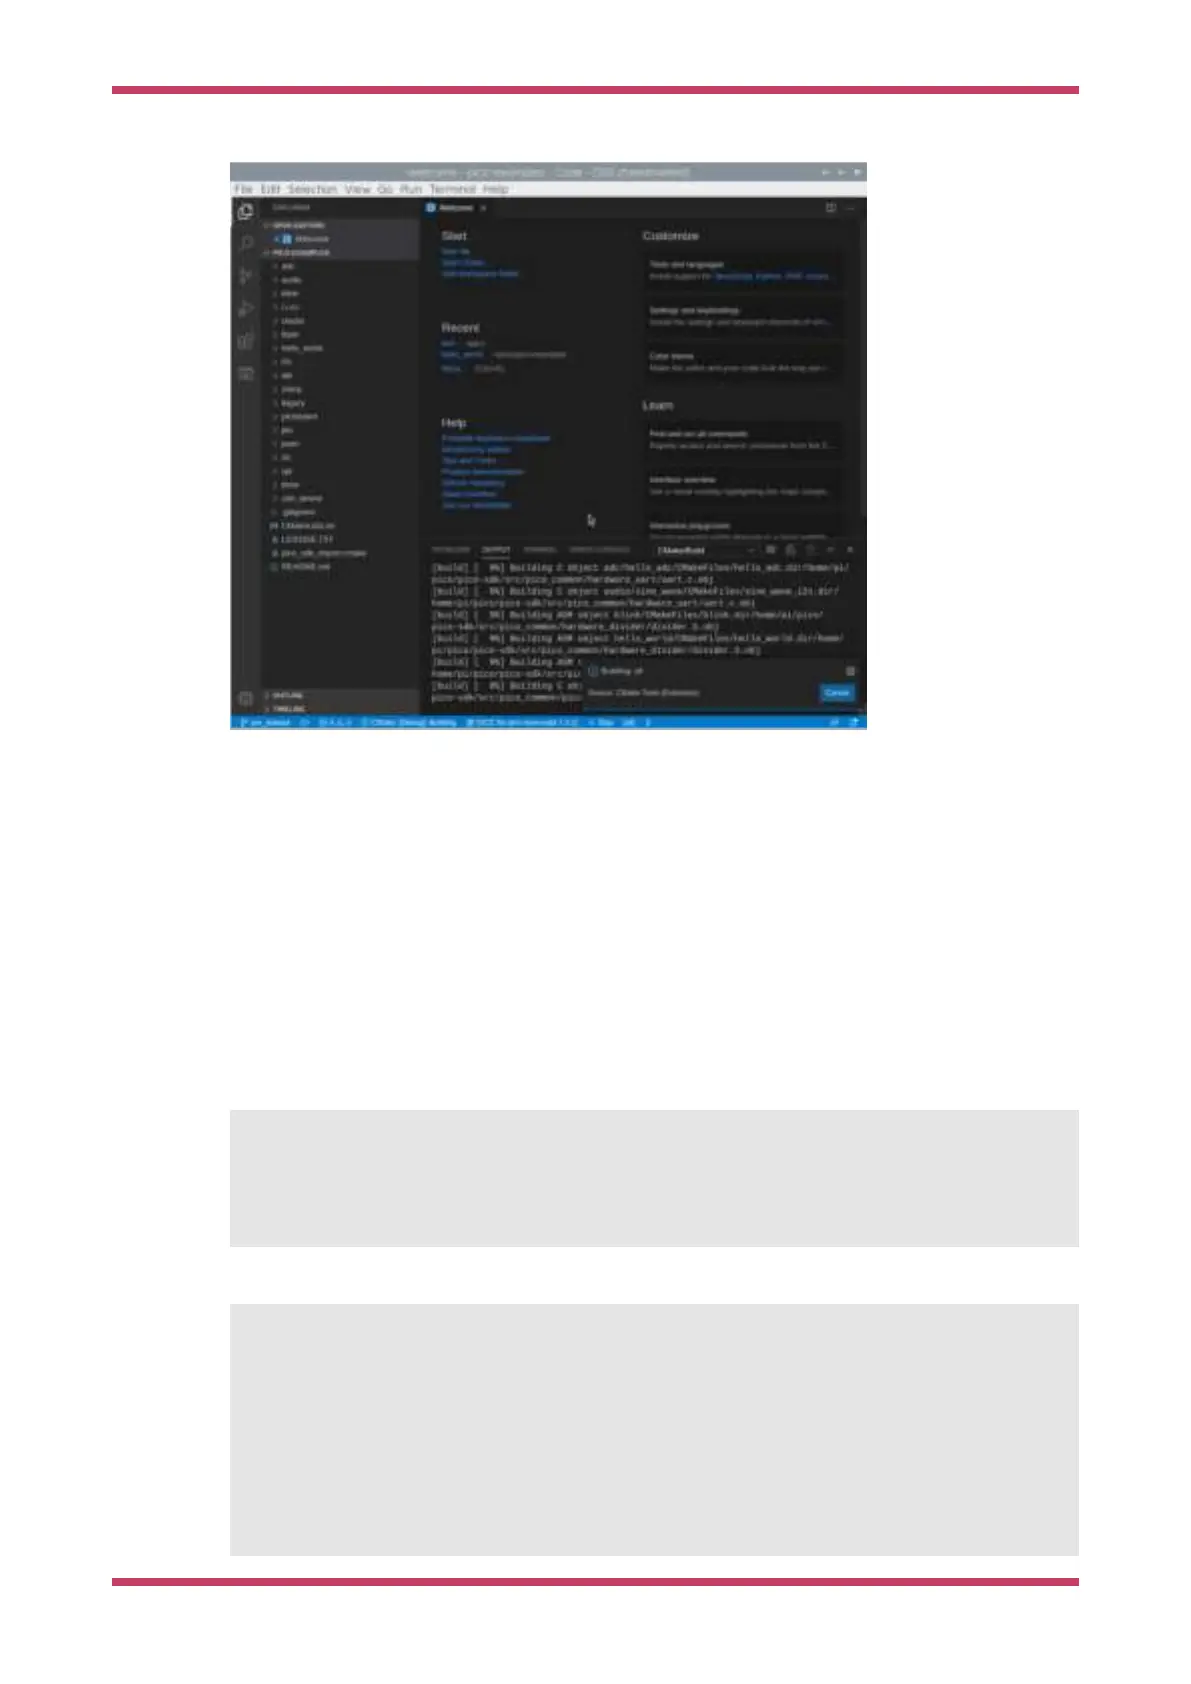
Figure 9. Building the
pico-examples
project in Visual
Studio Code
As we did from the command line previously, amongst other targets, we have now built:
•
hello_usb.elf, which is used by the debugger
•
hello_usb.uf2, which can be dragged onto the RP2040 USB Mass Storage Device
7.3. Debugging a Project
The
pico-examples repo contains an example debug configuration that will start OpenOCD, attach GDB, and finally launch
the application CMake is configured to build. Go ahead and copy this file (
launch-raspberrypi-swd.json) into the pico-
examples/.vscode
directory as launch.json. We also provide a settings.json file that we recommend you also copy. This
settings.json removes some potentially confusing options from the CMake plugin (including broken Debug and Run
buttons that attempt to run a Pico binary on the host).
$ cd ~/pico/pico-examples
$ mkdir .vscode
$ cp ide/vscode/launch-raspberrypi-swd.json .vscode/launch.json
$ cp ide/vscode/settings.json .vscode/settings.json
Pico Examples: https://github.com/raspberrypi/pico-examples/tree/master/ide/vscode/launch-raspberrypi-swd.json Lines 1 - 27
Ê1 {
Ê2 "version":
"0.2.0",
Ê3 "configurations": [
Ê4 {
Ê5 "name":
"Pico Debug",
Ê6 "cwd":
"${workspaceRoot}",
Ê7 "executable":
"${command:cmake.launchTargetPath}",
Ê8 "request":
"launch",
Ê9 "type": "cortex-debug",
10 "servertype":
"openocd",
Getting started with Raspberry Pi Pico
7.3. Debugging a Project 27

 Loading...