Page 10
Disconnecting Calls:
1. Select the desired ashing blue LED and press *, # .
2. Each call must be disconnected individually.
Note: If you hang up the handset before disconnecting each call, the LED(s) will remain illuminated. Lift the
handset, press the illuminated LED, the number 5 button, then *, #. To disconnect, hang up the handset.
Repeat for each illuminated LED.
Joining a Call Already in Progress:
1. Pick up the handset, press the red LED, then the number 5 button.
2. You will be in a three-way conversation with the outside party and location.
Calling a Location:
1. Pick up the handset and press the button for desired location.
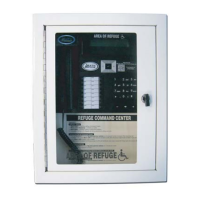
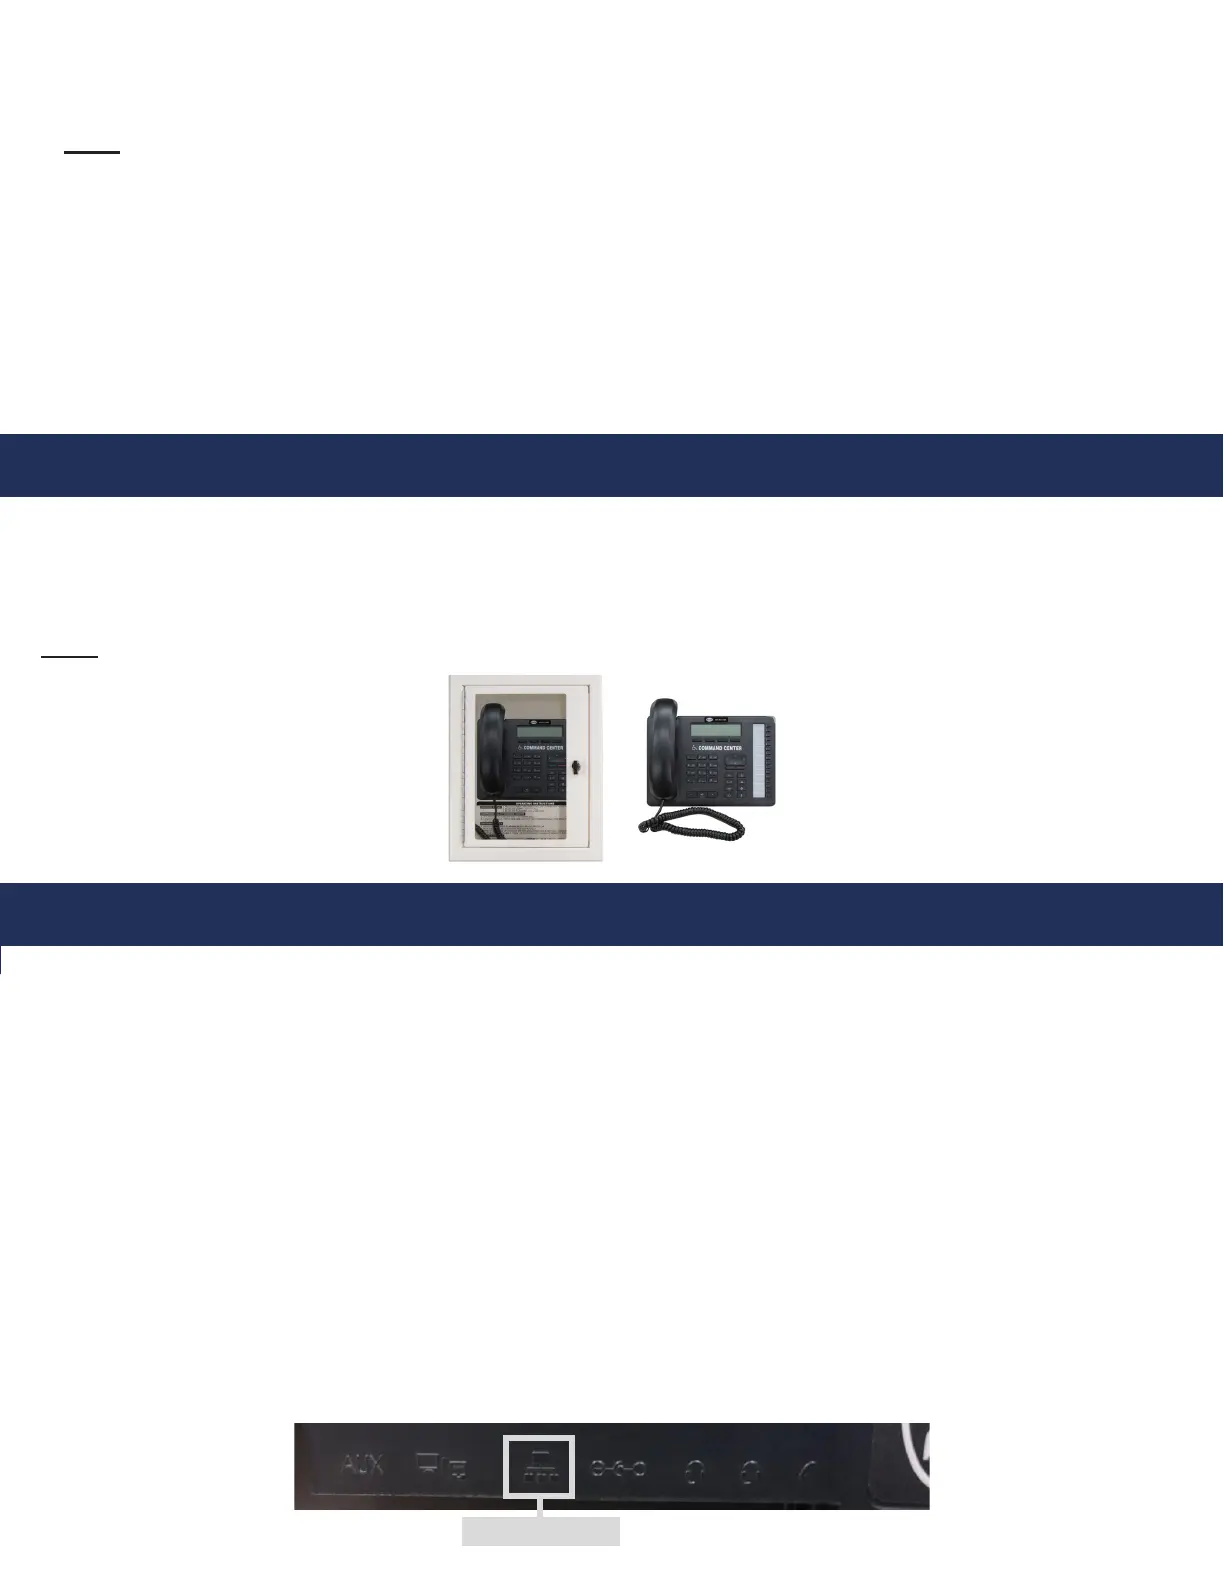
Sub-Master Phones
A RATH® Command Center System comes with a single base station phone. It can accommodate one additional
base station phone which connects to the second DKP port on the rst card. If your system includes more than two
additional base station phones, there will be an additional card of just DKP ports. The additional base station wires
will wire back to the Distribution Module the same way as the main Command Center described on page 4.
Note: If using an IP Command Center, see below for wiring and setup.
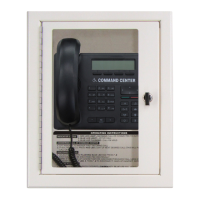
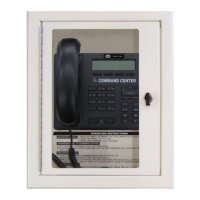
IP Command Center Phones
If using the IP Command Center Phone, run the Ethernet cable from the Ethernet port on the back of the Command
Center Phone to the network switch (do not exceed 320’ maximum wire run length). If network information is
provided to RATH® at the time of purchase, no IP information needs to be modied in the Command Center Phone.
Using the keys on the Command Center Phone:
1. Tap the MENU button.
2. Select NETWORK PARAMETERS and tap the GREEN button next to the keypad.
3. Use the arrows to scroll down to IP ADDRESS. Enter the new IP address (wait 1 second after each number
before moving on to the next). Tap the GREEN button to save.
4. Use the arrow keys to scroll down to SUBNET MASK. Enter the new Subnet Mask (wait 1 second after each
number before moving on to the next). Tap the GREEN button to save.
5. Use the arrow keys to scroll down to GATEWAY. Enter the new Gateway IP address (wait 1 second after each
number before moving on to the next). Tap the GREEN button to save.
6. Use the arrow keys to scroll down to SIP SERVER. Enter the SIP Server IP address (WAN port IP Address
entered into the Distribution Module). Tap the GREEN button to save.
7. Tap the EXIT button. Unit will reboot.
Page 11
LINE IN HERE
 Loading...