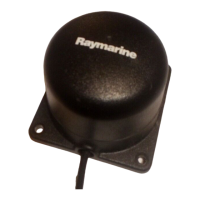
Installing the mounting socket (part no. D002)
1. Drill a 12.5 mm (
1
/
2
in) diameter hole to a depth of 25 mm (1 in) at
the fixing point you have marked on the cockpit seat.
2. If the structure at the mounting position is less than 25 mm (1 in)
thick, reinforce the underside with plywood bonded into position.
3. Install the mounting socket using a two part epoxy adhesive.
CAUTION:
As the tiller pilot is capable of generating high pushrod loads,
you MUST:
• drill holes to the specified size and reinforce where necessary
• allow the epoxy to harden completely before apply a load
Installation accessories
If you are not able to install the drive unit directly onto the cockpit seat
or tiller as described, use one (or a combination) of the following
accessories:
• pushrod extensions
• tiller brackets
• cantilever sockets
• pedestal sockets
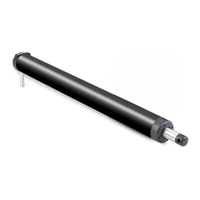
Pushrod extensions
If you need to increase the pushrod length (because of the distance
from the mounting socket location to the center line), use a
Raymarine pushrod extension.
Identifying the correct pushrod extension
1. Clamp the tiller on the boat’s center line.
2. Measure dimension C.
3. Select the appropriate pushrod extension length (and part
number) using the following table.
81131_8.book Page 52 Thursday, October 7, 2004 11:03 AM
 Loading...