4
Copyright © 2022 RCA Communications Systems www.RCACommunicationsSystems.com
Communications Systems
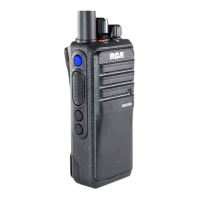
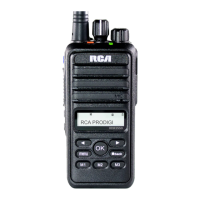
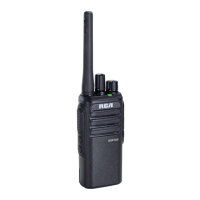
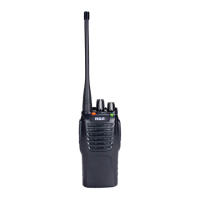
RDR23x0 Professional Digital
Two-Way Radios
INSTRUCTION MANUAL
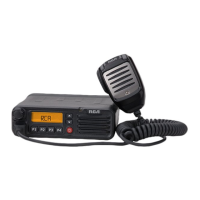
Attaching / Removing the Belt Clip
Use the 2 screws (M2.5x8.0) supplied with the radio and insert these
screws through the holes in the radio clip and into the holes in the
aluminum case. If you want to remove the clip from the radio, just
unscrew them, and remove the clip. You can put the screws back into
the radio to make sure you do not lose them. (See Figure 3)
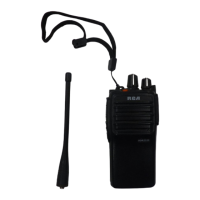
Connecting Audio Accessories
Open the cover of the connector for external speaker/MIC, and
then insert the plug of the external speaker or microphone onto the
connector socket of the radio. When screwing the accessory plug,
make sure it is properly aligned (straight) to ensure the right connection
to the connector of the radio. (See Figure 4)
4
5
6
BASIC OPERATIONS
Turn On/O the Radio
1. Rotate the On/O/Volume Control Knob
clockwise until you hear a click. The LED
blinks orange and a brief tone sounds,
indicating that the power up test is
successful. The RDR2330 & RDR2390
radio displays “RCA RDR23X0
DMR
Radio” when powered up.
2. To turn o the radio, rotate the knob
counterclockwise until you hear a click.
Note: There is no power up tone if the radio
tones/alerts function is disabled. If your
radio does not power up, check your battery.
Make sure that it is charged and properly
attached. If your radio still does not power
up, contact your RCA Communications
Systems dealer.
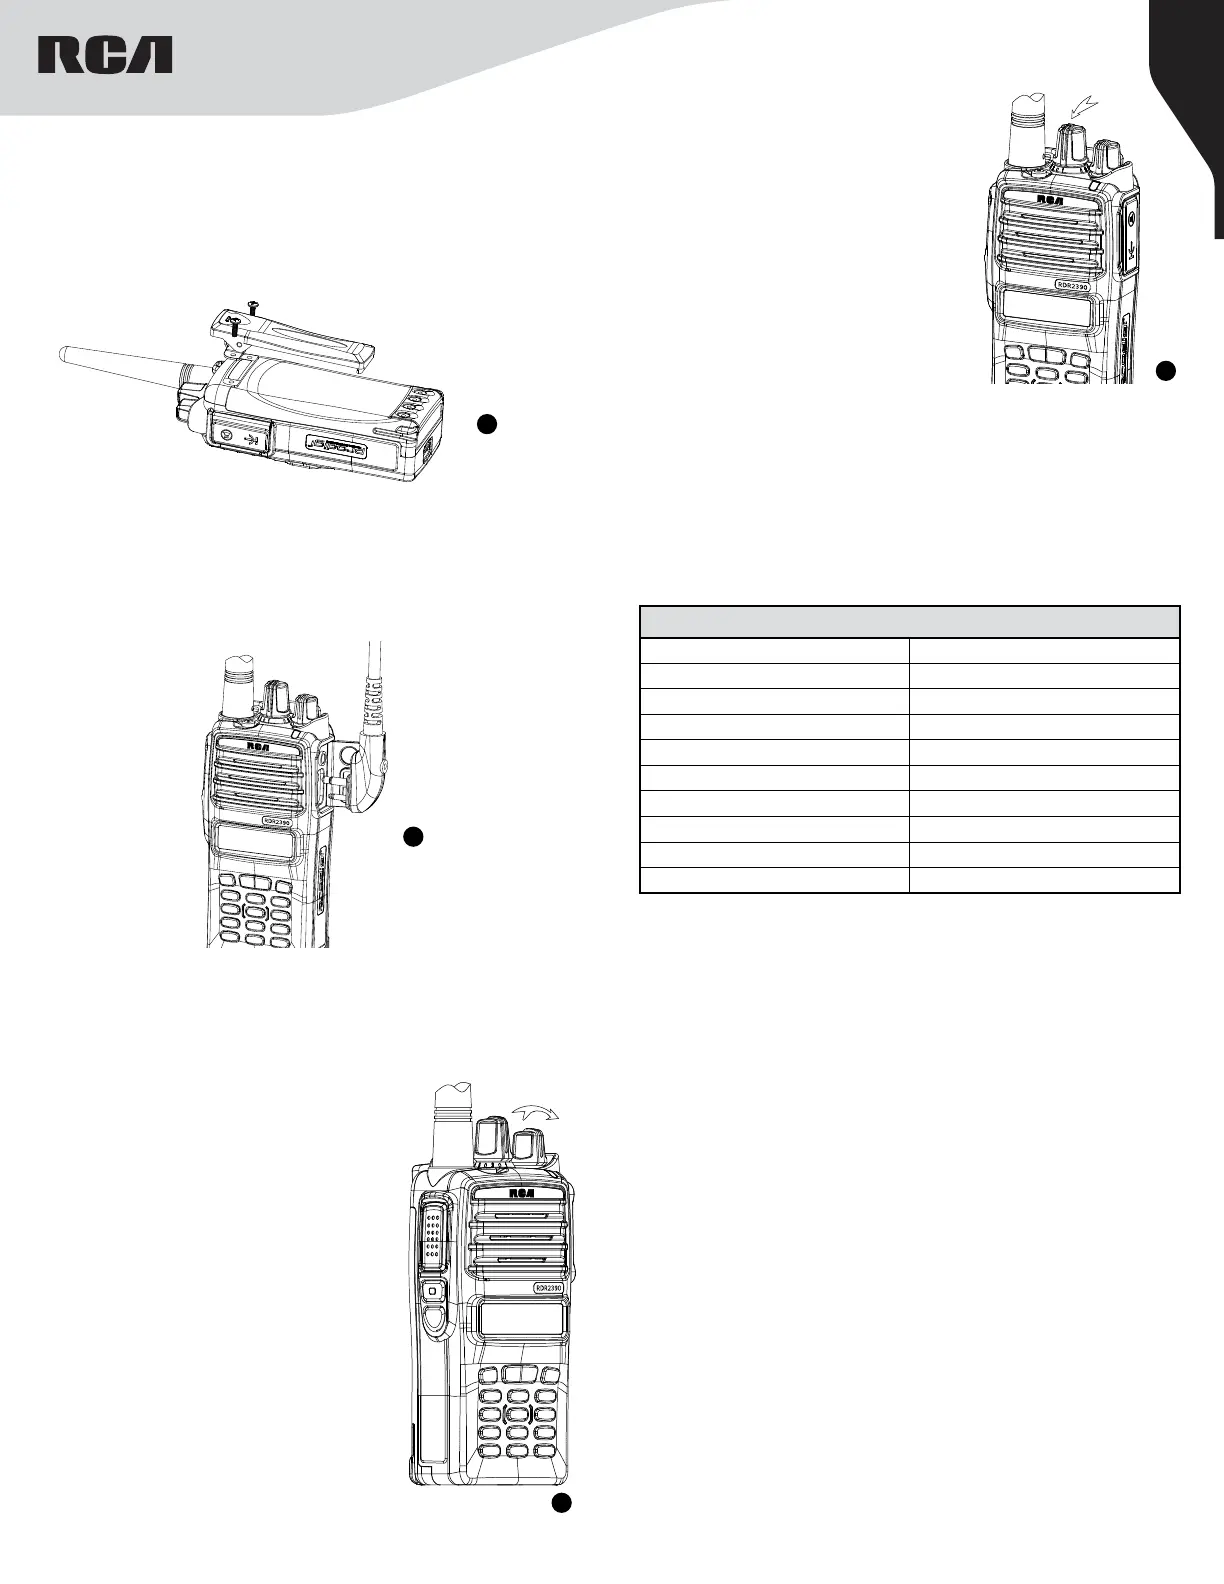
Adjusting the Volume
To increase the volume, turn the On/
O/ Volume Control Knob clockwise.
To decrease the volume, turn this knob
counterclockwise. (See Figure 5)
Select A Channel
Rotate the Channel Selector Knob to the
desired channel. or to switch between
channels. Channels can be configured as
analog or digital channel. Your radio has
features that are available in both analog
and digital mode. The minor dierences in
the way each feature works does not aect
the performance of your radio. (Figure 6)
3
Programmable Buttons
Your RCA Communications Systems Dealer can program the
programmable buttons as shortcuts to radio functions or preset
channels/groups depending on the duration of a button press:
Short Press - Press and release quickly.
Long Press - Press and hold for the programmed duration (between 1
seconds and 3.75 seconds).
Programmable Functions
All Alert Tones On/O One Touch Access 5
Emergency On One Touch Access 6
Emergency O Repeater/Talkaround
Nuisance Delete Scan On/O
High/Low Transmit Power Tight/Normal Squelch
Monitor On/O Privacy On/O
One Touch Access 1 VOX On/O
One Touch Access 2 Lone Worker On/O
One Touch Access 3 Zone Toggle (RDR2330 only)
One Touch Access 4 Battery Indicator (RDR2330 only)
All Alert Tones On/O - Toggles all tones and alerts on or o.
Emergency On - Initiates an emergency alarm or call.
Emergency O - Cancels an emergency alarm or call.
Nuisance Delete - Temporarily removes an unwanted channel, except the
Selected Channel, from the scan list. The Selected Channel refers to the
user’s selected zone/channel combination from which scan is initiated.
High/Low Transmit Power - Toggles transmit power level between high
and low.
Monitor On/O - Monitors a selected channel for activity.
One Touch Access - Directly initiates a predefined Private or Group Call,
a Call Alert or a Quick Text message.
Scan On/O - Toggles scan on or o. Tight/Normal Squelch -
Toggles squelch level between tight and normal squelch levels.
Privacy On/O - Toggles privacy (basic voice encryption) on or o.
VOX On/O - Toggles Voice Activated Function on or o.
Lone Worker On/O - Toggles Lone Worker feature On or O, on per
channel basis.
Zone Toggle (RDR2330) - Toggles between Channel Zone 1 and Channel
Zone 2.
Battery Indicator (RDR2330) - Indicates battery charge level, low,
medium or high.
 Loading...