- 23 -
3.
Press or button to select Wired, then press OK
button. The IP Settings screen appears. If the network
connection is active, Link Up appears next to Link
Status. If the network connection is not active, Link
Down displays next to Link Status.
4. Press or button to select IP Mode, then
press OK button.
5. Press or button to select an IP Mode. You
can select:
• Dynamic — Uses DHCP to automatically obtain
an IP address.
• Manual — Lets you manually confi gure network
settings, such as IP address, subnet mask, and
gateway settings.
• O — Disables the network interface.
6. Press
or EXIT button to go to the previous
menu.
Network Test
Selecting the Network Test will cause the player to
attempt to communicate with your home network,
and if successful, with a known internet address.
If both attempts are successful, your network
connection should be good. If the player can
successfully connect to your home network, but not
to the known internet address, your internet service
may be “down”, or your security fi rewall may be
blocking access of the player to the internet.
Network Settings
1. In the main menu of Settings, press button,
then use or button to select Network.
2. Press button.
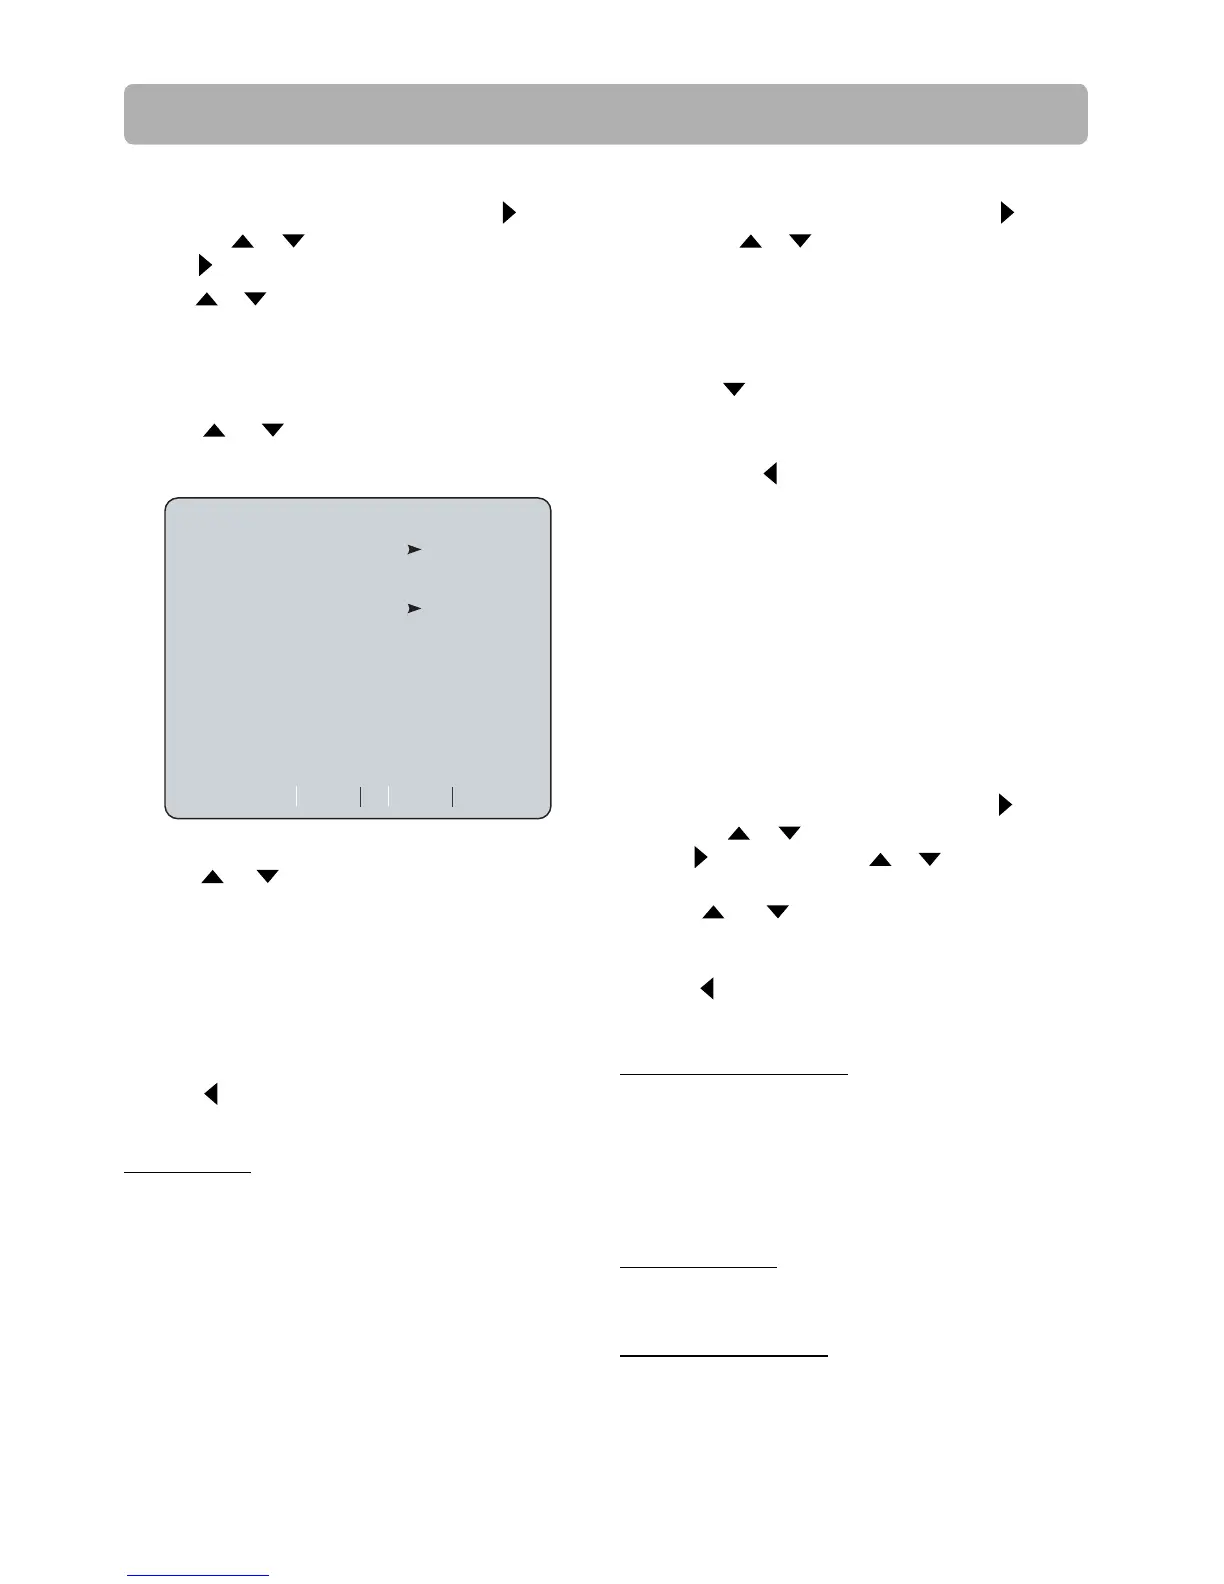
IP Settings
Link Status
MAC Address
IP Mode
IP Address
Subnet Mask
Gateway
Primary DNS
Secondary DNS
Link Down
xx:xx:xx:xx:xx:xx
Dynamic
0.0.0.0
0.0.0.0
0.0.0.0
0.0.0.0
0.0.0.0
Apply
Cancel
The Settings Menu
BD-Live Internet Access
• Limit Access — Allows Internet access with valid
“BDLive” network access approval.
• Always Allow Access — Always allows BD-Live
Internet access.
• Prohibit Access — Never allows BD-Live Internet
access.
BD-Live Storage
The available storage space is displayed next to BD-
Live Storage.
Erase Blu-ray Storage
If you choose OK to erase Blu-ray storage, all
bookmarks and BD-Live content saved in memory
will be deleted.
BD-Live
1. In the main menu of Settings, press button,
then use or button to select BD-Live.
2. Press button and press or button to select
an option, then press OK button.
3. Press or buttons to select the desired
option, and then press OK button to confi rm
your selection.
4. Press or EXIT button to go to the previous
menu.
Quick Setup
1. In the main menu of Settings, press button,
then use
or button to select Quick Setup,
and then press OK to confi rm.
2. Press OK to perform Quick Setup.
To exit the setup menu:
• Use
button to highlight “No thanks. I’ll go
through the full setup menu later”, and then
press OK.
• Or press
button directly.
3. Follow the on-screen instructions to customize
the following settings to your preference:
• Player Menu Settings • Resolution
• TV Aspect
4. After fi nishing all settings, select Exit and press
OK to exit the setup.
(Please see page14 for details.)
 Loading...