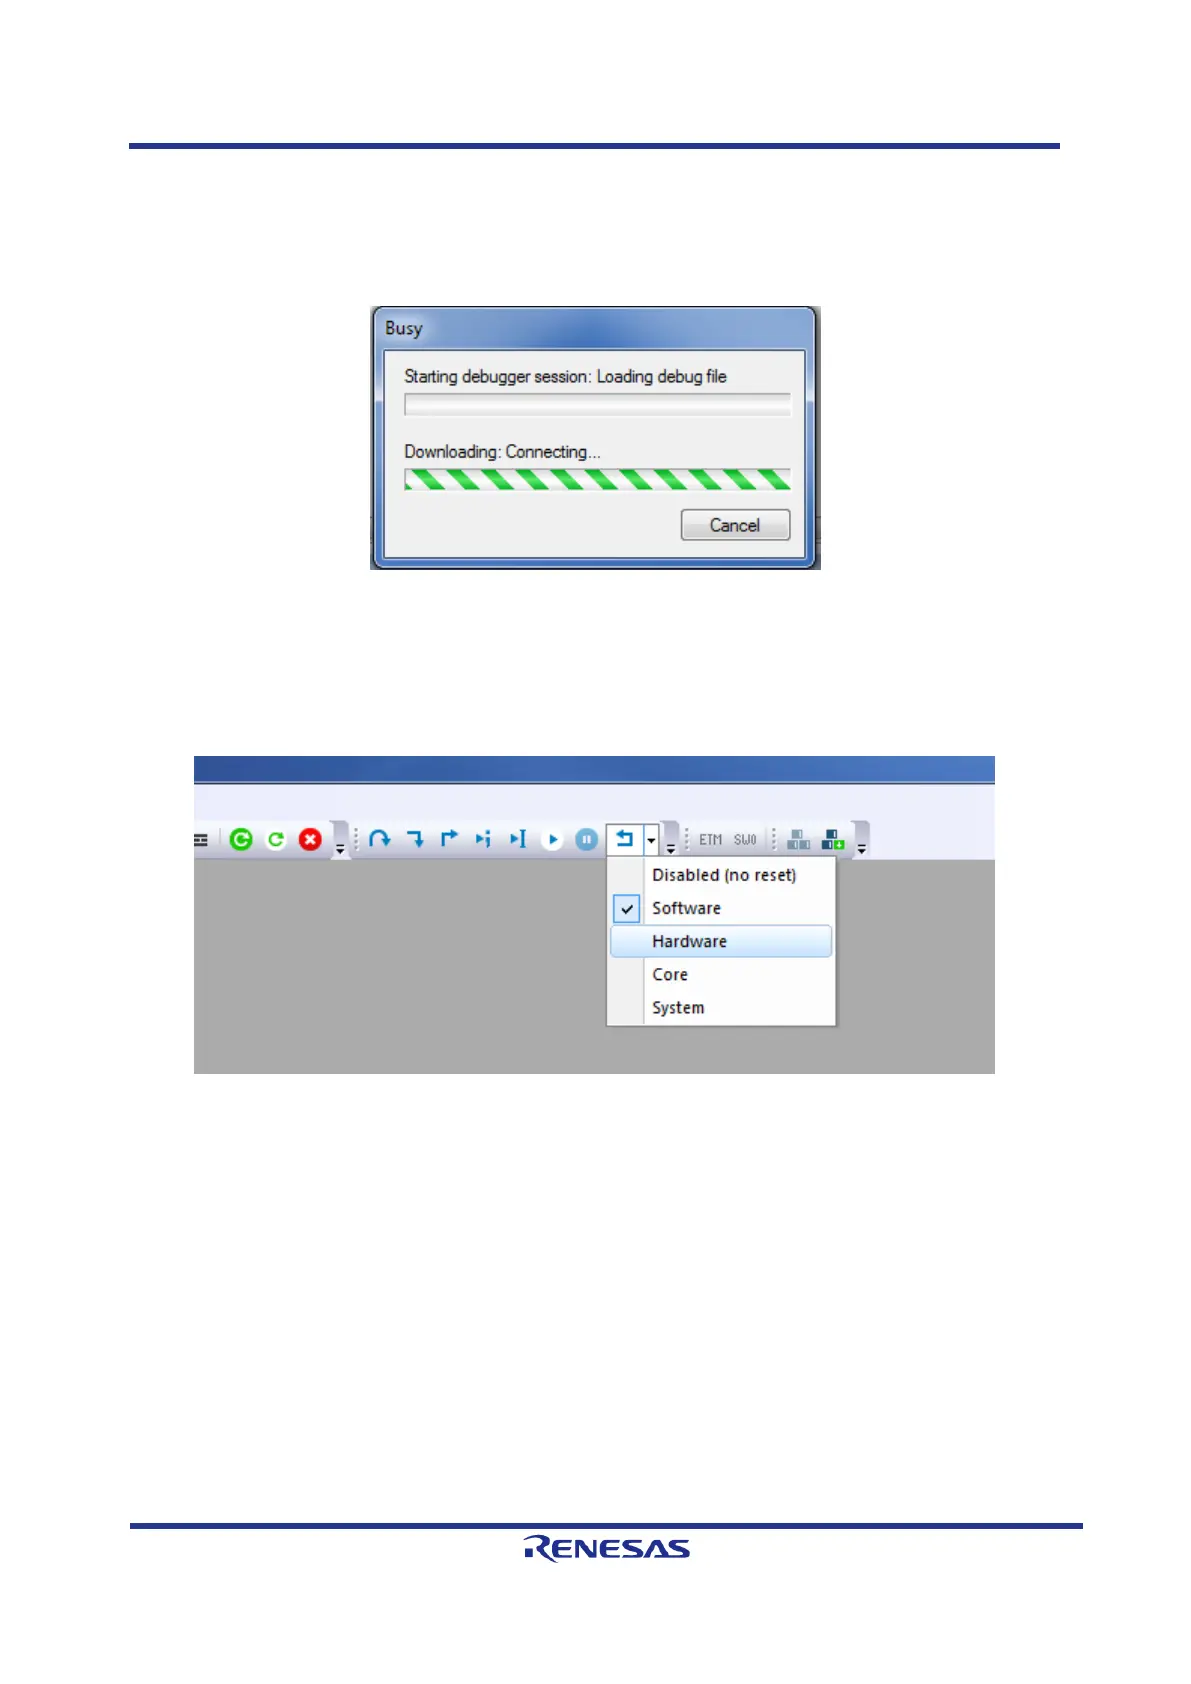
a. Compile the project via “Project/Compile” or “Project/Rebuild all”.
b. Press and hold the devices software-reset button.
c. Click on “Download and Debug” and release the software-reset button as soon as the
“Busy” window opens.
Figure 3-4: IAR Workbench "Busy"-Window
9. Follow these steps for the Debug-ROM configuration
a. Click on “Download and Debug”.
b. Set reset mode to “Hardware” and press “Make & Restart Debugger”.
c. Check, if the reset mode is still on “Hardware”. If not, repeat the previous step.
Figure 3-5: Changing Reset mode of RZ/N1L in Debug-ROM configuration
After the Debug view opened, click on the “Go” button.
3.5.3 Core To Core variant – RZ/N1D (Communication Core)
The binary file for the CM3 core is located at the board type related IAR Embedded Workbench folder
goal\projects\goal_pnio_rpc\00_goal_rpc\ respectively
goal\projects\goal_pnio_rpc\00_goal_rpc_demo\.
Load the binary file to the flash according to the following steps.
1. Connect a Linux PC to the board according to section 3.2.
2. Power up the board.
3. Open a serial terminal according to section 3.2.
4. Hit any key to stop the autoboot of the U-Boot
5. Type “dfu” in the serial terminal of the board and hit enter.

 Loading...