25
Start-Up
5.8.1 Measurement Device Set-Up
1. With an R-410A gauge set, attach the high-
pressure hose to the access fitting on the liquid
line (small) service valve at the OD unit.
2. Attach the low-pressure hose to the exterior
suction port located between the two service
valves that is connected to the suction tube
between the reversing valve and compressor.
3. Attach a temperature probe within 6" [15.2 cm]
of the outside of the unit on the copper liquid line
(small line). For more accurate measurements,
clean the copper line prior to measurement and
use a calibrated clamp-on temperature probe or an
insulated surface thermocouple.
5.8.2 Preliminary Charging by Weight
NOTICE: Adjust the system charge by weight for the
linear length of the refrigerant line set.
For a new installation, evacuation of inter-connecting
tubing and indoor coil is adequate; otherwise, evacuate
the entire system. Use the factory charge shown in
“Electrical and Physical Data” in Section 3.2 of these
instructions or on the unit data plate. Note that the
charge value includes charge required for 15 ft. [4.6 m]
of standard-size liquid line without a filter drier.
Calculate actual charge required with the actual
installed liquid line size and length using:
1/4" [6.4 mm] O.D. = .3 oz./ft. [28.3 g/m]
5/16" [7.9 mm] O.D. = .4 oz./ft. [37.7 g/m]
3/8" [9.5 mm] O.D. = .6 oz./ft. [56.7 g/m]
1/2" [12.7 mm] O.D. = 1.2 oz./ft. [113.3 g/m]
Add 6 oz. [170 g] for field-installed filter drier.
Charge Adjustment = (Line Set (oz./ft.) x Total
Length) – Factory Charge for Line Set
Example: A three ton heat pump unit with factory
installed 3/8” liquid service valve requires 75 ft. of line
set with a liquid line diameter of 1/2”.
Factory Charge for Line Set = 15 ft. × .6 oz. = 9 oz.
Charge Adjustment = (1.2 oz. × 75 ft.) – 9 oz. =
+ 81 oz.
With an accurate scale (+/– 1 oz. [28.3 g]) or volumetric
charging device, adjust the refrigerant charge based on
the actual line set length. If the entire system has been
evacuated, add the total calculated charge.
IMPORTANT: Charging by weight is
not always accurate since the application can affect
the optimum refrigerant charge. Charging by weight
is considered a starting point ONLY. Always check
the charge by using the Charging Chart and adjust as
necessary. CHARGING BY LIQUID SUBCOOLING
PER THE SYSTEM CHARGING CHART MUST BE
USED FOR FINAL CHARGE ADJUSTMENT.
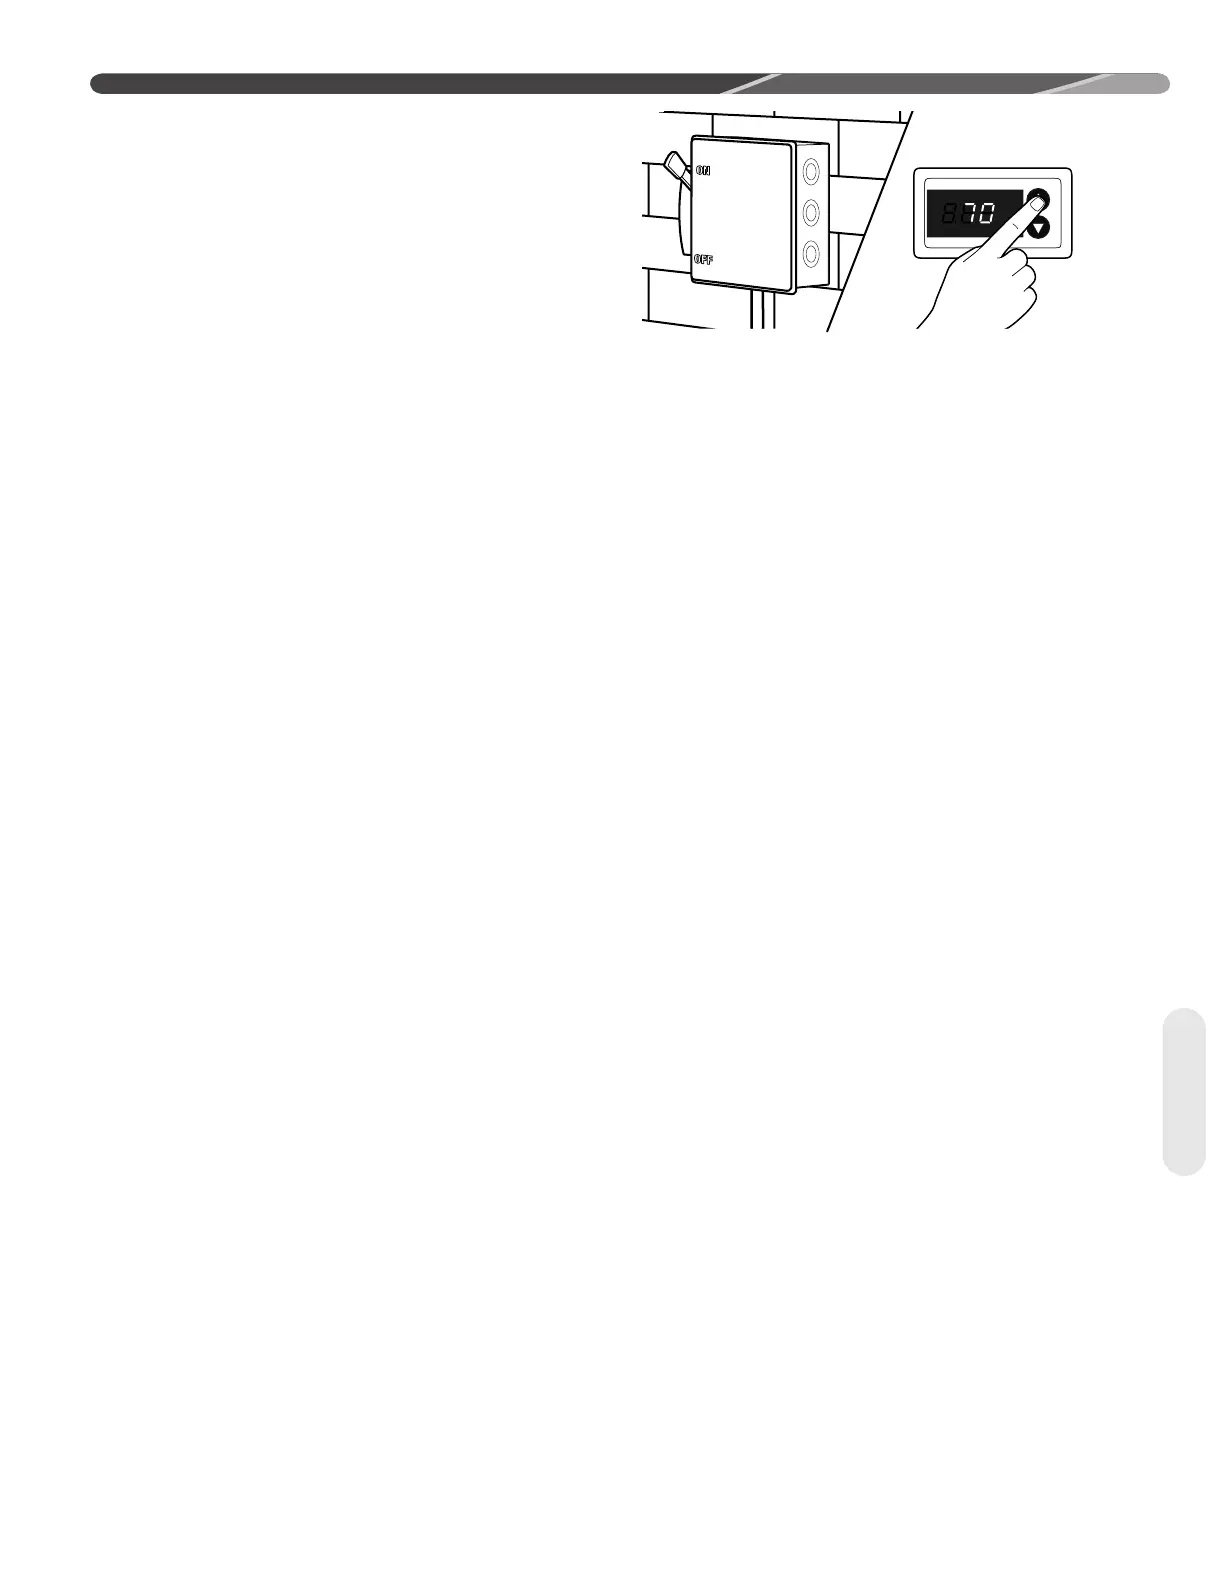
Figure 29: Run the Unit for 15 Minutes
IMPORTANT: R-410A is a blended refrigerant of
R-32 and R-125 (50/50). These two refrigerants have
different saturation curves and therefore change state
at different pressures and temperatures. If charge is
added to the system in the vapor state, it is possible
to have a disproportionate amount of each part of the
R-410A blend which will cause unstable and inefficient
operation. Therefore, it is critical to add R-410A in the
liquid form only!
5.8.3 Preliminary Charging by
Pressures (Optional)
1. Following airflow verification and charge weigh-in,
run the unit for a minimum of 15 minutes prior to
noting pressures and temperatures.
IMPORTANT: Indoor conditions as measured
at the indoor coil must be within 2°F [1.1°C]
of comfort conditions per the homeowner's
preference.
NOTICE: If the indoor temperature is above
or below this range, run the system to bring the
temperature down or run the electric heat/furnace
to bring the temperature up to within this range.
2. Note the Outdoor Dry Bulb Temperature, ODDB° =
_____°F [°C]. Unit charging is recommended under
the following outdoor conditions ONLY:
Cooling Mode ONLY: 55°F [12.8°C] outdoor dry bulb
and above.
Heating Mode ONLY: Between 40°F [4.4°C] and 60°F
[15.6°C] outdoor dry bulb
3. Locate and note the design pressures. The correct
liquid and vapor pressures are found at the
intersection of the installed system and the outdoor
ambient temperature on the Charging Chart located
inside the access panel cover.
Liquid Pressure: = ______psig [kPa]; Vapor Pressure =
______psig [kPa]
NOTICE: The refrigerant pressures provided are for
preliminary charge check ONLY. These pressure values
are typical, but may vary due to application. Evaporator
load (indoor coil in cooling mode/outdoor coil in heating
mode) will cause pressures to deviate. The values
listed are for the correct matched indoor coil ONLY!
4. If the measured liquid pressure is below the listed
requirement for the given outdoor and indoor
conditions, add charge. If the measured liquid
pressure is above the listed requirement for the
 Loading...