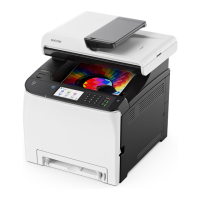
RICOH SP C250SF/SP C252SF Color Multifunction Printers
Getting Started Guide
39
4.2.3 Perform Network Scan to Folder
You are now ready to scan a document…
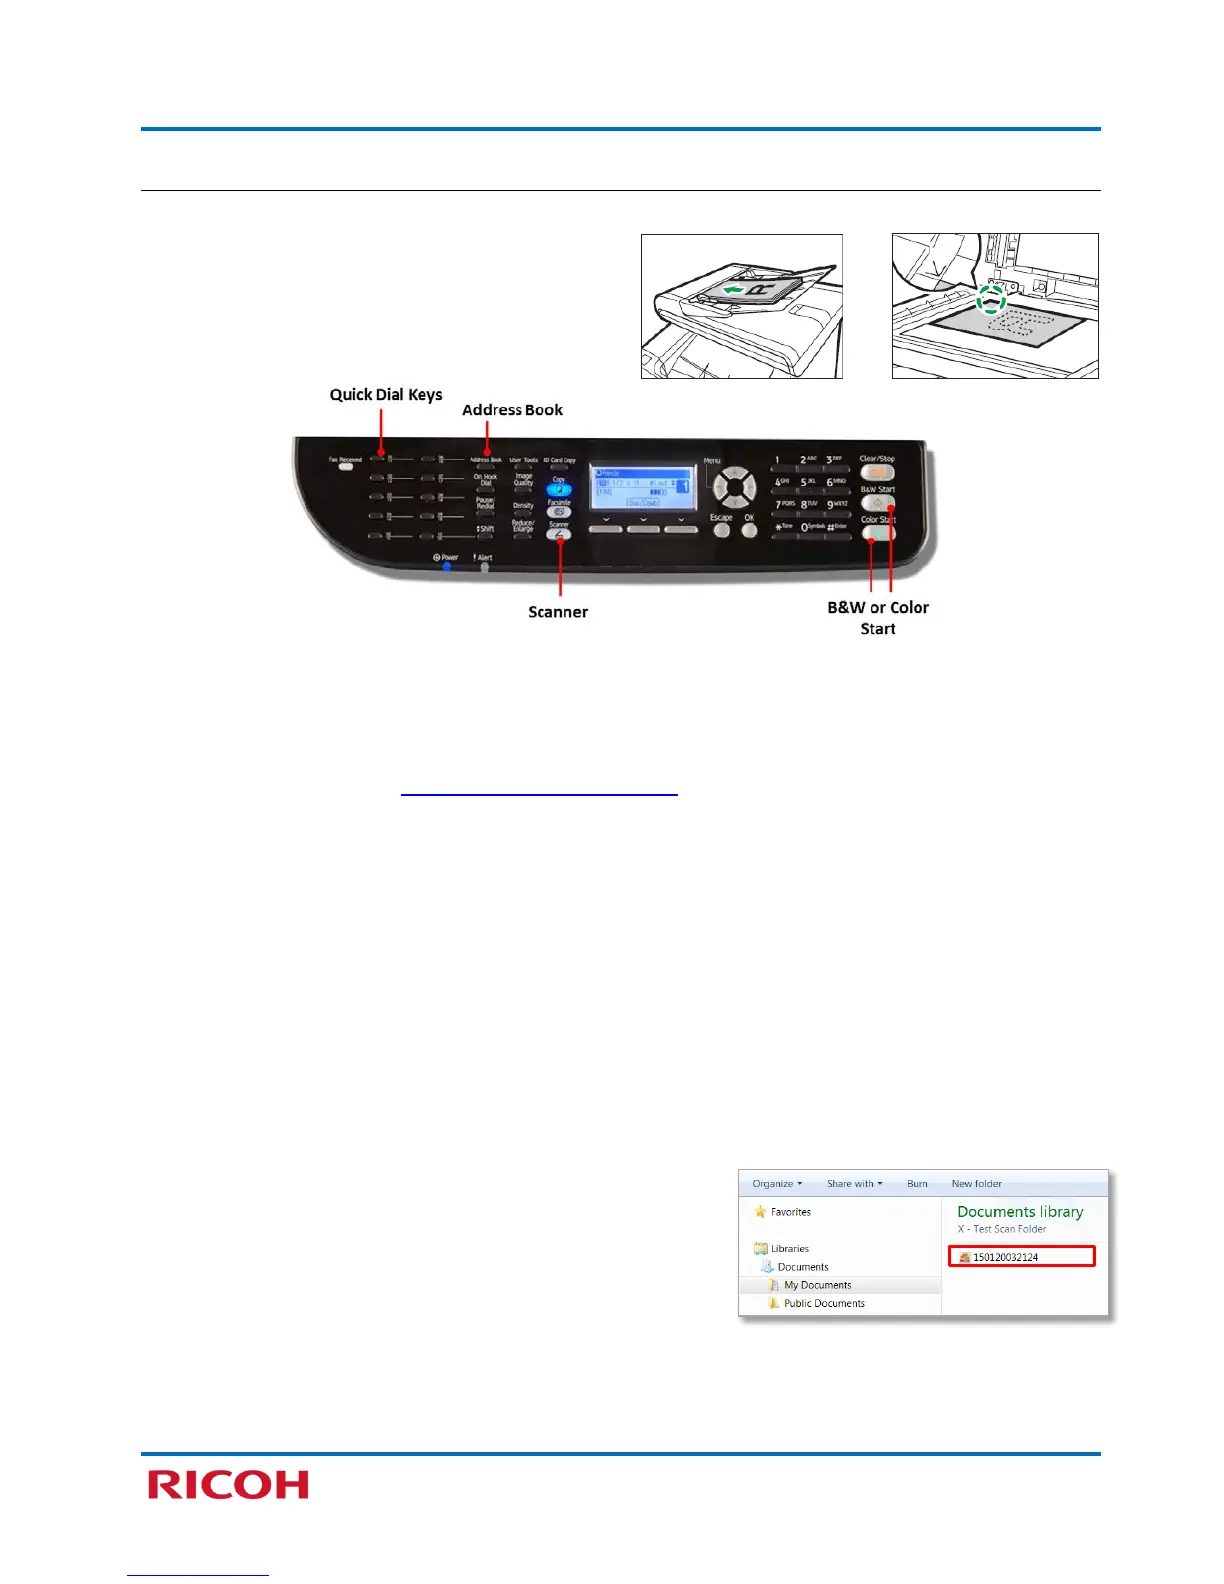
1. Place original face up on ADF or face
down on platen glass.
2. Press [Scanner].
3. If necessary, select Scan Settings, resolution, scan size, etc.
Important:
• For details on specifying scan settings, please refer to the Operating Instructions, p136.
• The default file format, e.g., PDF, is selected via Web Image Monitor, not via the printer’s control
panel. If necessary, see 4.2.2 Register Scan Destination
.
4. Proceed with (a) or (b).
(a) Quick Dial – If the scan destination (folder) was pre-programmed as a Quick Dial, simply press that
key, e.g., 01, and continue with step 8.
(b) Search – If you wish to search the Address Book for scan destinations, continue with step 5.
5. Press [Address Book].
6. Press [OK] to Search Address Book.
Note: If you want to search for a specific entry by name, enter the first letters of the name using the
numeric keypad, and then press [OK].
7. Select Scan Destination (Folder), e.g., Invoices, and press [OK].
Note: If necessary, press [] or [].
8. Press [Start].
Note:
• To view the scanned file, navigate to the folder, and
double-click the filename.
• The steps outlined above also apply if Email and FTP
locations are added to Scan Destinations. For details,
please refer to the Operating Instructions, p129.
 Loading...