22
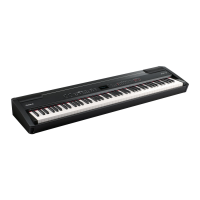
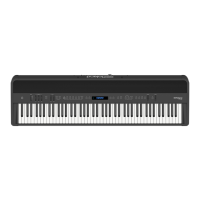
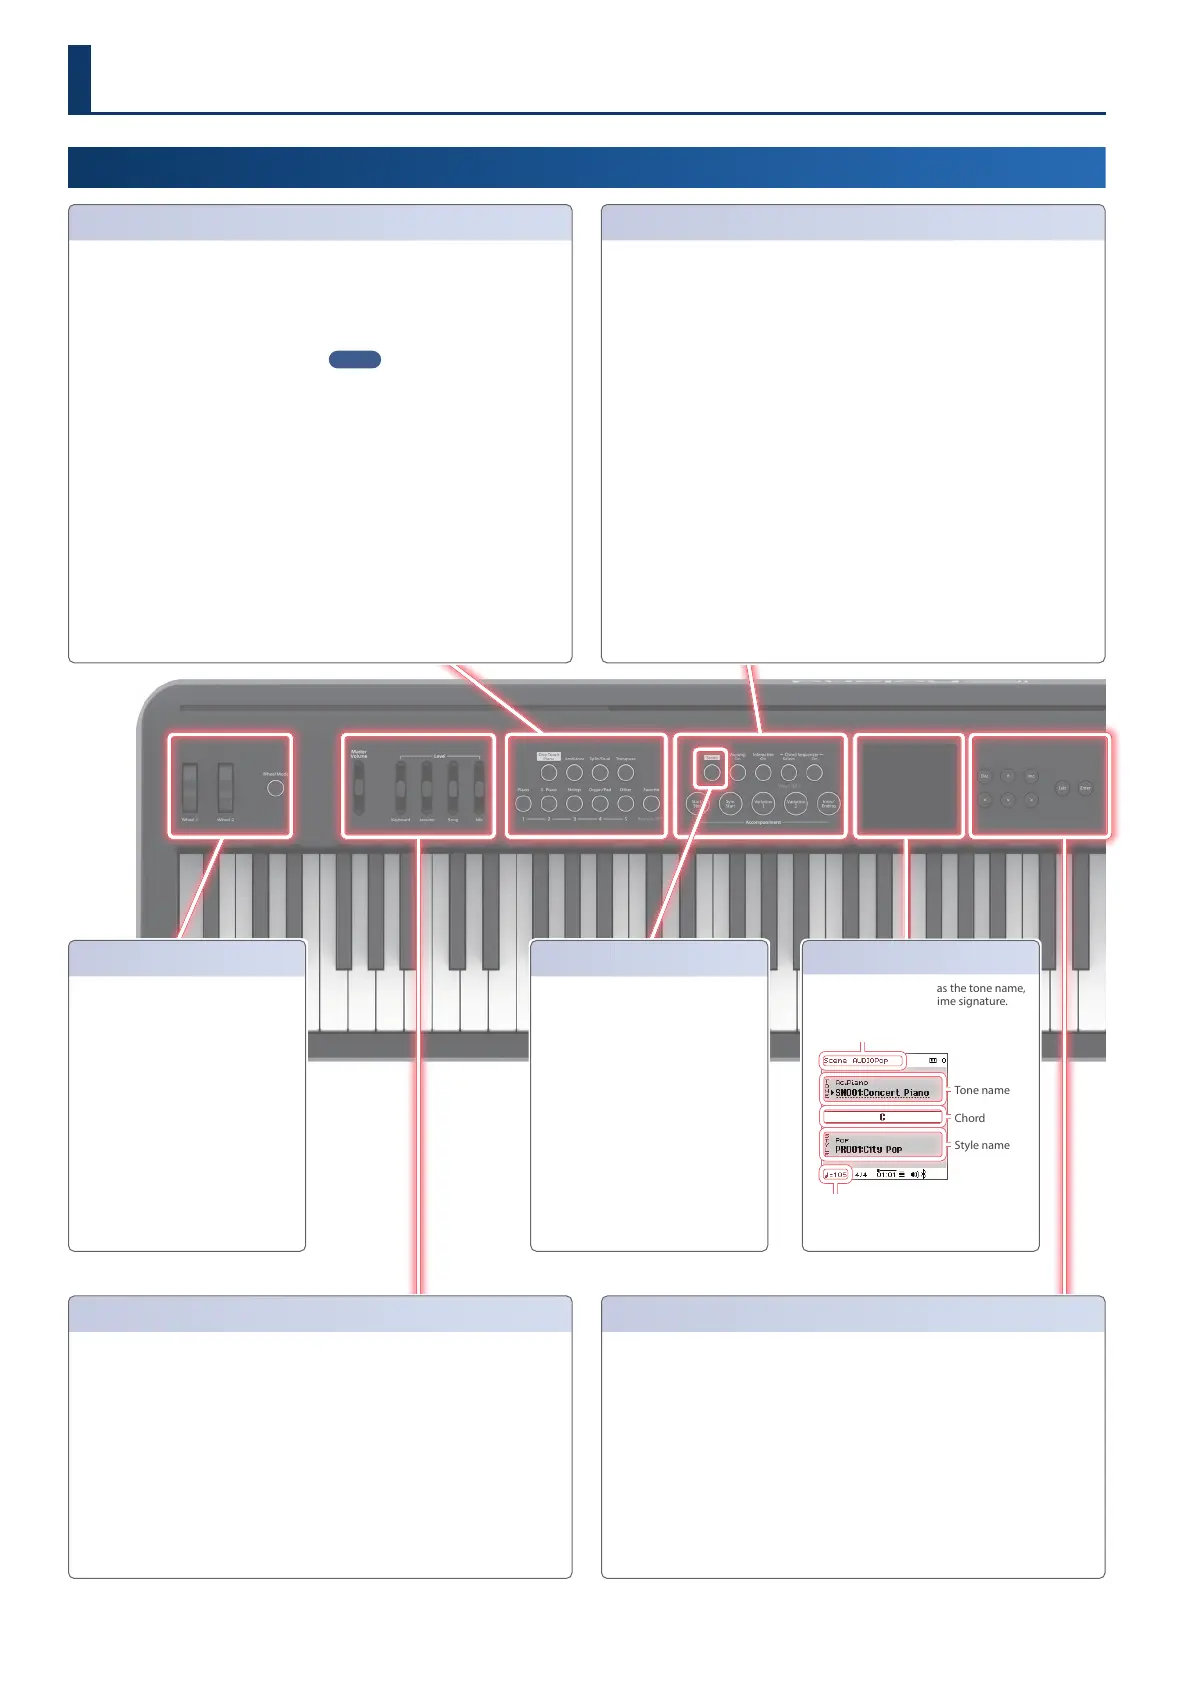
Top Panel
Panel Descriptions
*1: Long-press the button to switch to the settings screen.
Display
Shows information such as the tone name,
style name, tempo, and time signature.
Tempo
Tone name
Chord
Style name
Scene name
Tone
(Keyboard part)
[One Touch Piano]
button
Use this when you want to switch to playing a
piano tone only.
This switches the keyboard mode to “single”.
[Ambience]
button (*1)
Turns the ambience on/off.
[Split/Dual]
button
(*1: only when button is lit)
Press the [Split/Dual] button to cycle between
the settings in order: “Single” Ó “Split” Ó
“Dual”.
Split: You can play different tones in the areas
at the left and right of a specified key. For
example, you can use your left hand to play
a bass tone and use your right hand to play
a piano tone.
Dual: You can play two tones simultaneously
from a single key.
[Transpose]
button
To transpose the key in semitones, hold down
the [Transpose] button and press the [Dec]
and [Inc] buttons.
(only the notes you play on the keyboard are
transposed)
MEMO
You can also change the keyboard transpose
setting by holding down the [Transpose] button
and pressing the note that will be the tonic
(root note) of the transposed key.
[Piano]
[E.Piano]
[Strings]
[Organ/
Pad]
[Other]
buttons
Use these buttons to select the tones in each
category.
[Favorite]
button
Recalls your favorite tones.
Long-press the button to show the screen for
registering the favorites.
Accompaniment
(Accomp part)
[Accomp On]
button (*1)
Turns the accompaniment parts on/off except
for the drums.
Turning this off mutes all accompaniment
parts except for the drums.
[Interactive On]
button (*1)
Turns the interactive function on/off (p. 6).
Chord Sequencer
[Select]
button
Selects the chord progression pattern
number for the chord sequencer.
* Long-press the Chord Sequencer [Select]
button to show the chord progression
screen.
Chord Sequencer
[On]
button (*1)
Turns the chord sequencer on/off.
When this is on, the auto-accompaniment
plays back according to the chord pattern,
even if you don’t use the keyboard to specify
a chord.
[Start/Stop]
button
Starts/stops the auto-accompaniment.
[Sync Start]
button
The auto-accompaniment starts at the same
time that you start playing the keyboard.
[Variation 1]
[Variation 2]
button
Changes the mood of the accompaniment.
Variation 1: Plays a more relaxed
accompaniment.
Variation 2: Plays a more lively
accompaniment.
[Intro/Ending]
button
If you press this button while the auto-
accompaniment is stopped, the auto-
accompaniment starts from the intro plays.
If you press this button while you play the
keyboard, the auto-accompaniment plays the
ending and then ends.
Wheel
You can apply effects to the tones.
[Wheel 1]
[Wheel 2]
wheel
These operate as pitch bend and
modulation wheels.
[Wheel Mode]
button (*1)
When this is on (the button is lit), you can
use the wheels as assignable controllers.
Slider
Use the [Master Volume] slider to adjust the overall volume.
The individual Level sliders adjust the balance.
[Master Volume]
slider
Adjusts the speaker volume when you are
using this instrument’s speakers, as well as
the headphones volume when headphones
are connected.
Level
[Keyboard]
slider
Adjusts the volume of what you play on the
keyboard.
Level
[Accomp]
slider
Adjusts the auto-accompaniment volume.
Level
[Song]
slider
Adjust the volume of the song player.
Level
[Mic]
slider
Adjusts the volume of the microphone
(Input jack).
Basic Operation
[Inc]
[Dec]
button
Changes the values. Hold down the buttons
to make the value change continuously.
Press the other button when changing the
value continuously to make the value change
quickly.
Press the two buttons together to go back to
the initial value.
[ää]
[åå]
[çç]
[ææ]
buttons
Selects the parameters to set. Hold down the
buttons to move the cursor continuously.
Press another one of these buttons while
moving the cursor continuously to make the
cursor move quickly.
[Enter]
button
Confirms the operation.
When the cursor is positioned at “Tone” or
“Style” in the Tone screen, press the [Enter]
button to show the list screen.
[Exit]
button
Cancels the operation.
This button is also used when exiting a screen
or closing a window.
Scene
[Scene]
button
Saves the tone and performance-related
settings as a “scene”.
Switch between scenes to quickly recall
the settings you’ve saved. When you save
the scene, long-press the [Scene] button.
See the Reference Manual (web) for
details on the settings that are stored in
the scenes.
 Loading...