16
Jun. 2001 RD-700
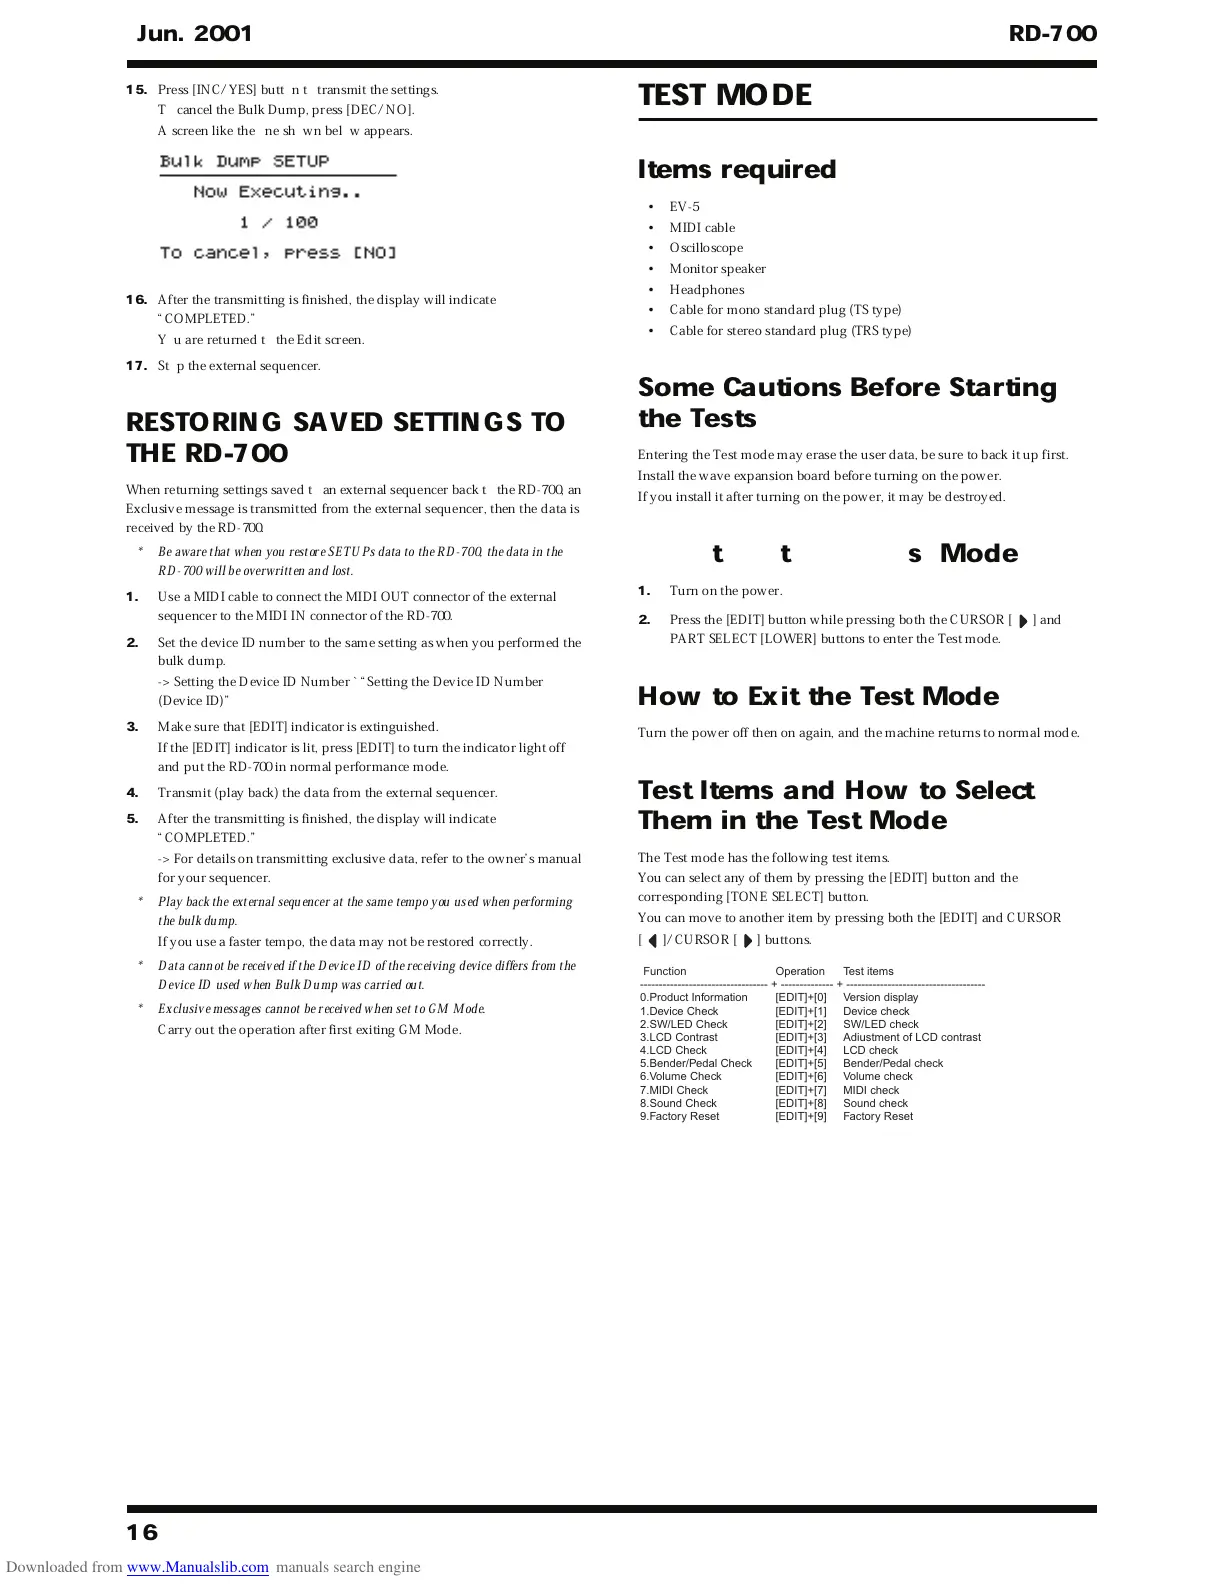
15.
Press [INC/YES] button to transmit the settings.
To cancel the Bulk Dump, press [DEC/NO].
A screen like the one shown below appears.
fig.05-36-2
16.
After the transmitting is finished, the display will indicate
“COMPLETED.”
You are returned to the Edit screen.
17.
Stop the external sequencer.
RESTORING SAVED SETTINGS TO
THE RD-700
When returning settings saved to an external sequencer back to the RD-700, an
Exclusive message is transmitted from the external sequencer, then the data is
received by the RD-700.
* Be aware that when you restore SETUPs data to the RD-700, the data in the
RD-700 will be overwritten and lost.
1.
Use a MIDI cable to connect the MIDI OUT connector of the external
sequencer to the MIDI IN connector of the RD-700.
2.
Set the device ID number to the same setting as when you performed the
bulk dump.
-> Setting the Device ID Number ` “Setting the Device ID Number
(Device ID)”
3.
Make sure that [EDIT] indicator is extinguished.
If the [EDIT] indicator is lit, press [EDIT] to turn the indicator light off
and put the RD-700 in normal performance mode.
4.
Transmit (play back) the data from the external sequencer.
5.
After the transmitting is finished, the display will indicate
“COMPLETED.”
-> For details on transmitting exclusive data, refer to the owner’s manual
for your sequencer.
* Play back the external sequencer at the same tempo you used when performing
the bulk dump.
If you use a faster tempo, the data may not be restored correctly.
* Data cannot be received if the Device ID of the receiving device differs from the
Device ID used when Bulk Dump was carried out.
* Exclusive messages cannot be received when set to GM Mode.
Carry out the operation after first exiting GM Mode.
TEST MODE
Items required
• EV-5
• MIDI cable
• Oscilloscope
• Monitor speaker
• Headphones
• Cable for mono standard plug (TS type)
• Cable for stereo standard plug (TRS type)
Some Cautions Before Starting
the Tests
Entering the Test mode may erase the user data, be sure to back it up first.
Install the wave expansion board before turning on the power.
If you install it after turning on the power, it may be destroyed.
How to Enter the Test Mode
1.
Turn on the power.
2.
Press the [EDIT] button while pressing both the CURSOR [ ] and
PART SELECT [LOWER] buttons to enter the Test mode.
How to Exit the Test Mode
Turn the power off then on again, and the machine returns to normal mode.
Test Items and How to Select
Them in the Test Mode
The Test mode has the following test items.
You can select any of them by pressing the [EDIT] button and the
corresponding [TONE SELECT] button.
You can move to another item by pressing both the [EDIT] and CURSOR
[ ]/CURSOR [ ] buttons.
fig.testitem-e
Function Operation Test items
---------------------------------- + -------------- + -------------------------------------
0.Product Information [EDIT]+[0] Version display
1.Device Check [EDIT]+[1] Device check
2.SW/LED Check [EDIT]+[2] SW/LED check
3.LCD Contrast [EDIT]+[3] Adiustment of LCD contrast
4.LCD Check [EDIT]+[4] LCD check
5.Bender/Pedal Check [EDIT]+[5] Bender/Pedal check
6.Volume Check [EDIT]+[6] Volume check
7.MIDI Check [EDIT]+[7] MIDI check
8.Sound Check [EDIT]+[8] Sound check
9.Factory Reset [EDIT]+[9] Factory Reset
 Loading...