15
Step Sequencer
Erasing All Step Sequencer Data
(PATTERN ERASE)
1. In performance mode, use the PART SELECT [UPPER]
[LOWER] buttons to select a part that you want to
erase.
2. Hold down the [EDIT/DISP] button and press the
[REST (ERASE)] button.
The ERASE screen appears.
3. Use the [VALUE] knob to select “All Step,” and then
press the [ENTER] button.
A conrmation message appears.
4. To erase, press the [ENTER] button.
If you decide to cancel, press the [EXIT] button.
When erasing is completed, the display indicates “Completed!”
Completed!
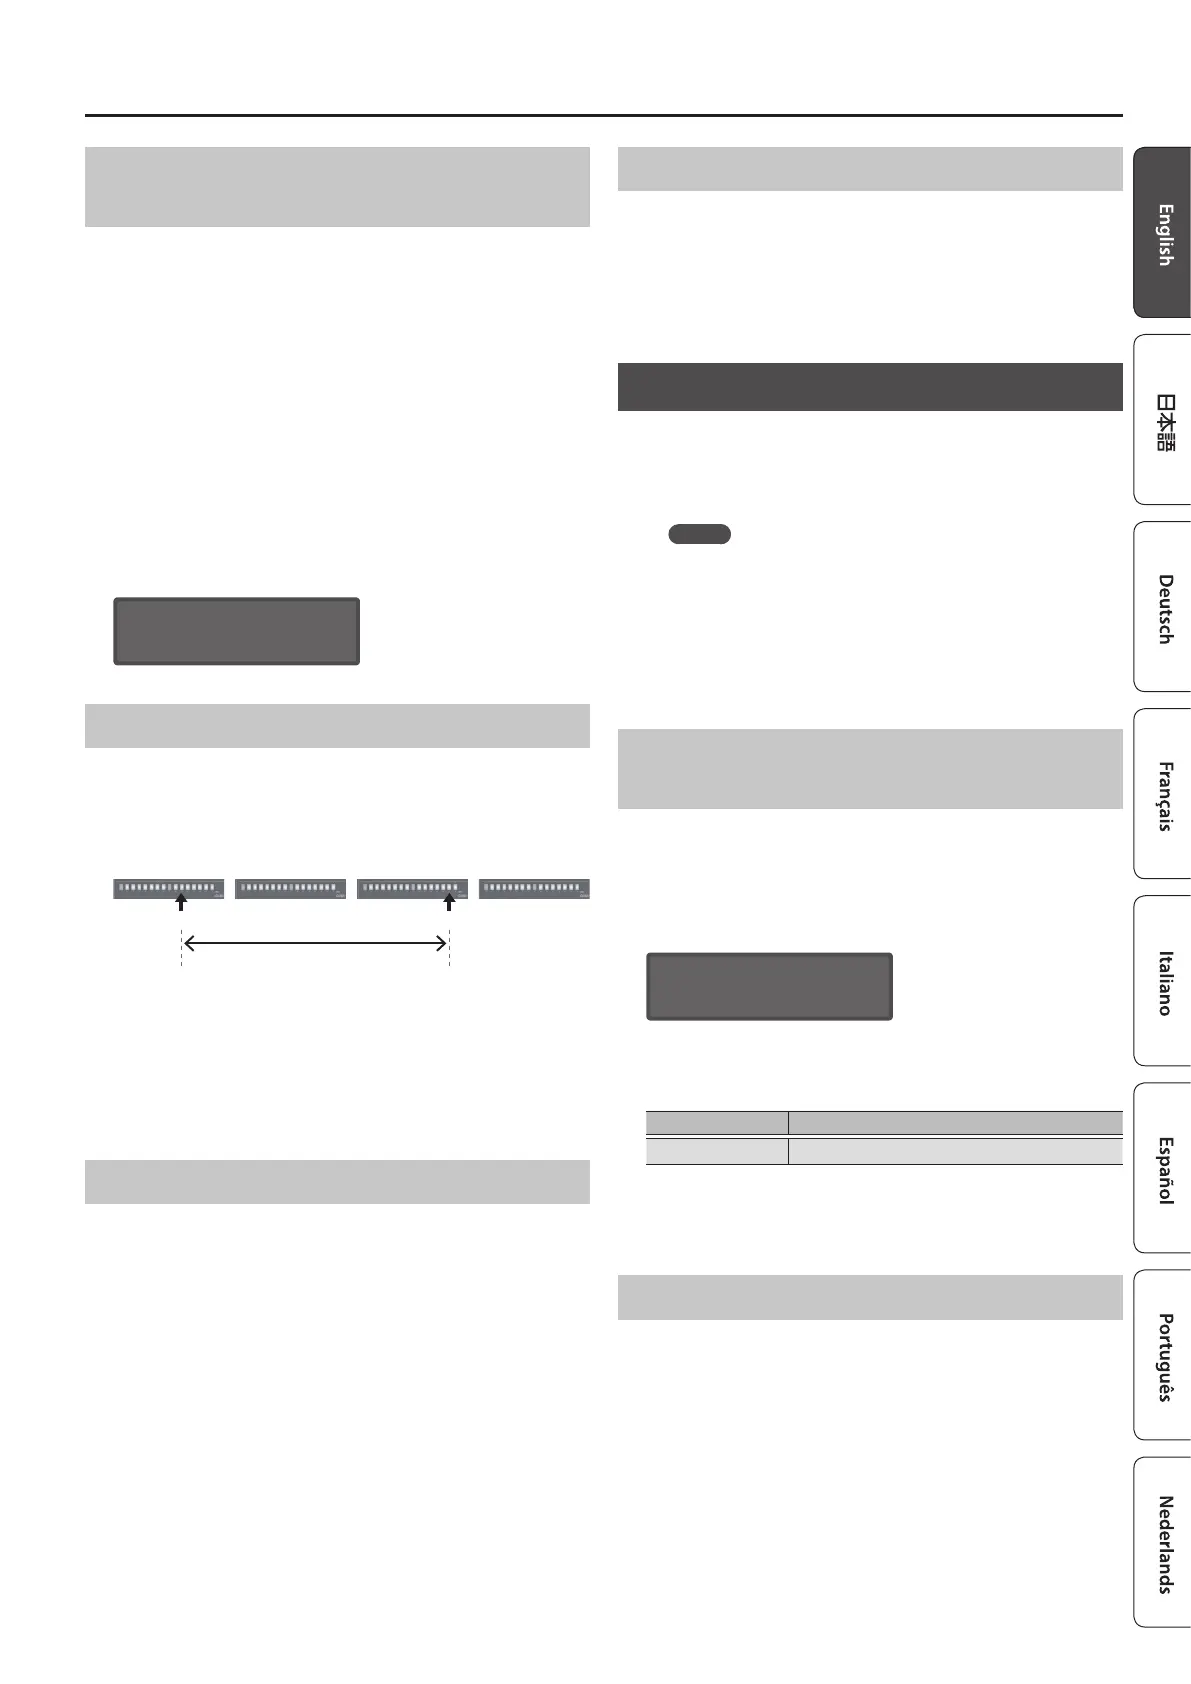
Selecting the First Step (FIRST STEP)
Normally, step 1 is played as the rst step; however, you can use the
FIRST STEP setting to make the step sequencer use a dierent step
as the rst step.
Step
1–16
Step
17–32
Step
33–48
Step
49–64
FIRST STEP LAST STEP
Playback region
1. While holding down [FIRST STEP], press the button
that you want to be the rst step.
The [FIRST STEP] button is lit, and the rst step is specied. You can
use this operation to make it play from any desired step.
If you press the [FIRST STEP] button to make it go dark, the FIRST
STEP setting turns o (the specied value remains).
Selecting the Last Step (LAST STEP)
Normally, the step specied by STEP LENGTH is played as the last
step; however, you can use the LAST STEP setting to make the step
sequencer use a dierent step as the last step.
1. While holding down [LAST STEP], press the button
that you want to be the last step.
The [LAST STEP] button is lit, and the last step is specied. You can
use this operation to make it play to any desired step and then
return to the rst step.
If you press the [LAST STEP] button to make it go dark, the LAST
STEP setting turns o (the specied setting remains).
Muting a Specic Part (PART MUTE)
When you play the step sequencer in performance mode, the
upper part and lower part play simultaneously.
Here’s how to mute the performance of a specic part.
1. Hold down the [EDIT/DISP] button and press the
PART ON/OFF [UPPER] [LOWER] button.
Recording on the Step Sequencer
You can record your keyboard performance and knob operations,
and play them back repeatedly.
In performance mode, the part that’s selected in PANEL SELECT
(UPPER, LOWER) is recorded.
MEMO
Step sequencer data is saved together with the patch data.
The step sequencer provides the following methods of recording.
5 Step recording (STEP REC)
5 Realtime recording (REAL TIME REC)
5 Editing a specic step
You can also edit any previously-recorded step.
Specifying the Length (Number of Steps) of the
Step Sequencer Data
1. Press the [EDIT/DISP] button to make it light.
2. Hold down the lit [EDIT/DISP] button and press the
[TIE (LENGTH)] button.
The STEP LENGTH screen appears.
STEP LENGTH
16
3. Use the [VALUE] knob to specify the length
(number of steps).
Parameter Value
STEP LENGTH 1–64
Even if you set this to a value that’s shorter than the current step
length, the data that now falls outside the playback region still
remains.
Step Recording (STEP REC)
Here’s how you can create step sequencer data by successively
recording each individual step of your keyboard performance.
1. If you’re in performance mode, use the PART SELECT
[UPPER] [LOWER] buttons to select the part that you
want to record.
2. Press the [STEP REC] button.
The rst step blinks.
3. Play one note on the keyboard.
 Loading...