3 x Installation
12
FA ROTEX Solaris RPS3 25M - 03/2010
3 Installation
3.1 System concepts
ROTEX Solaris systems are usually built according to one of the following system concepts. Information concerning hydraulic
system integration with specimen schematic diagrams can be found in Chapter 7 "Hydraulic system integration".
Careful design of the system is required to ensure that the circulation pump and the connection pipes are adequately dimensioned
(see section 3.2).
In the case of large-scale systems, the hydraulic resistance of the plastic connection pipes available from ROTEX is usually too
high. We recommend that you install connection lines made from rigid copper pipes on-site.
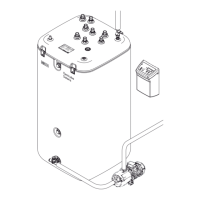
3.1.1 Parallel connection
Illustration 3-1 Double-sided connection in solar collector array
(up to 10 solar panels)
Illustration 3-2 Connection of several rows of solar panels in
accordance with the Tichelmann principle
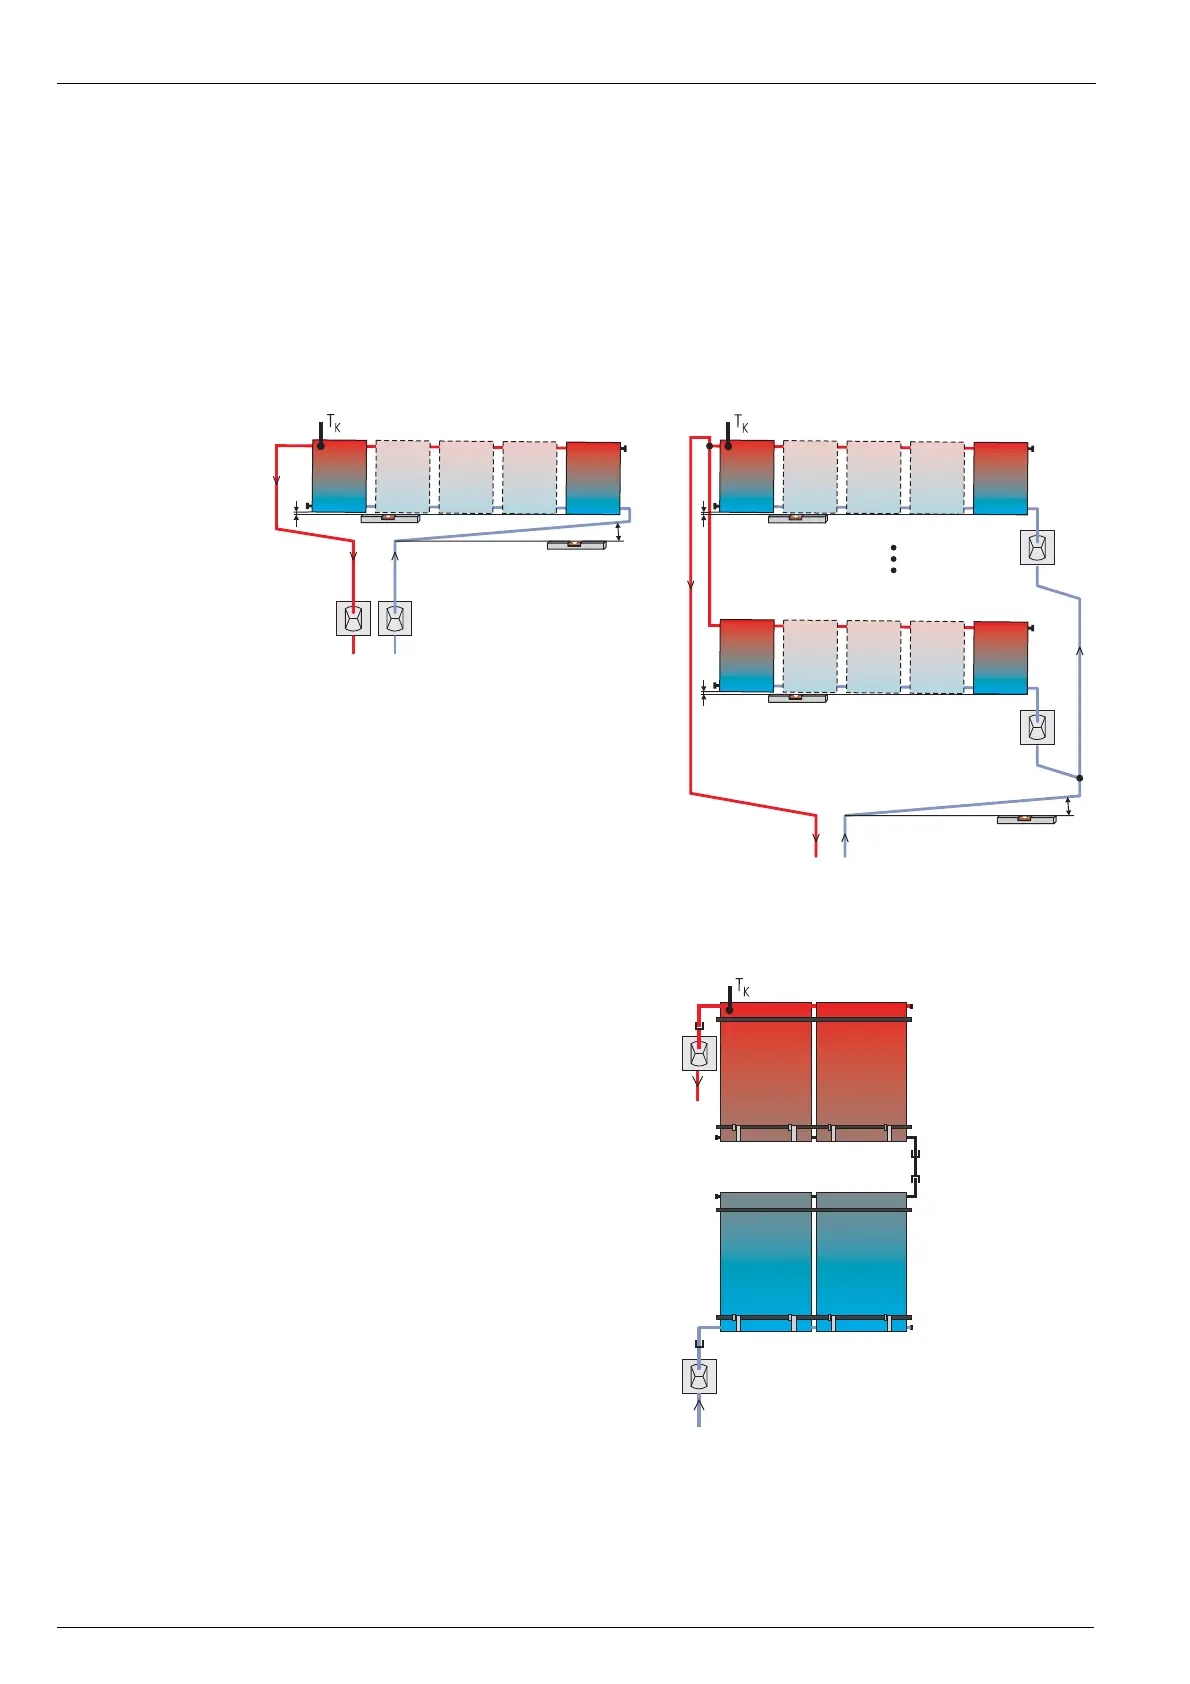
3.1.2 Series connection
As an alternative to the parallel connection of the solar panels
described in this manual, if required, a maximum of 3 rows of
solar panels can also be installed above one another and
connected in series.
As a rule, parallel connection is preferable.
Illustration 3-3 Same-side connection of solar collector array