Warnings and Cautions . . . . . . . . . . . . . . 2
Contents . . . . . . . . . . . . . . . . . . . . . . . . . 3
Plug & Play . . . . . . . . . . . . . . . . . . . . . . . 3
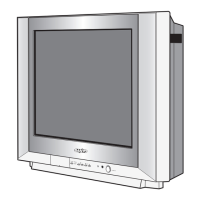
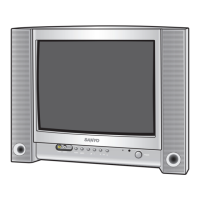
Front Control . . . . . . . . . . . . . . . . . . . . . 4
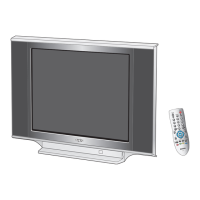
Remote Control Transmitter . . . . . . . . . . 5
Battery Installation of
the Remote Control Transmitter . . . . . . . 5
General Operation
Power ON/OFF . . . . . . . . . . . . . . . . . 5
Auto Shut Off Function . . . . . . . . . . . 6
Direct Programme Selection . . . . . . . 6
Programme UP and Down . . . . . . . . . 6
Channel Scanning . . . . . . . . . . . . . . . 6
Volume Control . . . . . . . . . . . . . . . . . 6
Recall . . . . . . . . . . . . . . . . . . . . . . . . 6
Sound Mute . . . . . . . . . . . . . . . . . . . 6
Alternate . . . . . . . . . . . . . . . . . . . . . . 6
Quick Picture Controls . . . . . . . . . . . . 6
Bass Expander . . . . . . . . . . . . . . . . . 6
Surround ON/OFF . . . . . . . . . . . . . . . 6
Off Timer . . . . . . . . . . . . . . . . . . . . . . 7
On Timer . . . . . . . . . . . . . . . . . . . . . . 7
Colour and Sound System
Setting of the Colour System . . . . . . . 7
Setting of the Sound system . . . . . . . . 7-8
Picture Adjustment . . . . . . . . . . . . . . . . . 8-9
Audio Adjustment . . . . . . . . . . . . . . . . . . 9
Tuning of the Channels
Automatic Tuning . . . . . . . . . . . . . . . 10
Semi-Auto Tuning and Manual Tuning
.
.10
Channel Copy . . . . . . . . . . . . . . . . . . 11
Channel Swapping . . . . . . . . . . . . . . 11
Skip Channel Set and Cancel . . . . . . . . 11-12
Setting of the Private Position . . . . . . . . 12
Setting of the OSD Language . . . . . . . . . 13
Connecting Other Equipment
Connecting to the Rear AV1 Input
Jacks . . . . . . . . . . . . . . . . . . . . . . . . . . .13-14
Connecting to a DVD Player with AV1(DVD)
Video Component Input Terminal . . . . . . 14
Connecting to the Front AV2 Input
Jacks . . . . . . . . . . . . . . . . . . . . . . . . . . . 15
Selecting the Colour System in AV
Mode . . . . . . . . . . . . . . . . . . . . . . . . 15
Connecting to the Monitor Output
Jacks . . . . . . . . . . . . . . . . . . . . . . . . . . . 15
Connecting to a DVD player with
S-Video terminal . . . . . . . . . . . . . . . . 16
AV Connection to the Aerial Socket . . . . 16
Aerial Connection . . . . . . . . . . . . . . . . . . 17
Care and Cleaning . . . . . . . . . . . . . . . . . . 17
Specifications . . . . . . . . . . . . . . . . . . . . . 18
Helpful
Hints-Problems/Solutions . . . . . . . . . . . 19
Plug & Play
Contents
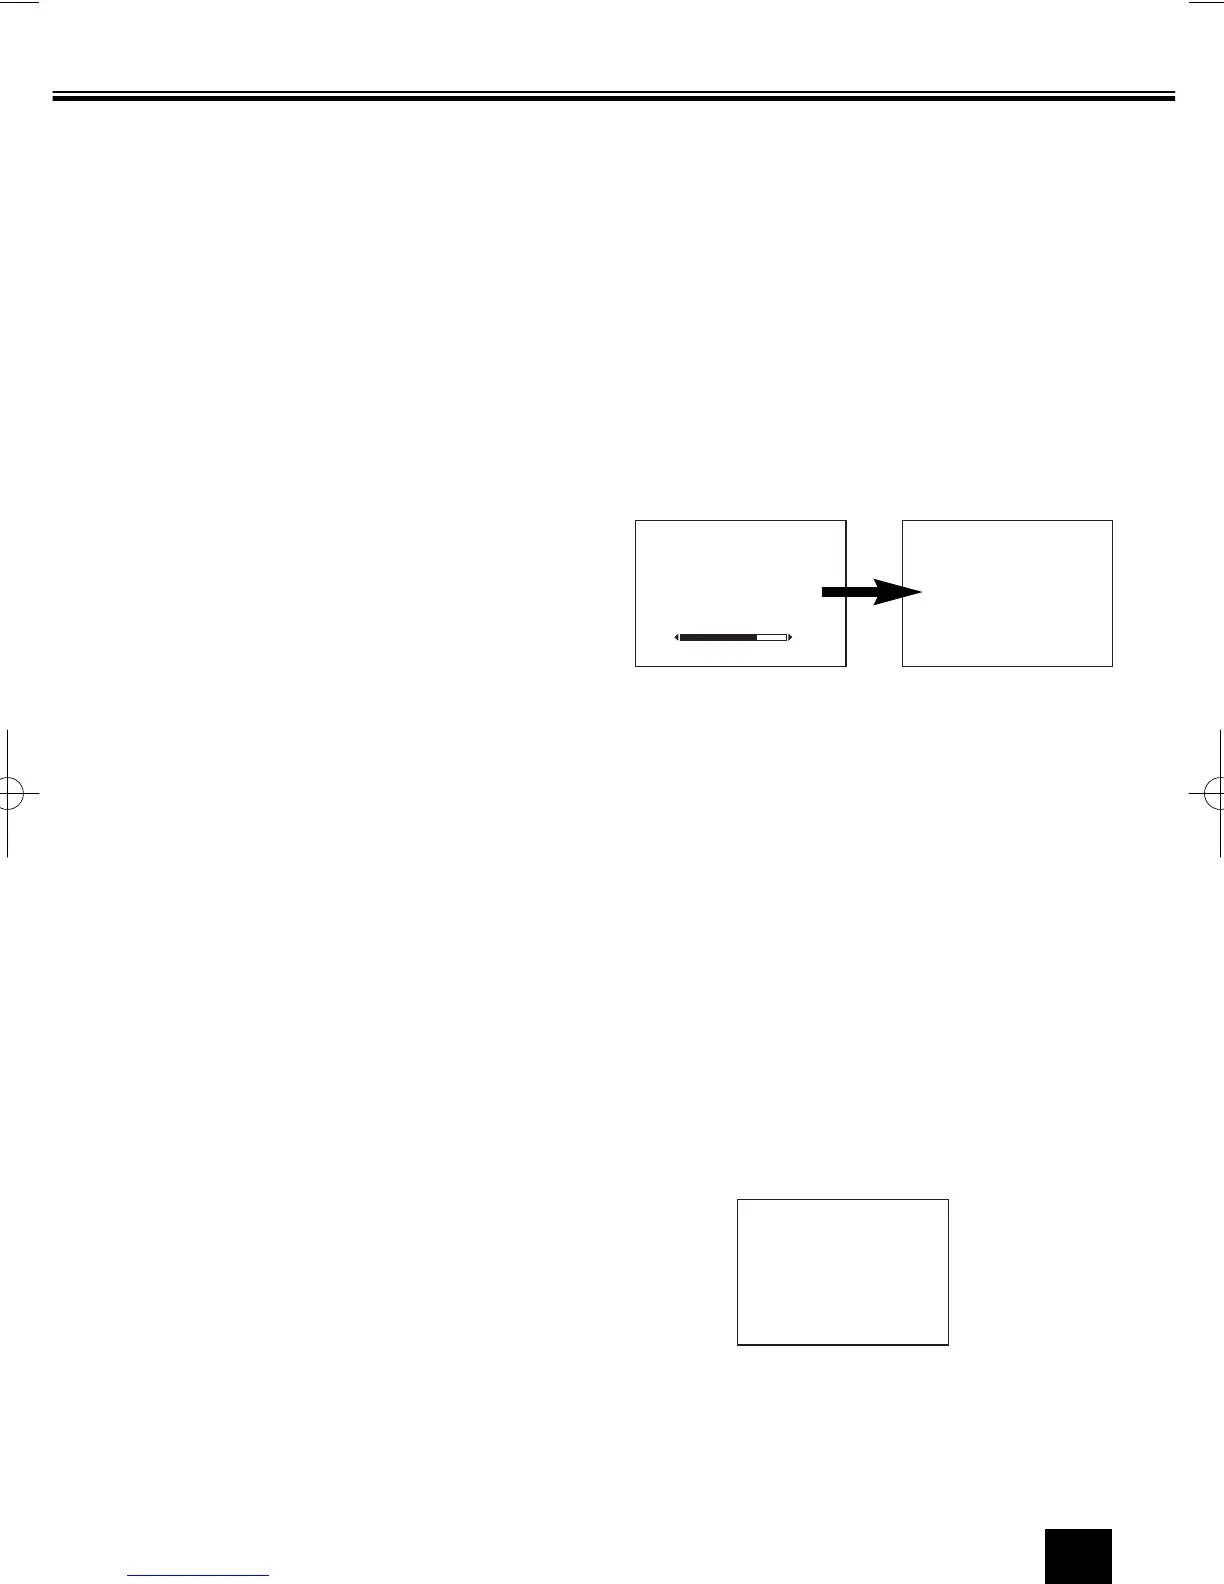
ALL PROGRAMMES.
PLEASE WAIT.
COMPLETED.
This TV set provides a self-automatic tuning and
sorting system function called “Plug & Play”. It
automatically begins searching and storing of all
available channels when switching-on the TV set
for the first time.
2
Press any of the control buttons to make the
ending message disappear. Or will
automatically return to normal TV display
after 10 seconds.
After completing this procedure, the programme
position 1 is selected and the ending messages on
the screen.
Note: The Plug & Play can be cancelled at any
time by pressing the MENU button.
✐ This procedure only appears at the first
switch-on time.
1
Connect power cord of the TV set to a wall
outlet, and turn on the TV set by pressing the
Mains ON/OFF button. Self-automatic tuning
system will be started as follows;
Let’s start !
NO STATION.
ANTENNA PLUG.
 Loading...