41
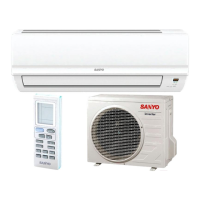
13-2. Checking continuity of Fuse on
PCB Ass'y
●
Check for continuity using a multimeter as shown in
Fig. 6.
Method Used to Replace Fuse on PCB Ass'y
— Indoor PCB Ass'y —
1. Remove the PCB Ass'y from the electrical compo
nent box
2. Then pull out the fuse from the PCB Ass'y.(Fig.5a)
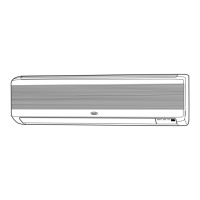
— Outdoor PCB Ass'y —
1. Remove the PCB Ass’y from the electrical component
box.
2. Pull out the fuse at the metal clasp using pliers while
heating the soldered leads on the back side of the
PCB Ass'y with a soldering iron
(30W or 60W).(Fig.5b)
3. Remove the fuse ends one by one. For replacement
insert a fuse of the same rating and solder it. (Allow
time to radiate heat during soldering so that the fuse
does not melt.)
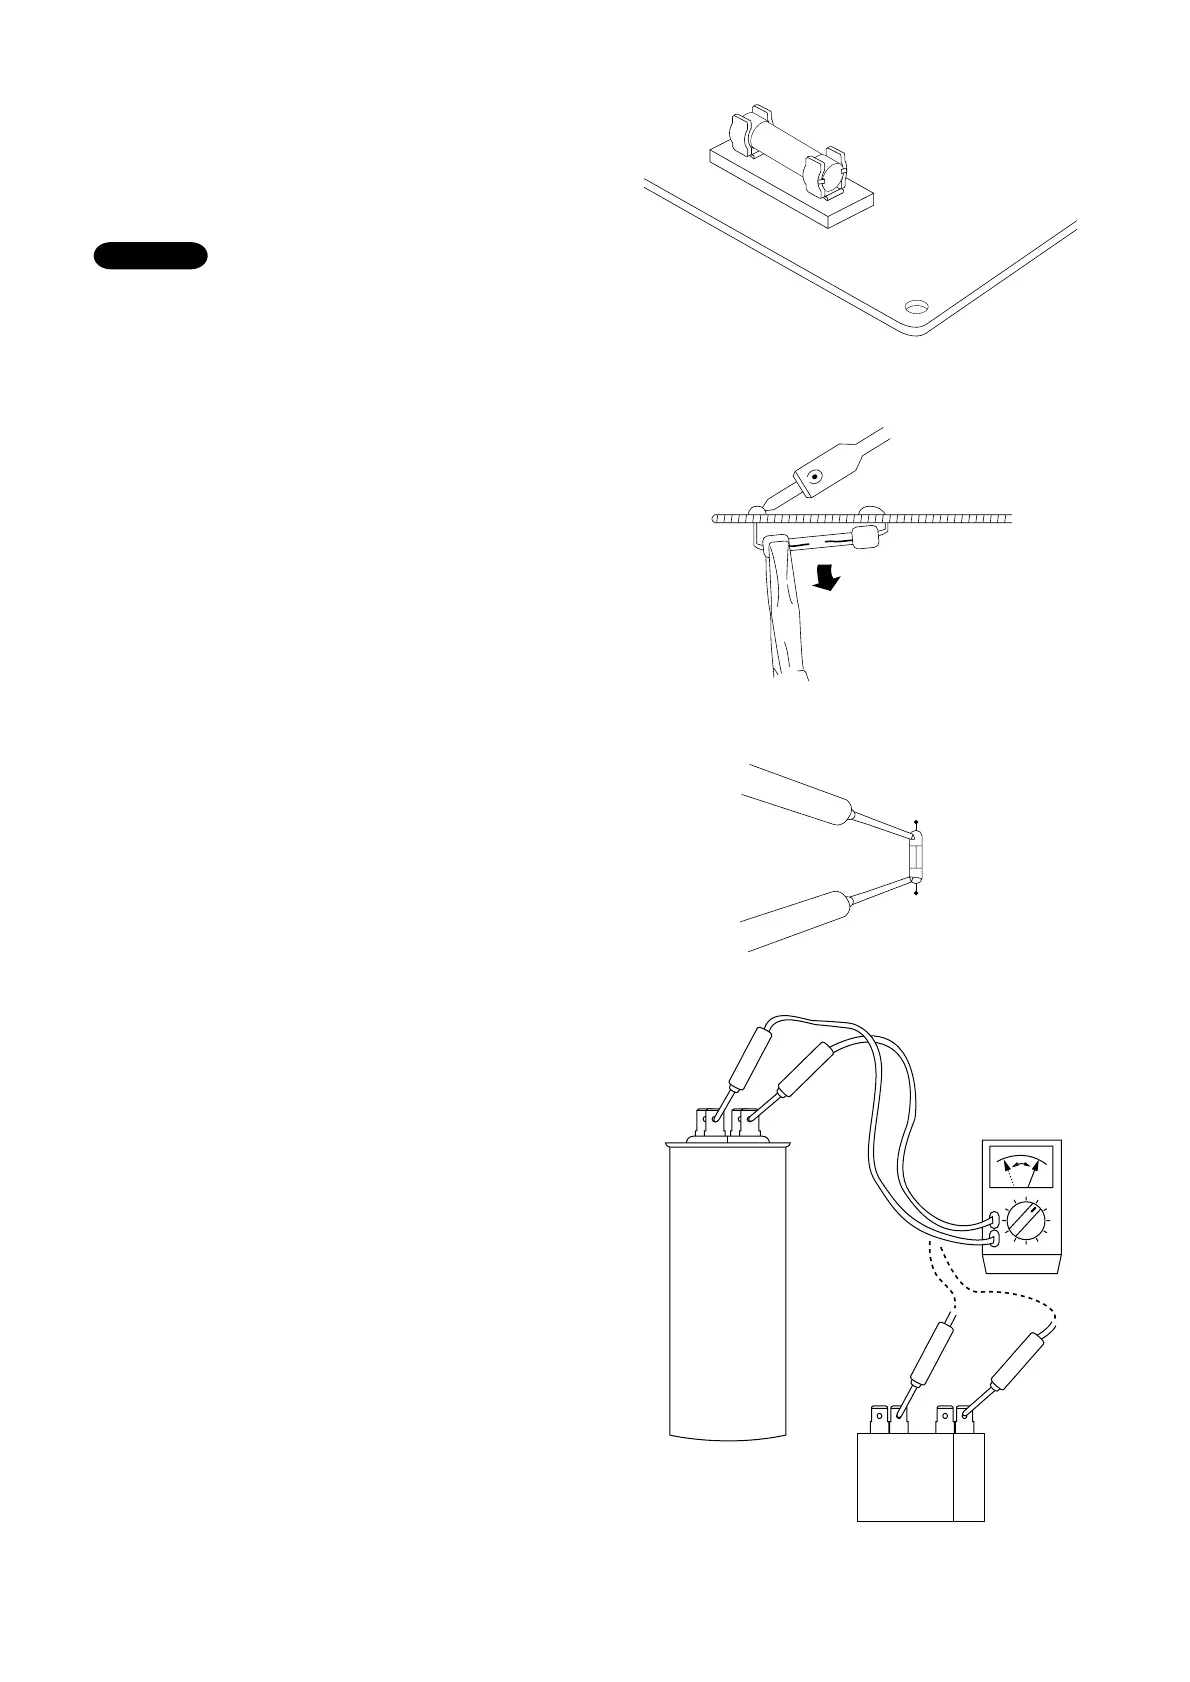
13-3. Checking Motor Capacitor
Remove the lead wires from the capacitor terminals, and
then place a probe on the capacitor terminals as shown
in Fig. 7. Observe the deflection of the pointer, setting
the resistance measuring range of the multimeter to the
maximum value.
The capacitor is “good” if the pointer bounces to a great
extent and then gradually returns to its original position.
The range of deflection and deflection time differ accord-
ing to the capacity of the capacitor.
 Loading...