 Loading...
Do you have a question about the Sanyo Xacti VPC-503 and is the answer not in the manual?
| Brand | Sanyo |
|---|---|
| Model | Xacti VPC-503 |
| Category | Digital Camera |
| Language | English |
Lists the items included in the product package and optional accessories.
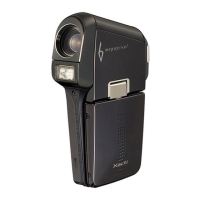
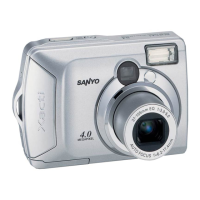
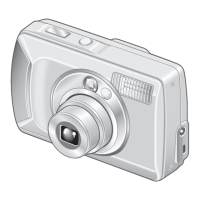
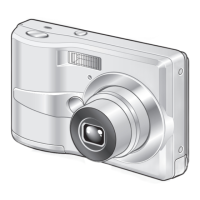
Identifies and labels the external components on the front of the digital camera.
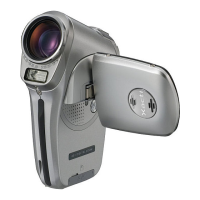
Identifies and labels the external components on the rear of the digital camera.
Explains the function and options available on the camera's mode dial.
Details the various icons, indicators, and information displayed on the camera's LCD monitor.
Provides step-by-step instructions for inserting and removing AA batteries.
Explains how to connect and use the AC adapter for power.
Guides on inserting and removing SD memory cards for expanded storage.
Illustrates the correct method for attaching the camera strap.
Describes the procedure for powering the digital camera on and off.
Details how to select the desired language for the camera's display.
Explains how to set the camera's date and time display.
Guides on initializing memory cards or internal memory, erasing all data.
Explains how to use the LCD monitor for composing shots and viewing menus.
Provides instructions on how to compose and capture still images using the camera.
Explains how to adjust image resolution and quality settings for desired output.
Details how to use the optical and digital zoom features for framing shots.
Describes the different flash modes and how to select them for various lighting conditions.
Explains how to set the focus mode (Standard, Macro, Infinity) for optimal image sharpness.
Describes the continuous shooting mode for capturing multiple images quickly.
Explains the auto bracket mode for capturing multiple shots with different exposures.
Details the self-timer function for delayed image capture, useful for group shots.
Allows manual adjustment of exposure levels to compensate for lighting conditions.
Explains how to adjust white balance for accurate color reproduction under different lighting.
Describes the fully automatic shooting mode for simple point-and-shoot operation.
Explains the program mode, offering automatic exposure with manual control over other settings.
Optimizes settings for capturing portraits with a blurred background.
Optimizes settings for capturing distant scenery and landscapes.
Designed for capturing fast-moving subjects with a faster shutter speed.
Optimizes settings for shooting in low-light or nighttime conditions.
Instructions on how to display still images one by one on the camera.
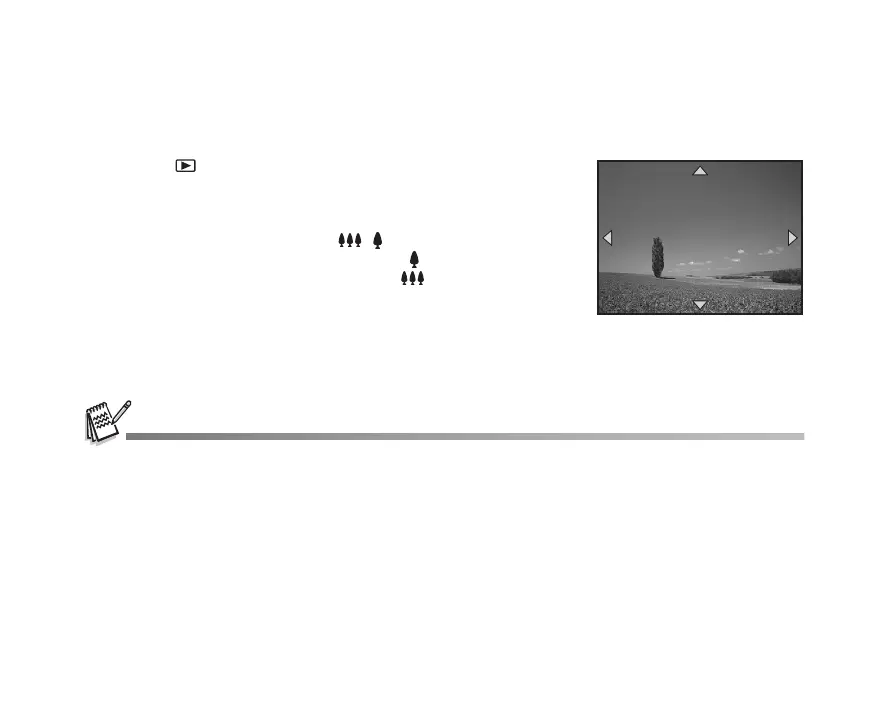
Explains how to zoom in on images to view fine details.
Allows viewing multiple thumbnail images simultaneously for easy selection.
Enables automatic playback of recorded images in sequence.
Guides on changing the size of recorded still images to smaller dimensions.
Instructions for recording video clips with sound using the built-in microphone.
Explains how to play back recorded movie clips on the camera's LCD screen.
Describes how to connect the camera to a TV for image and video playback.
Provides steps to delete individual or all images and movie clips.
Explains how to set images/clips to read-only to prevent accidental deletion.
Guides on setting up Digital Print Order Format for printing images.
Details how to select images and print settings for PictBridge printing.
Instructions for installing the necessary USB driver for Windows and Mac.
Guides on connecting the camera to a computer via USB cable for file transfer.
Explains how to copy image and video files from the camera to a computer.
Instructions for installing the Photo Explorer software from the CD-ROM.
Instructions for installing the Photo Express software from the CD-ROM.
Details the installation process for the PC camera driver on Windows.
Guides on connecting the camera to a computer for PC camera functionality.
Explains how to use the camera with videoconferencing software like NetMeeting.
Covers basic settings for capturing still images via the camera's menu system.
Details settings specific to recording movie clips.
Explains settings related to reviewing recorded images and videos.
Describes settings for format, beeper, date/time, and language.
Covers settings for USB mode, TV output, LCD brightness, and auto shut down.
Details settings for file numbering, reset to default, and firmware version.
Lists common problems and their solutions for camera operation.