*P516-872*
P516-872
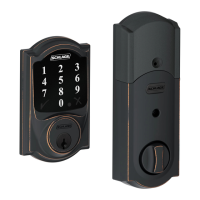
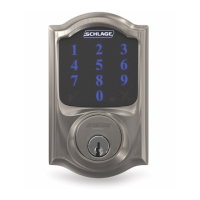
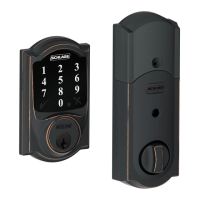
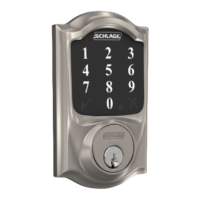
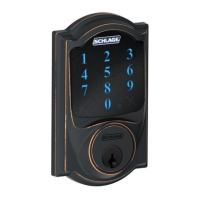
Connected Touchscreen
INSTALLATION INSTRUCTIONS
MODEL BE468
1 Check the current door/frame alignment
Because the bolt on this lock is extended automatically, it is important
that the door and frame are aligned. Use this checklist to determine if
your current alignment will work without any adjustment.
I can lock the door without pushing, pulling or liing the door.
My door alignment— the ability to lock the door easily and
smoothly— stays the same with changing seasons.
When the door is closed, there is space for the deadbolt to
extend 1” into the frame when locked.
If you could not check every box in the checklist, you will need to
adjust your door and/or frame. Please visit answers.schlage.com for
more information.
2 Check door/frame dimensions
Measure the dimensions shown. If your door dimensions do not
match, you will need to change your door preparation.
L If your door is thicker than 1C\v”, you will need a thick door kit. Please
call Customer Service at 1-888-805-9837.
L Mark your crossbore and backset measurements on this
page. You will need these measurements for installation. Either
measurement is normal.
Minimum 5"
(127 mm)
This lever represents your
current knob or lever,
which may be already
installed.
Door Thickness
1C\,” to 1C\v”
Crossbore
Diameter
2Z\,” (53 mm)
OR
1Z\x" (38 mm)
1” (25 mm)
Hole
Door
Stop
Hole at
least 1”
(25 mm)
deep.
Backset
2C\,” (60 mm)
OR
2C\v” (70 mm)
3 Install bolt and strike
3a Adjust bolt length, if necessary.
• If the backset (see step 2) of your door was 2C\,” (60 mm),
you do not need to do anything. Proceed to step 3b.
• If the backset (see step 2) of your door was 2C\v” (70 mm), you
need to adjust your bolt. Twist the faceplate until the button pops
into the 2C\v” space.
Twist the
faceplate.
Make sure the button
pops into place.
3b Change the faceplate, if necessary.
L In step 3c, your installation will depend on which kind of door edge
you have.
No Mortise
If your door looks like this, complete the steps below.
1. Pry the faceplate off.
2. Remove the backplate.
4. Go to Step 3c, Figure
B.
3. Slide the round
faceplate into place.
Since this is an electronic lock, please follow the steps in order as shown. If you skip a step, you may have to perform a factory default reset, and
start over.
Tools Needed:
• Phillips Screwdriver
DO NOT use a power drill! A manual or electric screwdriver is safe,
but a power drill may damage the lock.
Possibly Needed Tools:
• Tape Measure
• Flathead Screwdriver
• Pencil
• Wood Block
• Hammer
Installation Notes
• DO NOT use a power drill for installation!
• Please read all instructions before calling customer support.
• Please call customer support before returning the product.
• DO NOT install the batteries before installing the lock! Follow the
directions in order.
• If you previously installed this lock on another door, you MUST
perform a Factory Default Reset FIRST! See Step 9 for more
information.
• The lock is designed for the following operating temperatures:
Outside Lock Body (exterior mounted): -31°F (-35°C) to 151°F
(66°C)
Inside Lock Body (interior mounted): 14°F (-10°C) to 120°F (49°C)
Default
Programming
Code
Default User
Codes
Default Codes