13 14
Analogue setting
YoucanreconguretheTVchannelsettings
automatically or manually using Auto search or
Manual adjust.
H
Auto search
Youcanalsoautomaticallysearchbyperforming
the procedure below. This is the same function as
programme auto search in auto installation.
1
Press MENU and the MENU screen displays.
2
Press
c
/
d
to select “Initial setup”.
3
Press
a
/
b
to select “Analogue setting”, and
then press ENTER. If you have already set the
password, enter it here.
•See“Childlock”tosetpassword.
4
Press
a
/
b
to select “Auto search”, and then
press ENTER.
Youdonotneedtodoanythingduringtheauto
search. Press MENU to exit.
H
Manual adjust
Youcansetsomechannelitemsmanually.
1
Repeat steps 1 to 3 in Auto search.
2
Press
a
/
b
to select “Manual adjust”, and then
press ENTER.
3
Press
a
/
b
to select your desired item, press
ENTER, and then press
a
/
b
or
c
/
d
to adjust
the settings.
Item Description
Current CH
Select the channel you want to edit.
• Selected channel will be automatically
reflected in the background.
Sound
system
Select the optimum sound system
(Broadcasting system) to receive.
(B/G, D/K, I, M)
Colour
system
Select the optimum colour system to
receive. (NTSC 3.58, NTSC 4.43, PAL,
SECAM)
Search
Start searching from current channel.
• Press
c
/
d
to auto search.
Fine-tune
Tune the frequency of the stored channel
to your desired position.
• Instead of pressing
c
/
d
, you can set by
directly entering the frequency number of the
channel with 0−9 and then press ENTER
to adjust while checking the background
picture as a reference.
NOTE
•ThefrequencyshownbelowtheOn-ScreenDisplayshows
the real-time frequency of the displayed channel.
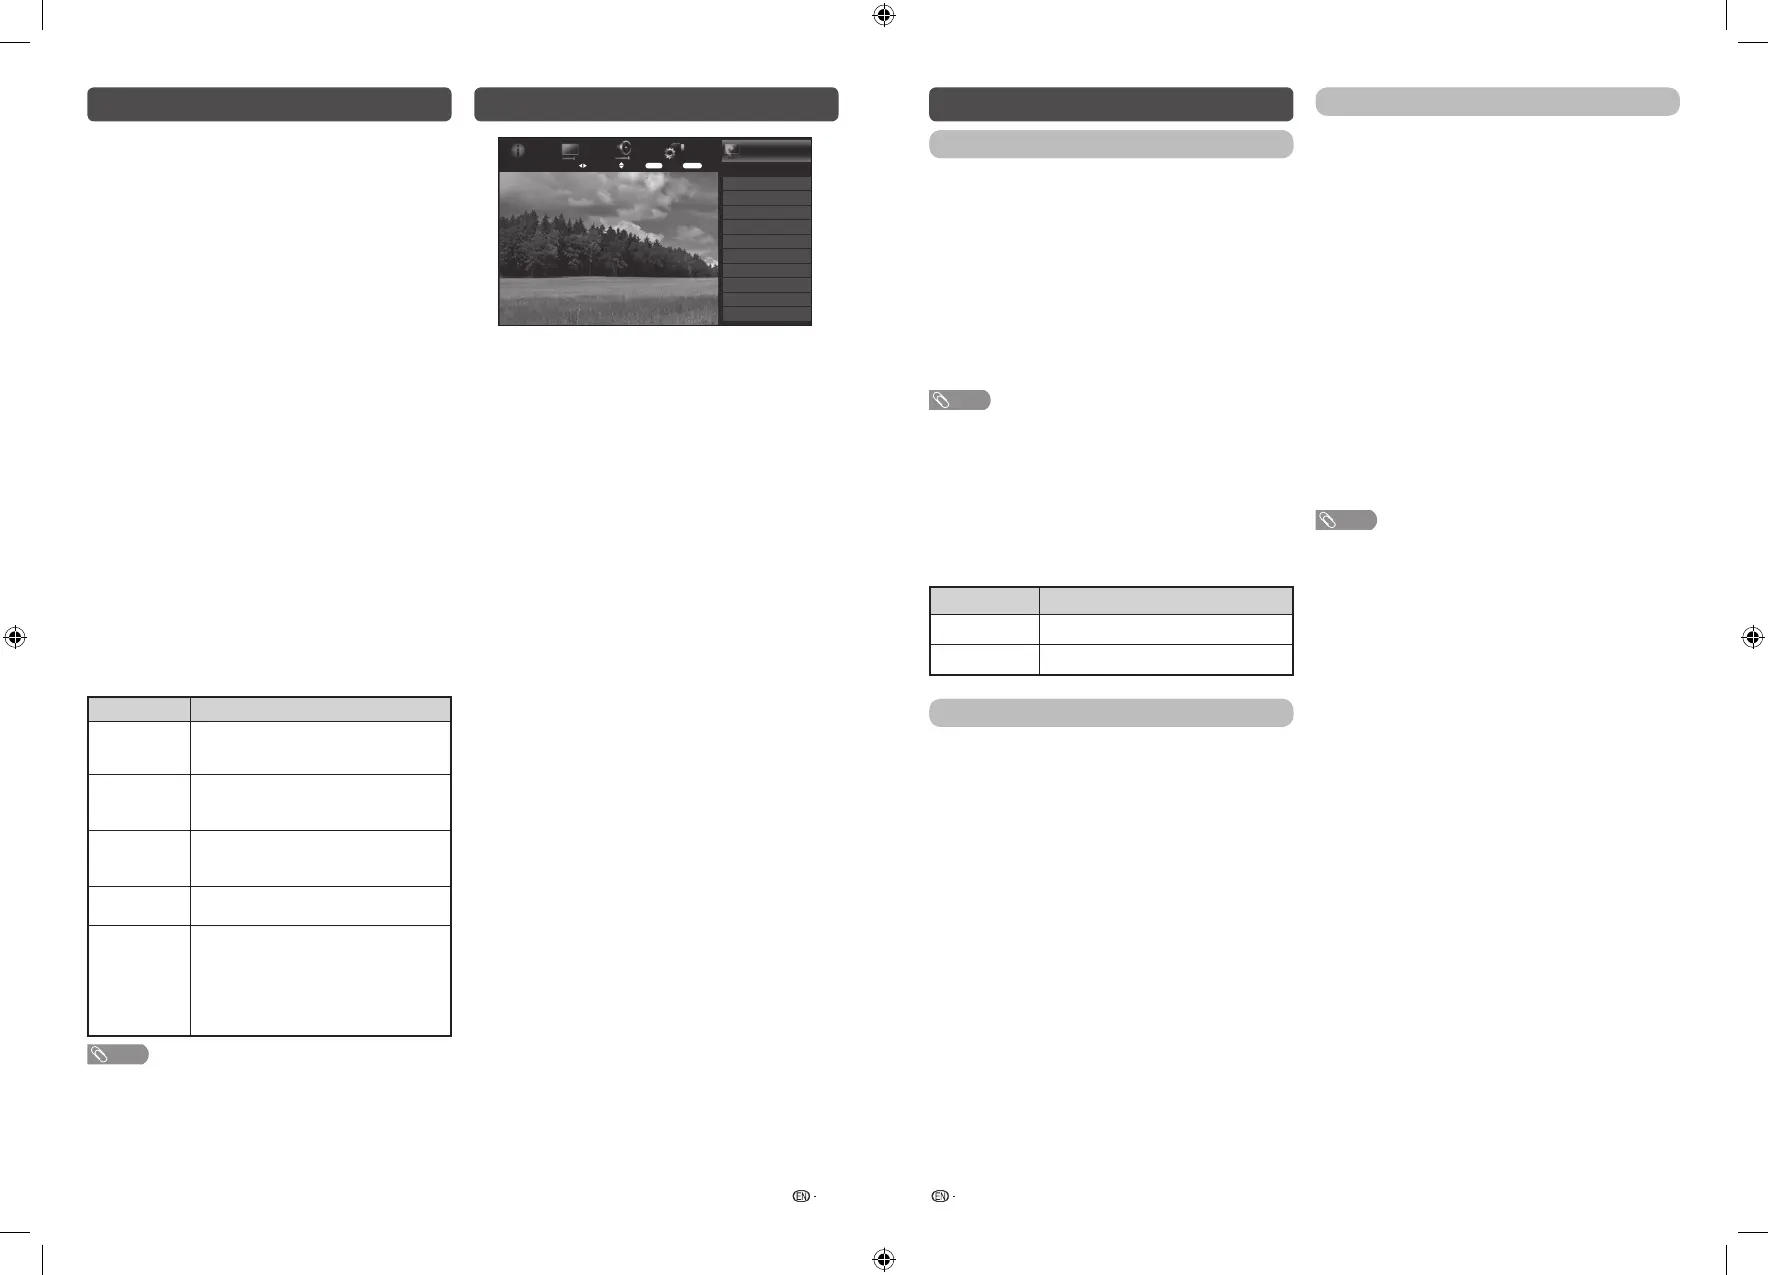
Menu operation
Initial setup
Easy setup
Digital setting
Analogue setting
Time setting
Language
Child lock
Child screen timer
Programme edit
[English]
[Off]
Input settings
Reset
Menu
Initial
setup
System
options
Audio
settings
Picture
settings
Information
TV
Select menu Select
ENTER
Enter
RETURN
Exit
1
Press MENU and the MENU screen displays.
2
Press
c
/
d
to select the desired menu.
(Initial setup, Information, Picture settings, Audio
settings, System options)
3
Press
a
/
b
to select the desired menu item.
Press ENTER to proceed if necessary.
4
Press
a
/
b
or
c
/
d
to select the desired item
or adjust the item to the desired level. Press
ENTER if necessary.
5
Press RETURN as necessary to return to
the previous MENU. Press MENU to exit the
MENU.
Initial setup
Time setting
This function can display the time, data on screen
and channel’s timetable with updated time info.
1
Repeat steps 1 and 2 in Menu operation.
2
Press
a
/
b
to select “Time setting”, and then
press ENTER.
3
Press
a
/
b
to select the desired menu item,
and then press ENTER.
H
Time adjustment
This function allows you to set the clock manually.
NOTE
•Ifyouselect“On”in“Autosynchronization”theTVwilltry
to get the time for the broadcast. It will only be selectable
when “Auto synchronization” is set to “Off”.
•“Timezone”enablesyoutoselectyourlocaltimezone.
It will only be selectable when “Auto synchronization” is set
to “On”.
H
Time display
This function allows you to display the clock time in
the lower-right corner of the screen.
Selected item Description
Off
Hides the clock time.
On
Displays the clock time.
Language
Select from among 12 languages: English, Simplified
Chinese, Arabic, French, Portuguese, Russian,
Persian, Thai, Vietnamese, Indonesian, Hebrew and
Hindi.
Child lock
Allows you to use a password to protect certain
settings from being accidentally changed.
H
Lock system
If the password is not set, the “Lock system” is
invalid.
Please make sure the “Lock system” is set to “On”
before the Child lock is set. (Off, On).
H
Set password
1
Repeat steps 1 and 2 in Menu operation.
2
Press
a
/
b
to select “Child lock”, and then
press ENTER.
3
If you have already set the password, enter it
here.
4
Enter the 4-digit number as a password using
0 – 9.
5
Enter the same 4-digit number as in step 4 to
confirm.
NOTE
•Toviewalockedchannel,youmustenterapassword.
When you select a locked channel, “Child lock has been
activated” is displayed.
•PressENTER to display the password input window.
H
Block programme
The “Block programme” can be select after “Lock
system” is set to “On”.
LC-40_50SA5200X_G870_EN.indd 7 1/15/2018 2:06:35 PM
 Loading...