9
• Wheninstalling,removingormovingthemonitor,ensurethatthisiscarriedoutbyatleast4people.(PN-L651H:atleast2
people.)
• Besuretouseawall-mountbracketdesignedordesignatedformountingthemonitor.
• Thismonitorisdesignedtobeinstalledonaconcretewallorpillar.Reinforcedworkmightbenecessaryforsomematerials
such as plaster / thin plastic board / wood before starting installation.
• Thismonitorandbracketmustbeinstalledonawallwhichcanendureatleast4timesormoretheweightofthemonitor.
Install by the most suitable method for the material and the structure.
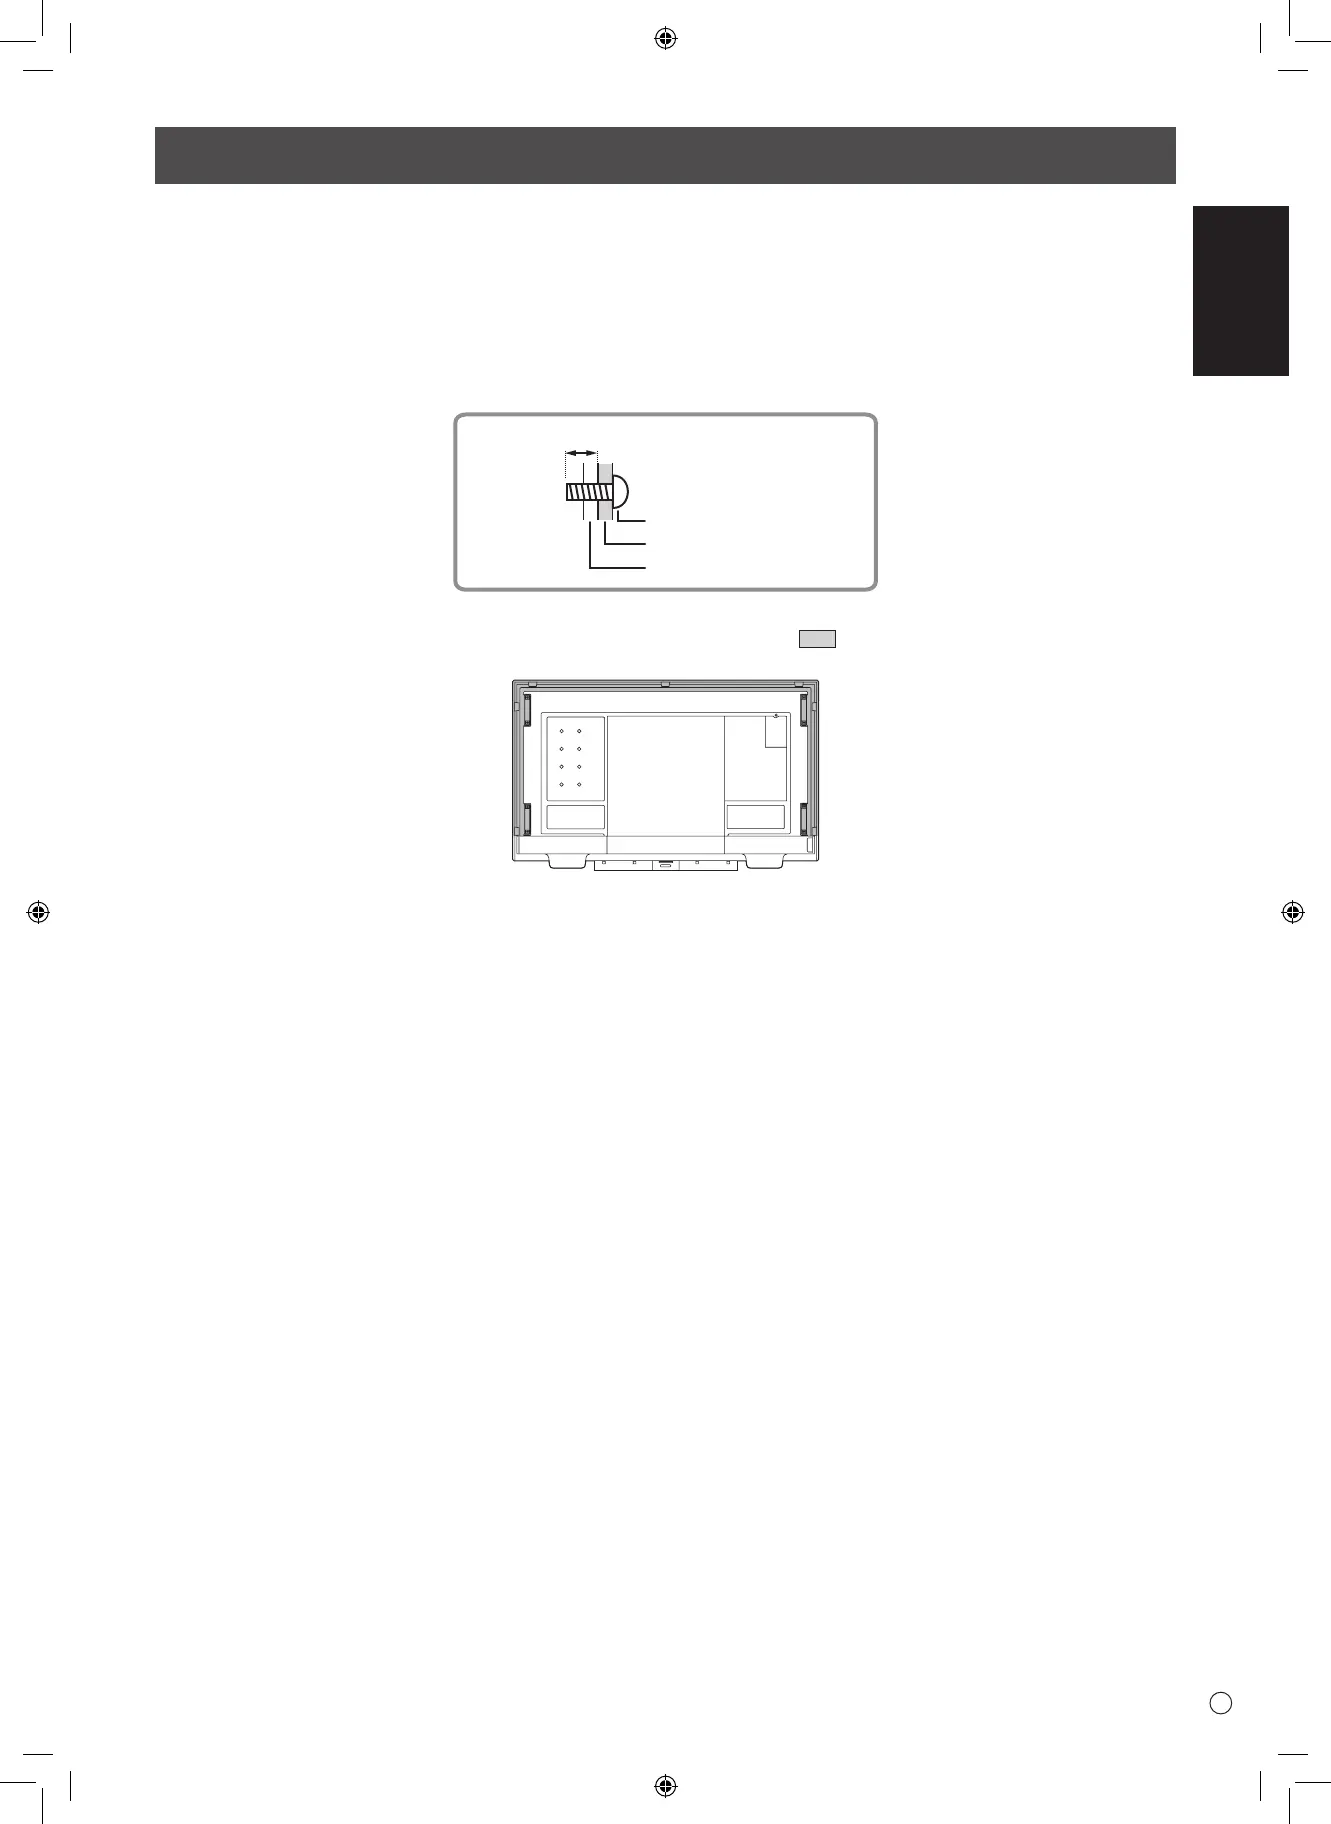
• ToattachaVESA-compliantmountingbracket,useM6screwsthatare5/16inch(8mm)to3/8inch(10mm)longerthanthe
thickness of the mounting bracket.
Screws (M6)
Mounting bracket
Monitor mounting
5/16 - 3/8 inch (8-10 mm)
• Donotuseanimpactdriver.
• Whenmovingthemonitor,besuretoholdthehandlesorthepartsmarkedby
below. Do not grasp the screen or tray.
This may cause product damage, failure, or injury.
• Ifyouneedtotemporarilyplacethemonitoronatableorothersurfaceduringinstallation,spreadathicksoftclothonthe
table to prevent damage to the screen and table.
• Priortorepackingorremoval,removethetrayandspeakercovers.
• Aftermounting,pleasecarefullyensurethemonitorissecure,andnotabletocomeloosefromthewallormount.
• Donotuseanyscrewholesotherthanthoseformountingbrackets,locatedontherearofthemonitor,forinstallation.
• Whenusingthismonitortiltedmorethan20degreesupwardfromtheperpendicularinrelationtoalevelsurface,consultan
authorized SHARP dealer because there are some specific mounting conditions.
Mounting Precautions (For SHARP dealers and service engineers)
 Loading...