11 / 18
Siemens Room temperature controller radio set REV24RF../SET CE1N2206en
Building Technologies 24.04.2008
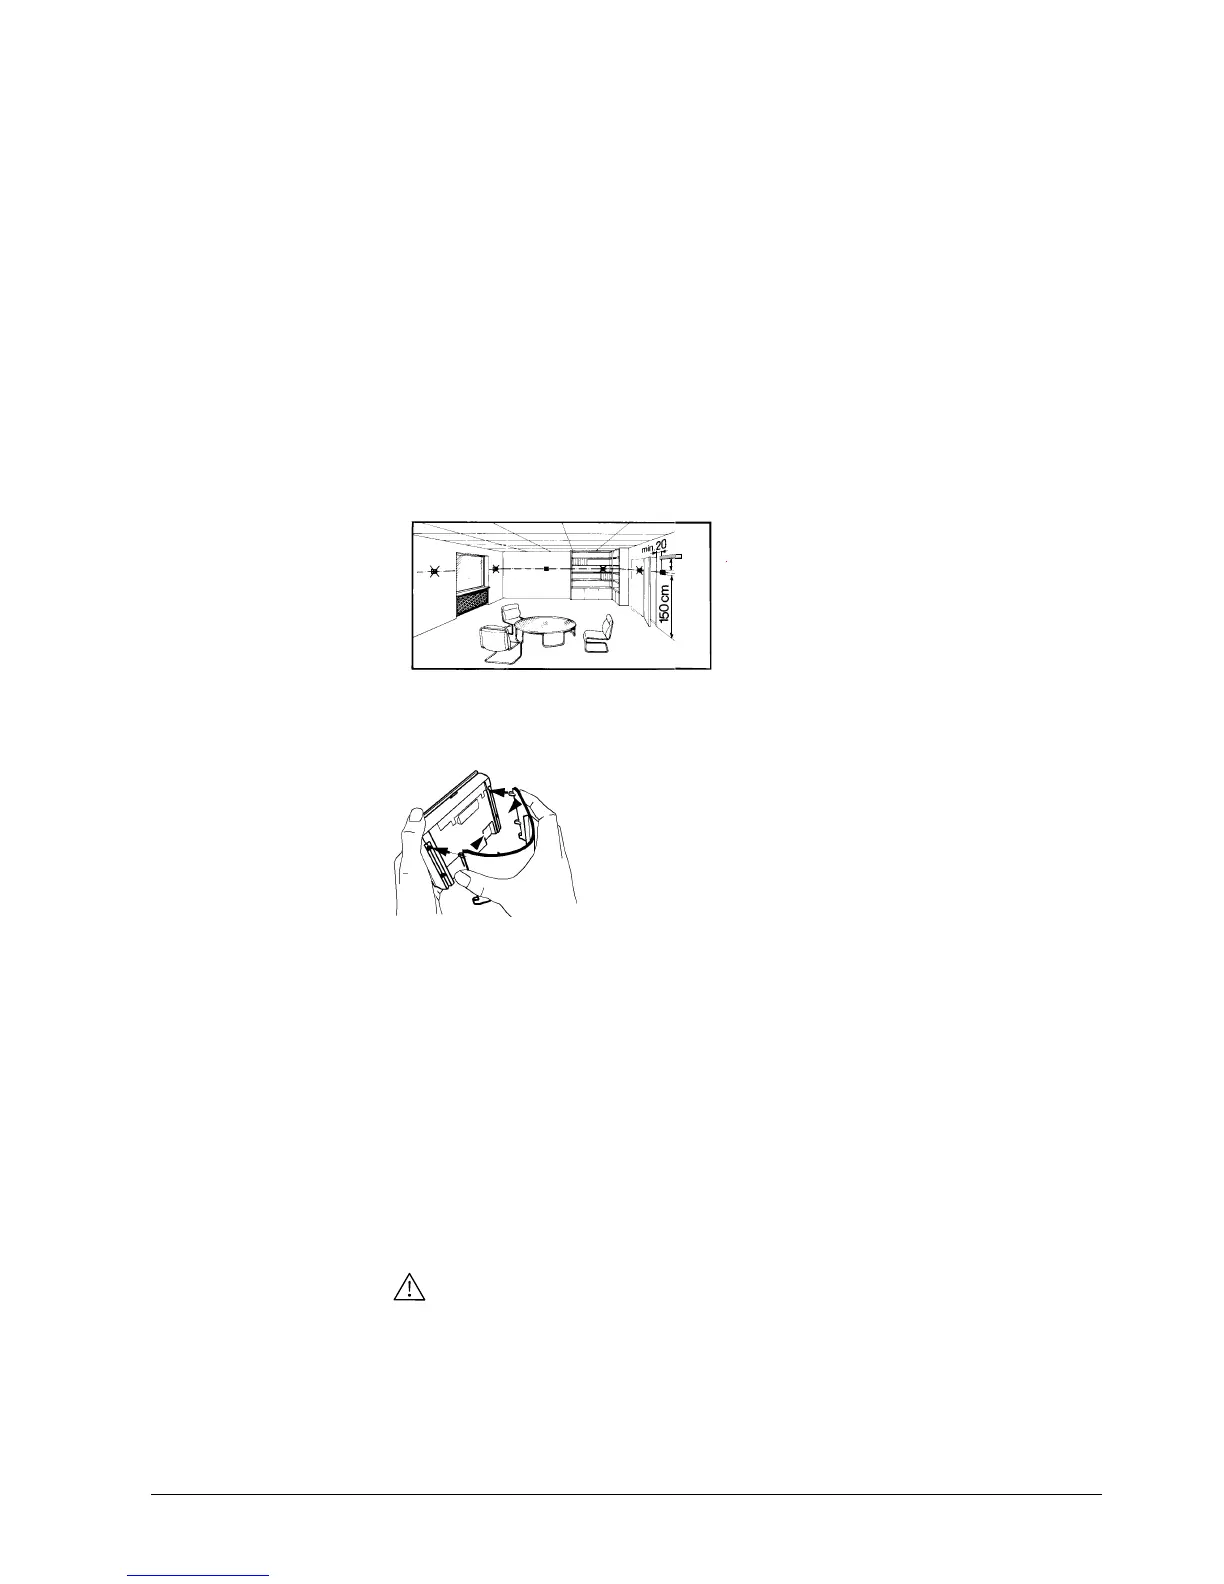
• Choose the location to ensure largely interference-free transmission. Observe the
following:
− Do not mount on metallic surfaces.
− Do not mount near electrical cables and equipment like PCs, TVs, microwaves, etc.
− Do not mount near larger metallic structures or constructional elements with fine
metal meshes such as special glass or special concrete.
• Use the DIP switches to adapt the control behavior.
• Recalibrate the temperature sensor (see "Sensor calibration") if the displayed room
temperature does not match the room temperature measured.
• Mount the unit base for the REV24RF.. in the desired location.
• See also "Mounting and commissioning notes".
• Attach the base first and then slide the unit in the base from top to bottom. You can
mount the base on most commercially available recessed conduit boxes or directly on
the wall.
• When mounting on a wall, make sure there is sufficient clearance above the unit to
allow for removing and refitting the unit.
min.
10 cm
2261Z03
• See the installation instructions printed on the stand.
• Place the REV24RF.. in the desired location.
.
• Install the receiver close to the controlled unit if possible.
• Choose the location to ensure largely interference-free reception. Observe the
following for mounting the room unit:
− Do not mount in a control panel.
− Do not mount on metallic surfaces.
− Do not mount near electrical cables and equipment like PCs, TVs, microwaves, etc.
− Do not mount near larger metallic structures or constructional elements with fine
metal meshes such as special glass or special concrete.
• Make sure the location is dry and protected against splash water.
• You can mount the unit on most commercially available recessed conduit boxes or
directly on the wall.
Make sure the receiver is not connected to power during wiring!
Reconnect the unit to power only after the unit is fully mounted.
• During installation, attach first and wire the unit rear without cover (L/N = mains 230
VAC, LX/L1 = consumer). Slide in the cover from above, swing downward and secure
with a screw in the upper portion of the housing.
• For more detailed information, see the installation instructions supplied with the unit.
• Comply with all local regulations on electrical installations.
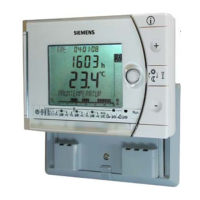
Mounting the room
controller REV24RF..
on the wall
Stand for REV24RF..
Receiver RCR10/868:
Mounting and
installation of
receiver
RCR10/868
 Loading...