10 SKR 800 A1
GB
IE
Handling and operation
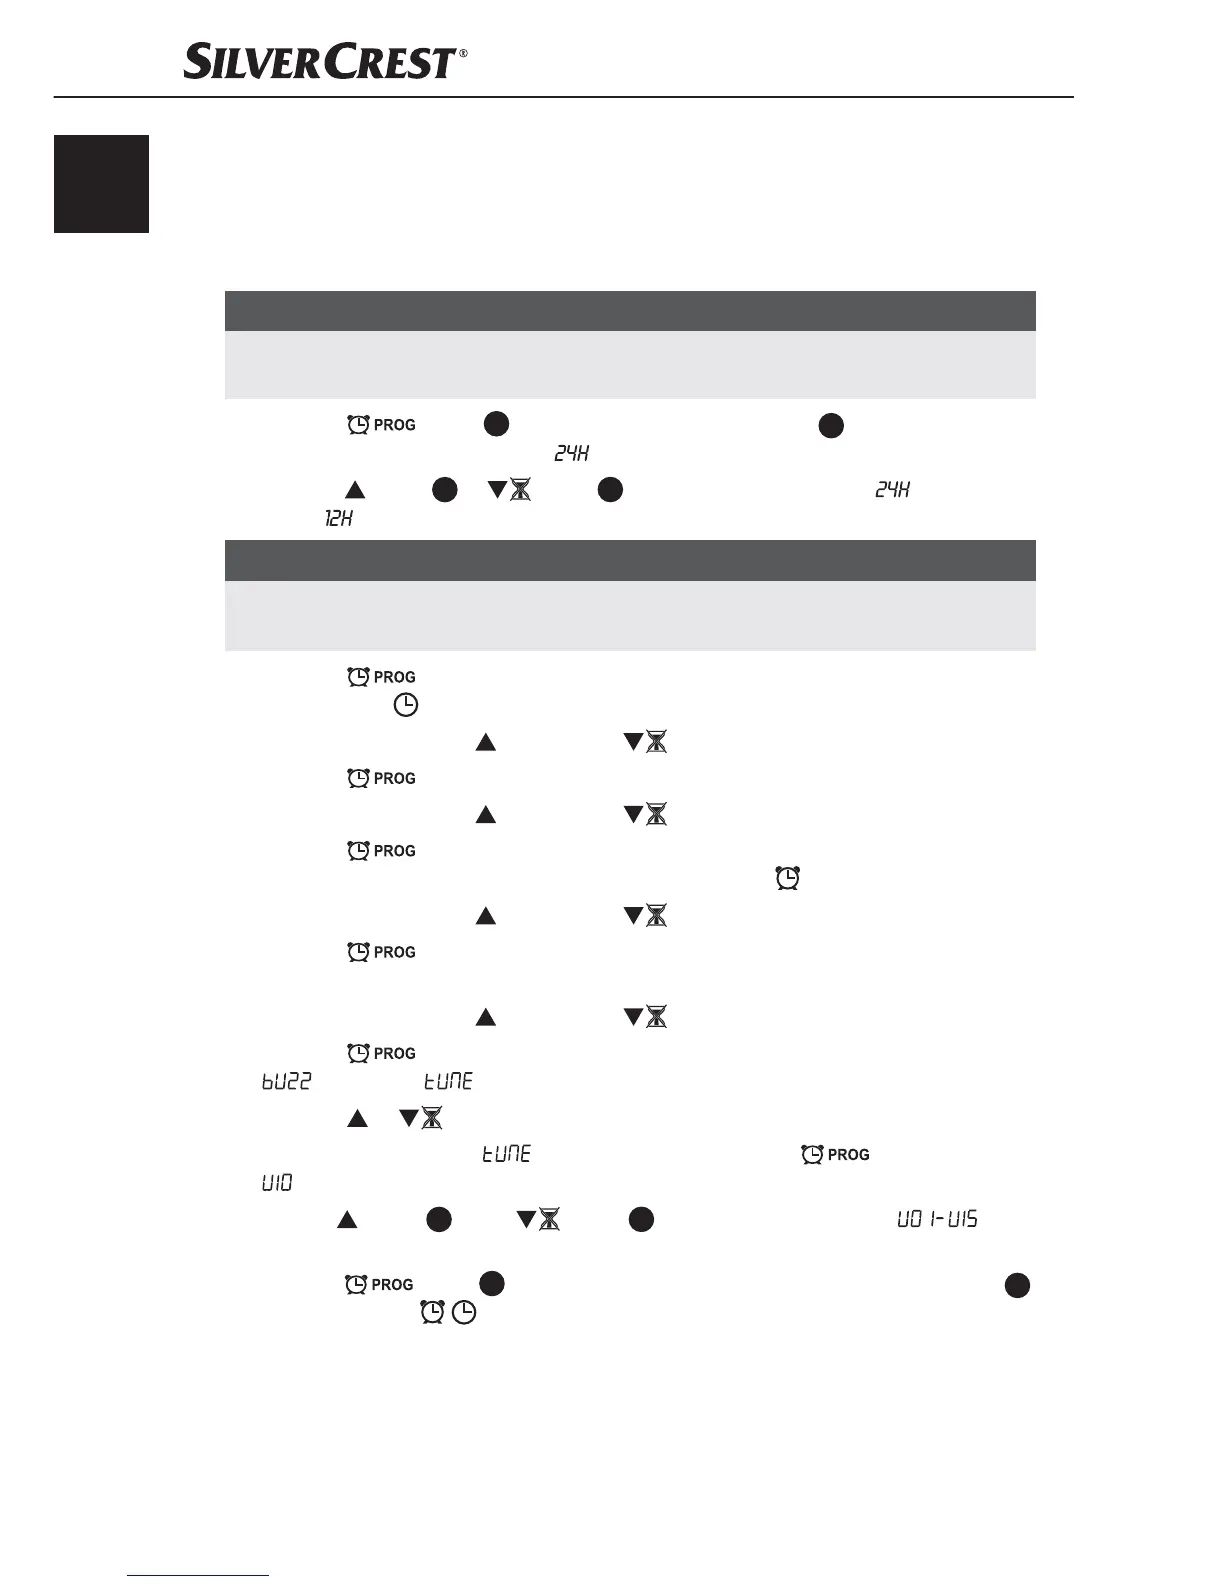
Setting the time, alarm time and alarm type
Requirement: The device is in clock/standby mode.
NOTE
► Make the settings quickly. If you do not press a button for 7 seconds, the entry is
cancelled. All settings made up to this point are saved automatically.
♦ Press the
button
2
for about 2 seconds. The display
5
flashes, showing
the indicator for 24-hour mode ( ).
♦ Press the button
6
or button
7
to switch between 24-hour ( ) and 12-hour
mode ( ).
NOTE
► If the 12-hour mode is set, AM appears in the upper left of the display until 12
noon. From 12 noon, this changes to PM.
♦ Press the
button to accept the setting. The hours will flash in the display and
the clock icon appears.
♦ Press or hold down the button or the button to set the hour.
♦ Press the button to accept the setting. The minutes will flash in the display.
♦ Press or hold down the
button or the button to set the minutes.
♦ Press the button to accept the time. The hour digits for the alarm will flash in
the display and the icon for the activated alarm function appears.
♦ Press or hold down the button or the button to set the hour.
♦ Press the button to accept the setting. The minute digits for the alarm flash on
the display.
♦ Press or hold down the button or the button to set the minutes.
♦ Press the
button to accept the setting. The alarm type appears in the display:
(buzzer) or (radio).
♦ Press the or button to set the required alarm type.
♦ If you have selected the (radio) alarm type, press the button again.
appears on the display.
♦ Use the
button
6
or the button
7
to set the desired volume ( ) for
the radio alarm.
♦ Press the button
2
to accept the setting. The time reappears on the display
5
together with the icons.
 Loading...