Configuring Client TCP/IP
12
Configuring Your Computer in Windows 2000
1. Access your Network settings by clicking Start, then choose
Settings and then select Control Panel.
2. In the Control Panel, locate and double-click the Network and
Dial-up Connections icon.
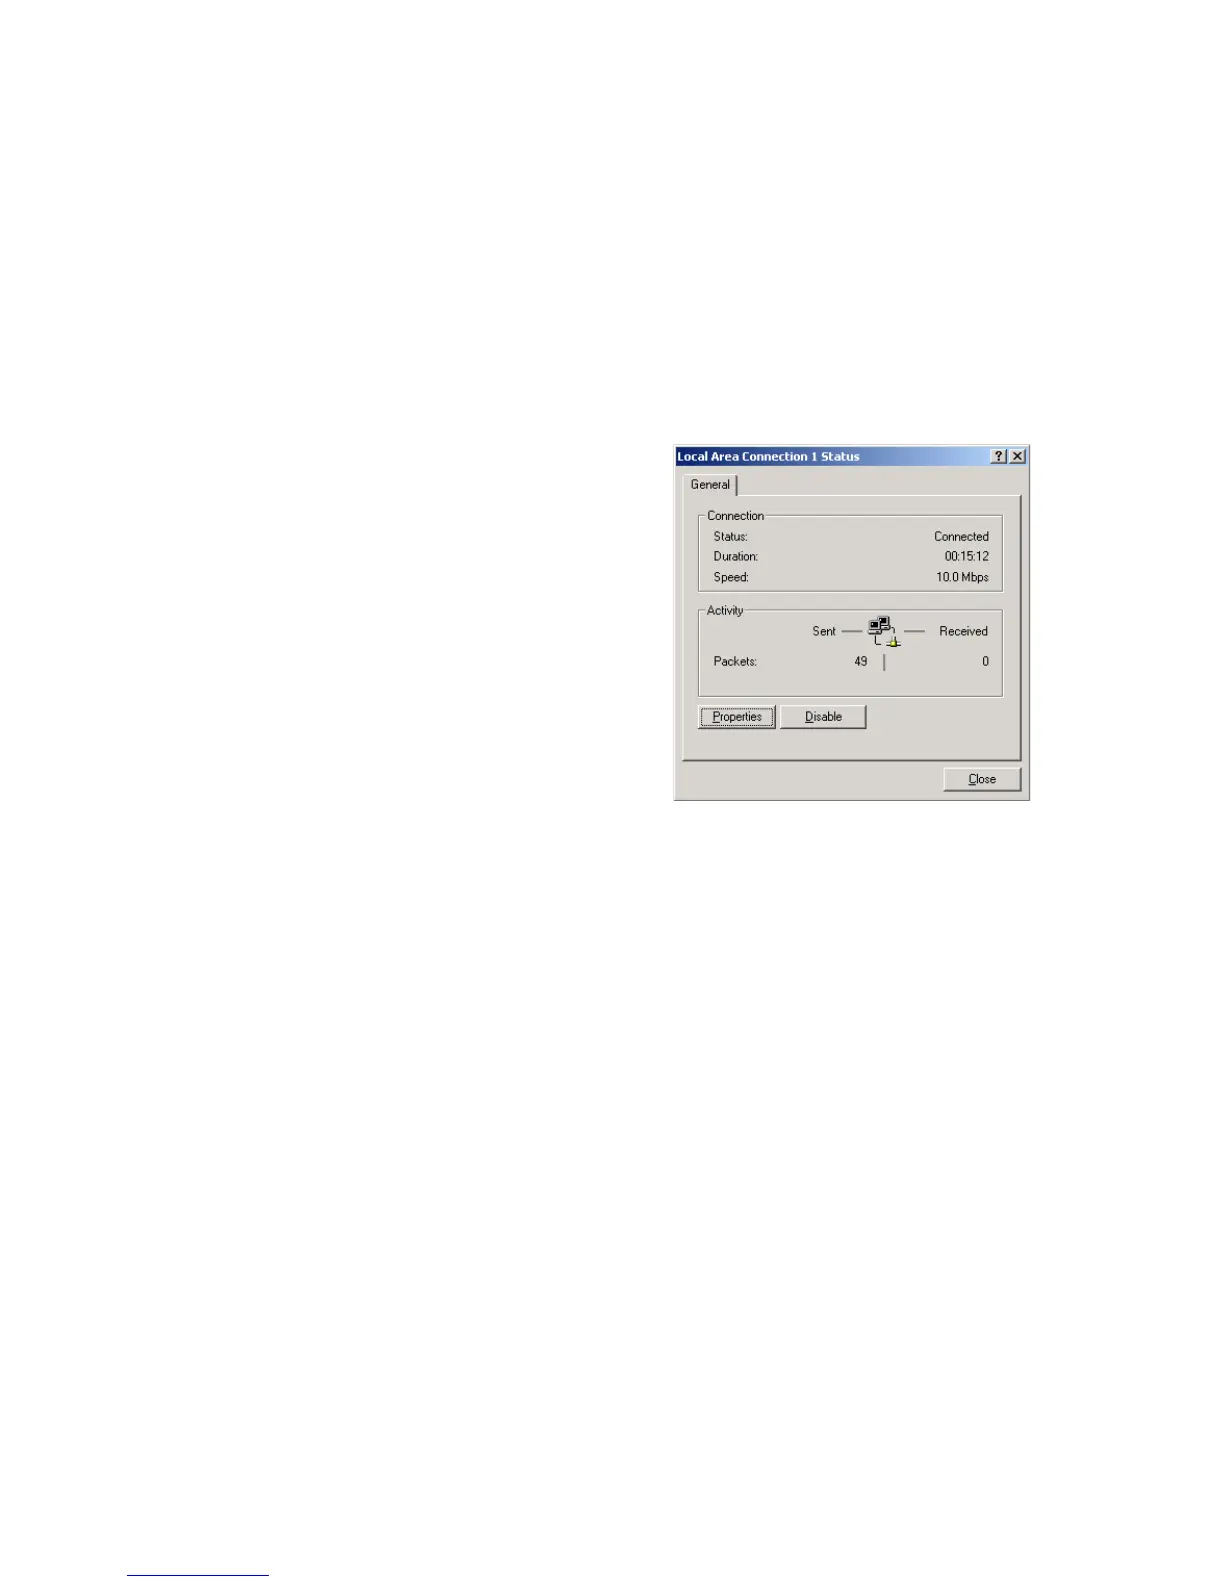
3. Locate and double-click the
Local Area Connection icon
for the Ethernet adapter that
is connected to the Wireless
Barricade. When the Status
dialog box window opens,
click the Properties button.
4. In the Local Area Connection
Properties box, verify the box
next to Internet Protocol
(TCP/IP) is checked. Then
highlight the Internet Protocol (TCP/IP), and click the
Properties button.
5. Select “Obtain an IP address automatically” to configure your
computer for DHCP. Click the OK button to save this change
and close the Properties window.
6. Click the OK button again to save these new changes.
7. Reboot your PC.
8. To obtain new network settings see See “Obtain IP Settings
from Your Wireless Barricade g Router” on the next page.
 Loading...