 Loading...
Do you have a question about the Sony a390 and is the answer not in the manual?
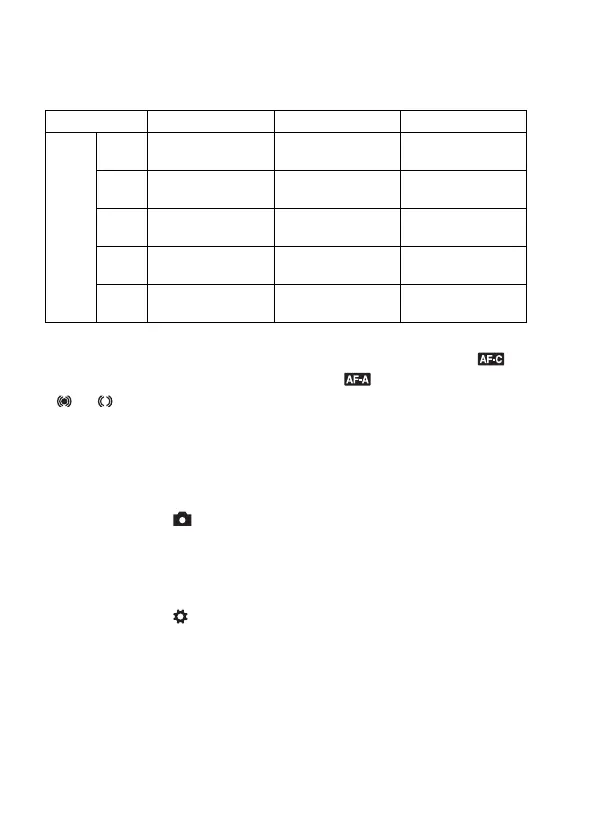
| Sensor | CCD |
|---|---|
| Resolution | 14.2 megapixels |
| ISO Range | 100-3200 |
| Autofocus Points | 9 |
| Screen Size | 2.7 inches |
| Viewfinder | Optical (pentamirror) |
| Image Stabilization | Sensor-shift |
| Camera type | DSLR |
| Sensor Size | APS-C (23.5 x 15.7 mm) |
| Lens Mount | Sony A-mount |
| Continuous Shooting | 2.5 fps |
| Video Recording | No |
| Storage Media | SD/SDHC, Memory Stick Pro Duo |
| Battery | NP-FH50 |
| Shutter Speed | 1/4000 - 30 sec |
| LCD Screen | TFT |
| Dimensions | 128 x 97 x 83.5 mm |
Lists all included camera accessories and their quantities for verification.
Instructions for charging and inserting the InfoLITHIUM battery pack.
Step-by-step guide for mounting and securing a lens to the camera body.
Guide on correctly inserting Memory Stick PRO Duo or SD memory cards.
Initial setup procedure for configuring the camera's date and time.
How to attach and use the shoulder strap and eyepiece cover.
Displaying the remaining capacity for photos on the inserted memory card.
Instructions for cleaning the LCD monitor, lens, and camera body.
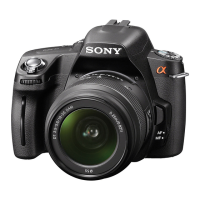
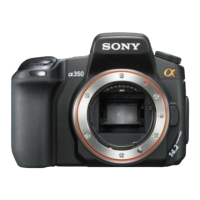
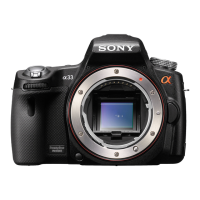
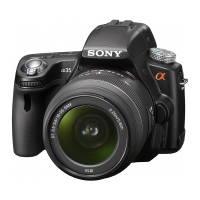
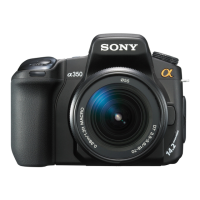
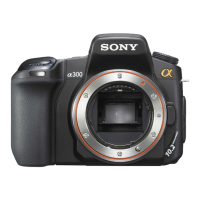
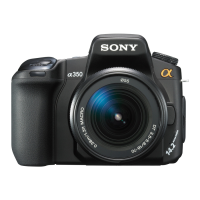
Identifies and describes camera parts on front, rear, and sides.
Explains indicators displayed on the LCD monitor in Live View mode.
Guide to selecting camera functions and settings via menus and buttons.
How to adjust the LCD monitor for comfortable viewing at various shooting positions.
Techniques and posture guidance to minimize camera shake during shooting.
Explains the SteadyShot image stabilization feature for reducing blur.
Recommendations for using a tripod in specific shooting conditions.
How to use the AUTO mode for effortless shooting with auto settings.
Guide to using Scene Selection modes for optimizing shots of specific subjects.
Explains how to manually control shutter speed and aperture for desired exposure.
How to choose between autofocus (AF) and manual focus (MF) for sharp images.
How to lock focus and exposure on a subject for precise composition.
Choosing between Single-shot AF and Continuous AF based on subject movement.
Step-by-step guide for manually adjusting focus using the lens ring.
Guide to operating the built-in flash, including modes and charging.
How to control image brightness via exposure and flash compensation settings.
Explains different metering modes for accurate exposure measurement.
How to adjust the camera's ISO sensitivity for different lighting conditions.
How to set white balance for accurate and natural color reproduction.
How to choose shooting modes like single-shot, continuous, or self-timer.
How to view captured images on the camera's LCD monitor.
How to rotate images for orientation and zoom in for detail.
How to use the slide show feature for automated image viewing.
How to view detailed metadata and settings for recorded images.
How to mark images to prevent accidental erasure from the memory card.
How to remove unwanted images from the memory card.
Guide to connecting the camera to a TV for displaying images.
How to configure resolution and JPEG compression for photos.
Options for file numbering and folder naming conventions on memory cards.
Options to reduce noise in long exposures or at high ISO settings.
Customizing sound, display color, help guide, and power save modes.
Procedure to set or reset the camera's internal date and time.
How to restore all camera settings to their factory default values.
Step-by-step guide for transferring photos from camera to PC via USB.
How to open and view copied image files using computer software.
Details on installing and utilizing the provided Sony software for image management.
How to mark images and set print quantities for DPOF printing.
Guide to connecting the camera directly to a PictBridge printer for photo printing.