EasyManua.ls Logo

Sony DCR-TRV User Manual

Sony DCR-TRV
220 pages
To Next Page IconTo Next Page
To Previous Page IconTo Previous Page
Page #11 background imageLoading...
Page #11 background image
Quick Start Guide
11
NOTE
Do not pick up your camcorder by
holding the viewfinder, the LCD
panel or the battery pack.
Recording a still image on a “Memory Stick”
(p. 112)
When you purchase your camcorder, the clock setting is set to off. If you want to record the date
and time for a picture, set the clock before recording (p. 23).
VCR
MEMORY
CAMERA
OFF(CHG)
P
O
W
E
R
PHOTO
PHOTO
1Remove the lens cap.
3Open the LCD
panel while
pressing OPEN.
The picture
appears on the
screen.
Viewfinder
When the LCD panel is closed, use the
viewfinder with your eye against the eyecup.
Adjust the viewfinder lens to your eyesight
(p. 29).
5Press PHOTO
deeper.
4Press PHOTO
lightly.
Monitoring the playback still images on the LCD
screen (p. 137)
PLAY
VCR
MEMORY
CAMERA
OFF(CHG)
POWER
1Set the POWER
switch to
MEMORY or VCR
while pressing the
small green button.
2Press MEMORY PLAY. The last recorded
image is displayed.
Press MEMORY –/+ to select the desired
image.
2Set the POWER switch to
MEMORY while pressing
the small green button.
Make sure that the LOCK
switch is set to the left
(unlock) position.
LOCK switch

Table of Contents

Question and Answer IconNeed help?

Do you have a question about the Sony DCR-TRV and is the answer not in the manual?
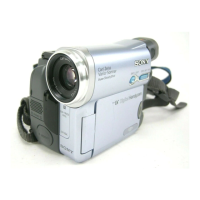
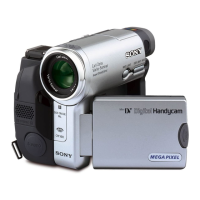
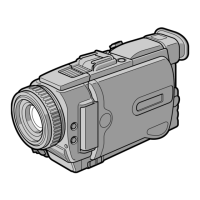
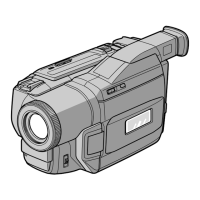
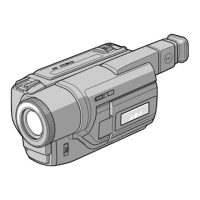
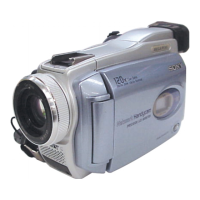
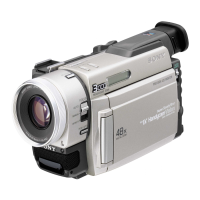
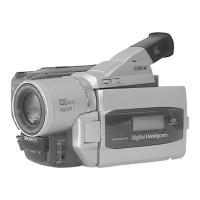
Sony DCR-TRV Specifications

General IconGeneral
ViewfinderColor
MicrophoneStereo
USB InterfaceNo
Image SensorCCD
LCD Screen2.5-inch
Media FormatDigital8
FireWire InterfaceYes
TypeDigital Camcorder

Summary

Main Features

Recording moving pictures or still images, and playing them back

Basic recording and playback operations for tapes and Memory Sticks.

Recording – Basics

Recording a picture

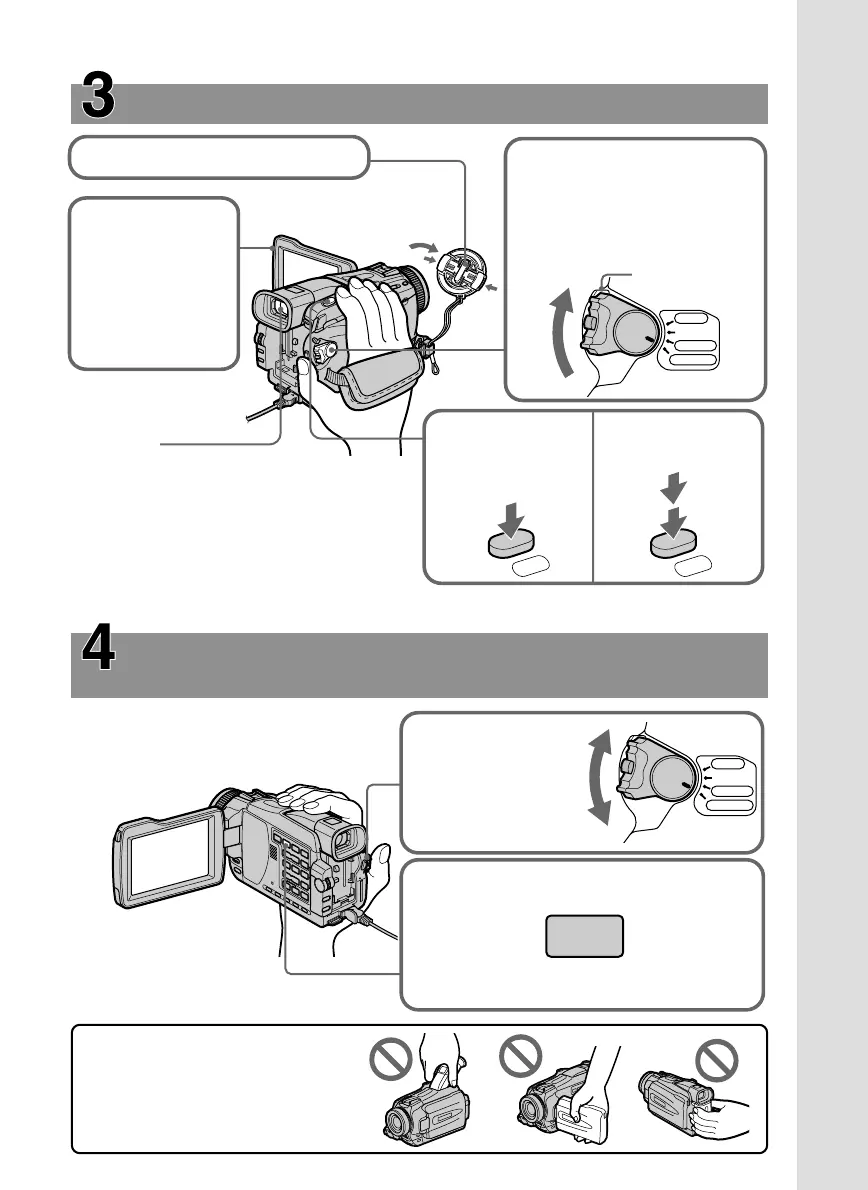
Step-by-step guide to recording video footage using the camcorder.

Playback – Basics

Playing back a tape

Instructions for playing recorded tapes on the camcorder.

Advanced Recording Operations

Editing

Dubbing a tape

Transferring recorded video from camcorder to VCR using A/V or i.LINK cable.

“Memory Stick” Operations

Recording still images on a “Memory Stick”

Step-by-step guide to capturing still images onto a Memory Stick.

Recording moving pictures on a “Memory Stick”

Recording video clips onto a Memory Stick in MPEG format.

Viewing Images Using Your Computer

Customizing Your Camcorder

Troubleshooting

Types of trouble and how to correct trouble

Common problems and their solutions for camcorder operation.

Self-diagnosis display

Understanding error codes displayed by the camcorder's self-diagnosis function.

Related product manuals