62
DCR-HC32E/HC33E/HC39E/HC42E/HC43E 2-584-907-11(1)
– with the internal microphone.
Check the picture on the LCD screen or the
viewfinder.
• For DCR-HC39E/HC42E/HC43E:
When you attach an external microphone
(optional) to the Active Interface Shoe,
you can check the picture and the sound by
connecting your camcorder to a TV using the
A/V connecting cable. However, sound you are
recording afterwards is not output from your
camcorder. Check the sound using a TV or
other device.
• Do not connect A/V connecting cables to both
your camcorder and the Handycam Station at
the same time. The sound may be distorted.
Recording sound
Insert a recorded cassette into your
camcorder beforehand.
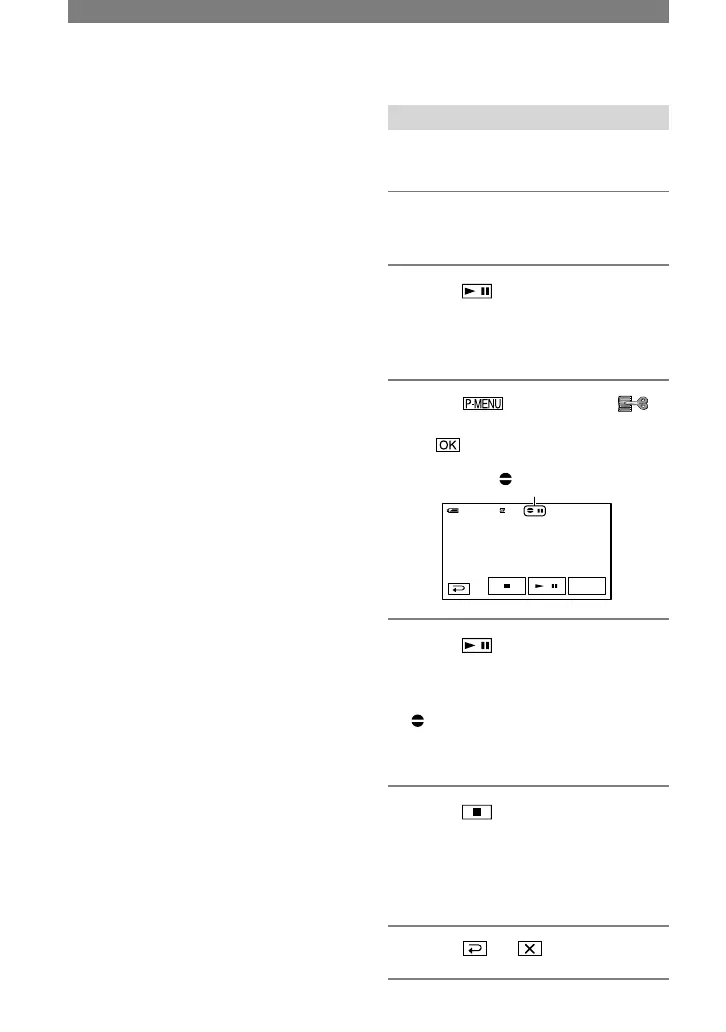
1 Slide the POWER switch down to
turn on the PLAY/EDIT lamp.
2 Touch (Play/Pause) to play
back the tape, then touch it again
at the point where you want to
start recording the sound.
3 Touch [MENU]
(EDIT/PLAY) [AUD DUB CTRL]
[AUDIO DUB].
appears
4 Touch (play) and start
playing back the audio you want
to record at the same time.
appears while recording the new
sound in stereo 2 (ST2) during the
playback of the tape.
5 Touch (stop) when you want
to stop recording.
To dub on other scenes, repeat step 2
to select scenes, then touch [AUDIO
DUB].
6 Touch .
Dubbing sound to a recorded tape
(continued)
 Loading...