Getting started
22
4 Touch [MENU].
5 Select (TIME/LANGU.) with
/ , then touch .
6 Select [CLOCK SET] with / ,
then touch .
7 Set [Y] (year) with / , then touch
.
You can set any year up to the year 2079.
8 Set [M] (month), [D] (day), hour and
minute in the same way as was done in
step 7, then touch .
The clock starts to move.
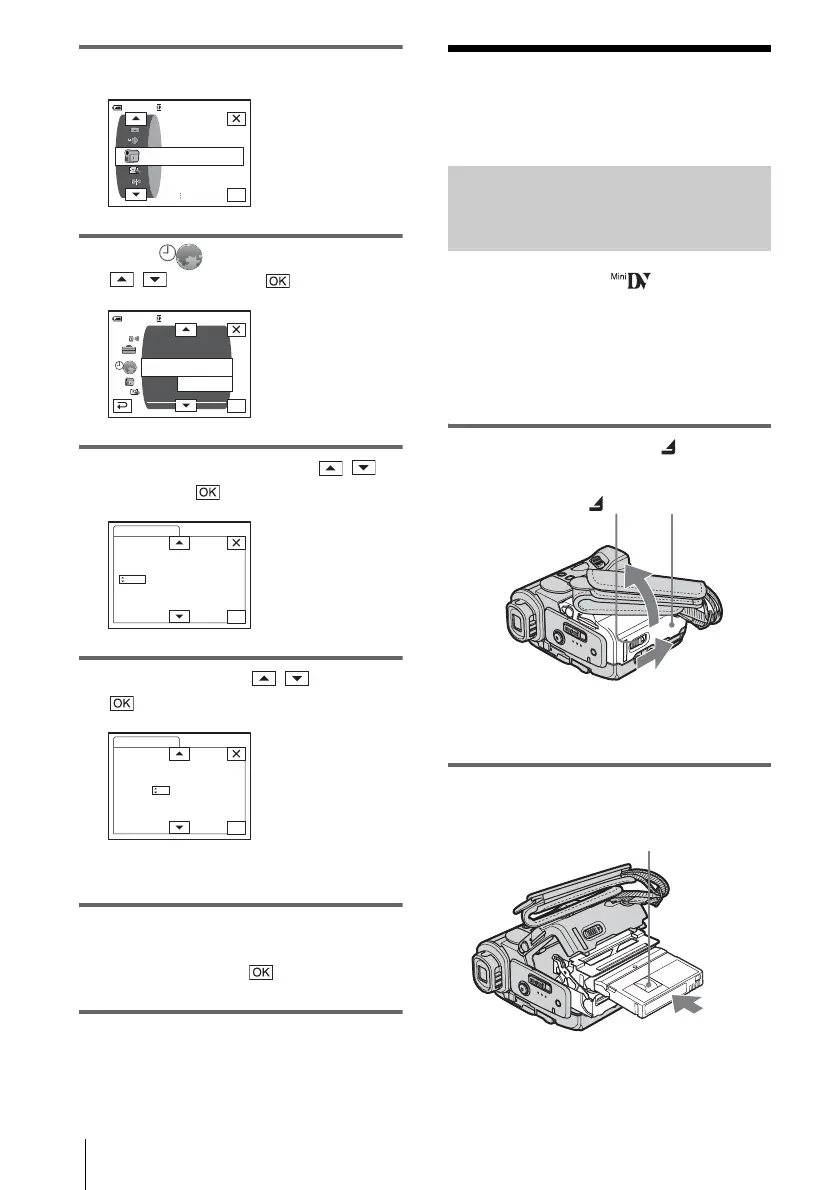
Step 6: Inserting the
recording media
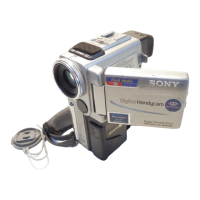
Inserting a cassette tape
You can use mini DV cassettes only.
For details on these cassettes (such as write-
protection), see page 126.
b Note
• Do not force the cassette into the compartment. This
may cause a malfunction of your camcorder.
1 Slide the OPEN/EJECT lever in the
direction of the arrow and open the lid.
The cassette compartment automatically
comes out and opens up.
2 Insert a cassette with its window-side
facing up.
OK
60min
PROGRAM AE
CAMERA SET
SPOT METER
EXPOSURE
–:––:––
OK
60min
CLOCK SET
A. SHUT OFF
WORLD
MENU ROTATE
LANGUAGE
DISPLAY
PROGRAM AE
––:––:––
–:––:––
OK
CLOCK SET
DATE
2004
Y 1M 1D 0: 00
–:––:––
OK
CLOCK SET
DATE
2004
Y 1M 1D 0: 00
–:––:––
Lid
OPEN/EJECT lever
Window-side
Push the center of the
back of the cassette
lightly.
 Loading...