EasyManuals Logo

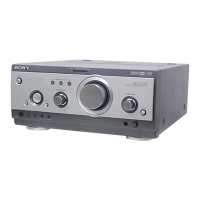
Sony TA-S9D Service Manual

Sony TA-S9D
28 pages
To Next Page IconTo Next Page
To Previous Page IconTo Previous Page
Page #6 background imageLoading...
Page #6 background image
6
TA-S9D
3-3. FRONT PANEL SECTION
Note: Follow the disassembly procedure in the numerical order given.
3-2. CASE
2
two screws
(case 3 TP2)
2
two screws
(case 3 TP2
)
1
three screws
(BVTT3
×
6)
4
Remove the case
in the direction of arrow
A
.
A
3
3
4
three screws
(BVTP3
×
8)
2
screw
(BVTP3
×
8)
6
front panel section
5
two
claws
5
two claws
5
claw
3
lug
1
wire (flat type) (23 core) (AEP, UK models)
wire (flat type) (25 core) (except AEP, UK models)
(CN104)
3
lug
3
lug
2
screw
(BVTP3
×
8)
2
screw
(BVTP3
×
8
)

Questions and Answers:

Question and Answer IconNeed help?

Do you have a question about the Sony TA-S9D and is the answer not in the manual?

Sony TA-S9D Specifications

General IconGeneral
BrandSony
ModelTA-S9D
CategoryAmplifier
LanguageEnglish

Related product manuals