28 Series 4180 Powerhead
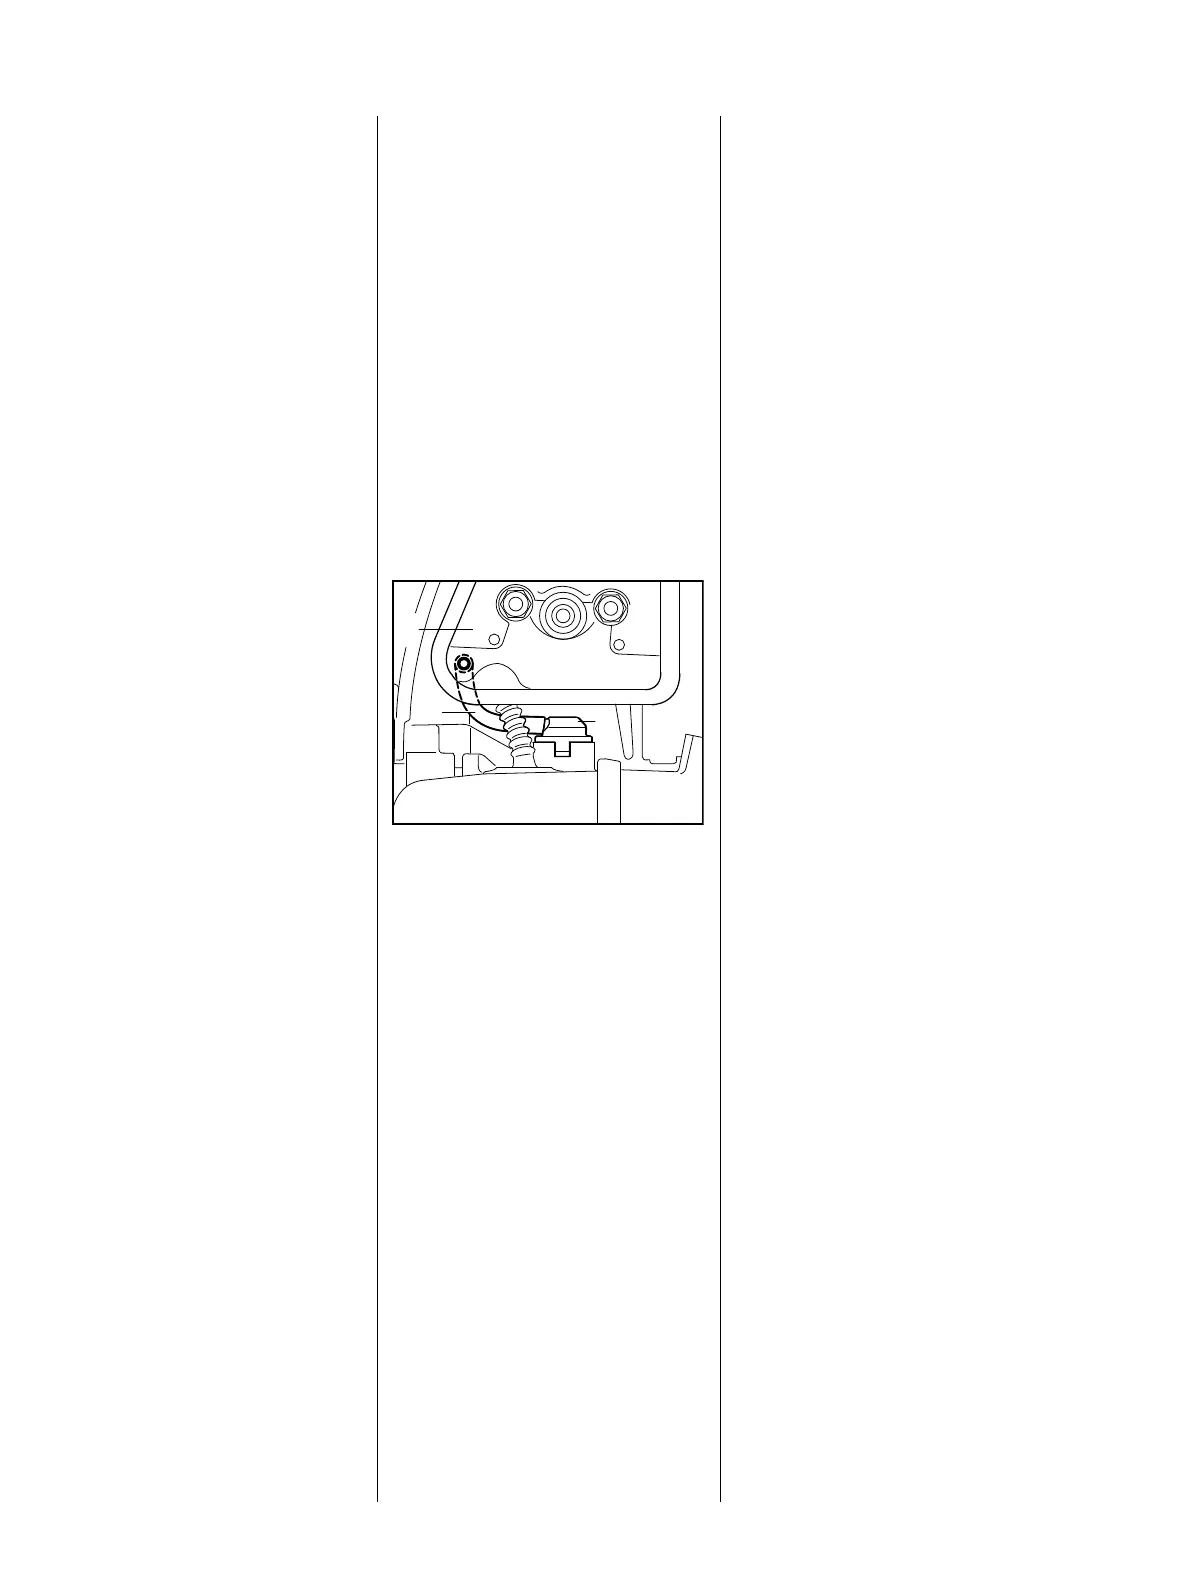
Vacuum test
– Connect hose (2) to vacuum
pump 0000 850 3501 and test
fuel tank under vacuum.
Equalization of pressure takes
place via the tank vent. There must
be no buildup of vacuum in the tank.
If the tank vent does not operate
properly, replace it together with the
O-ring, b 6.5.2
Pressure test
– Connect the carburetor and
crankcase tester 1106 850 2905
to fuel hose (2), b 6.2.1
– Operate the pump bulb until the
pressure gauge indicates a
pressure of 0.5 bar. If this
pressure remains constant for at
least 20 seconds, the tank and
tank vent are airtight. If the
pressure drops, find the leak and
replace either the tank (b 6.6.3)
or the tank vent (b 6.5.2).
– After completing the test,
disconnect the tester and
reassemble all parts.
– Drain the fuel tank, b 6.6.1
– Remove the faulty tank vent.
– Pull both fuel hoses (1 and 2) off
the carburetor b 6.5.1
Tank vent with return line
: Pull hose (1) of tank vent (2) off
the filter housing (3).
Both tank vent systems
– Carefully pry the tank vent out of
the tank – it may pop out
suddenly.
Do not reuse the old tank vent.
– Fit a new O-ring on the tank vent.
– Coat O-ring and bead of new tank
vent with press fluid, b 12
– Center the new tank vent in the
bore and push it home as far as
stop – it must snap into position.
Tank vent with return line
: Push hose (1) onto stub on filter
housing (3).
Installing tank vent with return line in
a machine that has a filter housing
without stub:
: Pull hose (1) off the tank vent.
Both tank vent systems
– Test new tank vent for leaks,
b 6.5.1
– Fit both fuel hoses on the
carburetor.
6.5.2 Replacing Tank Vent
 Loading...