► Put on the hood (5).
The hood (5) engages with an audible click.
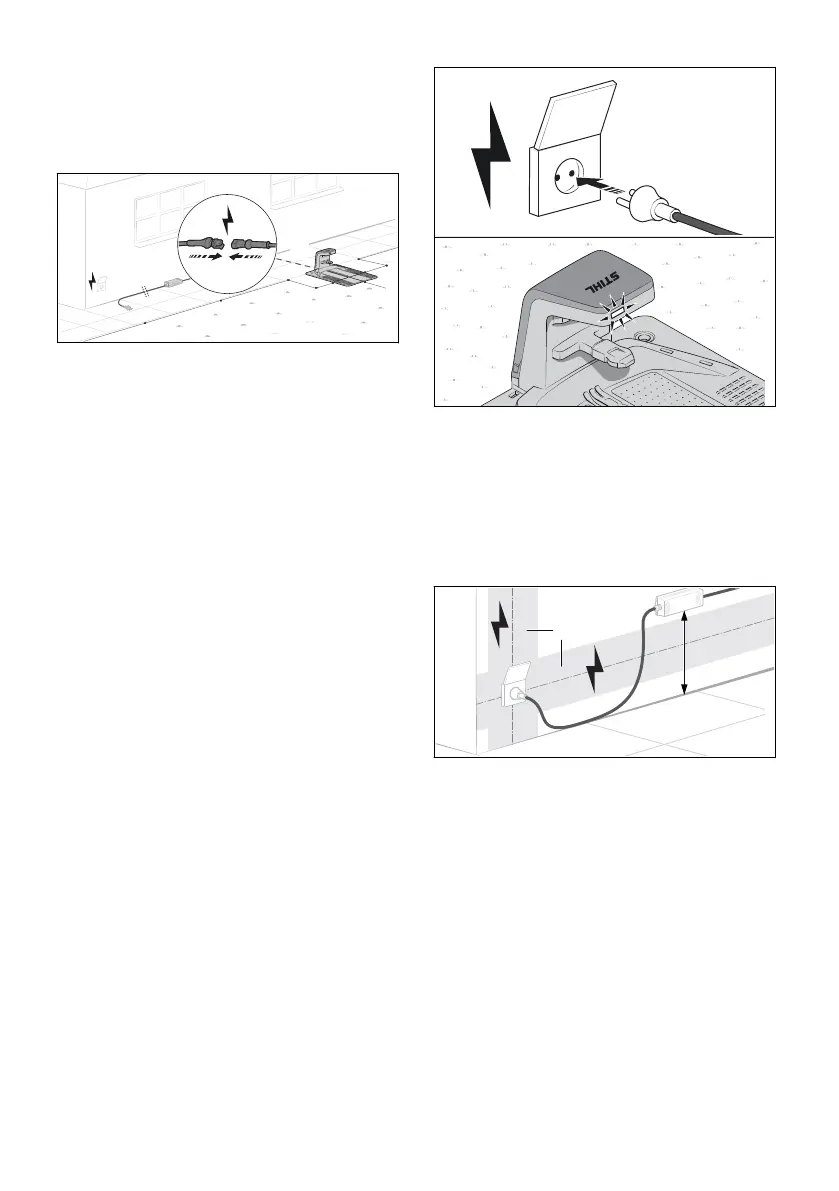
11.2 Routing the charging cable and
connecting the power supply
► Route the charging cable (1) to the location of
the power supply (2).
► Choose the power supply (2) location so that
the following conditions are met:
–
The power supply (2) and the connecting
cable are outside of the mowing area.
–
A suitable wall socket is within reach of the
power supply (2).
–
The power supply (2) rests on a flat and not
permanently wet surface.
–
The power supply (2) is installed elevated
above the ground in case it is exposed to
more protracted wet conditions.
–
If possible, protect the location against
adverse weather conditions and direct sun‐
light.
► Route the charging cable so that the following
conditions are met:
–
The charging cable (1) is outside of the
mowing area.
–
The charging cable (1) is routed so that
people cannot trip over it.
–
The charging cable (1) is not under tension
or tangled.
–
The charging cable (1) is completely
unwound and is not under the docking sta‐
tion.
–
The charging cable (1) is not on a perma‐
nently wet surface.
► Connect charging cable (1) with the plug (3) of
the power supply (2).
► Plug the mains plug (4) into a correctly instal‐
led socket (5).
The LED on the docking station lights up
green.
11.3 Mounting the power supply on
a wall
The power supply can be mounted on a wall.
► Mount the power supply so that the following
conditions are met:
–
Suitable fixing materials.
–
The power supply is level.
Following distances are complied with:
–
The power supply is outside of the
range (a) of possible electrical installa‐
tions.
–
A suitable socket is within reach of the
power supply.
–
If possible, protect the location against
adverse weather conditions and direct sun‐
light.
English 11 Electrically connecting the docking station
34 0458-011-0101-A
 Loading...