MOTOR INSTALLATION 3-29
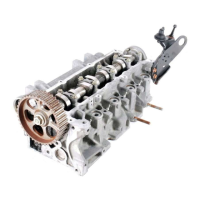
Six bolts to mount to the boat transom.
Nut D: 80 N·m (8.0 kgf-m, 58.0 lb-ft)
NOTE:
• Drill the mounting holes vertically to the transom board face.
• Drill the upper holes center at least 25 mm (1.0 in) down from the transom top surface.
• To ensure a water-tightness, sealant (SUZUKI SILICONE SEAL or equivalent) should be applied to all bolt
holes. Apply the sealant to shanks of bolts, but not threads.
• Do not use an impact tool to tighten or loosen the transom nuts.
• If tightening torque cannot reach to the specified torque due to weak transom material, it is necessary to
put the transom board with an reinforcement plate. Install the reinforcement plate between the transom
board and the washer B and F. To reinforce the transom, contact the boat manufacturer as needed.
NOTE:
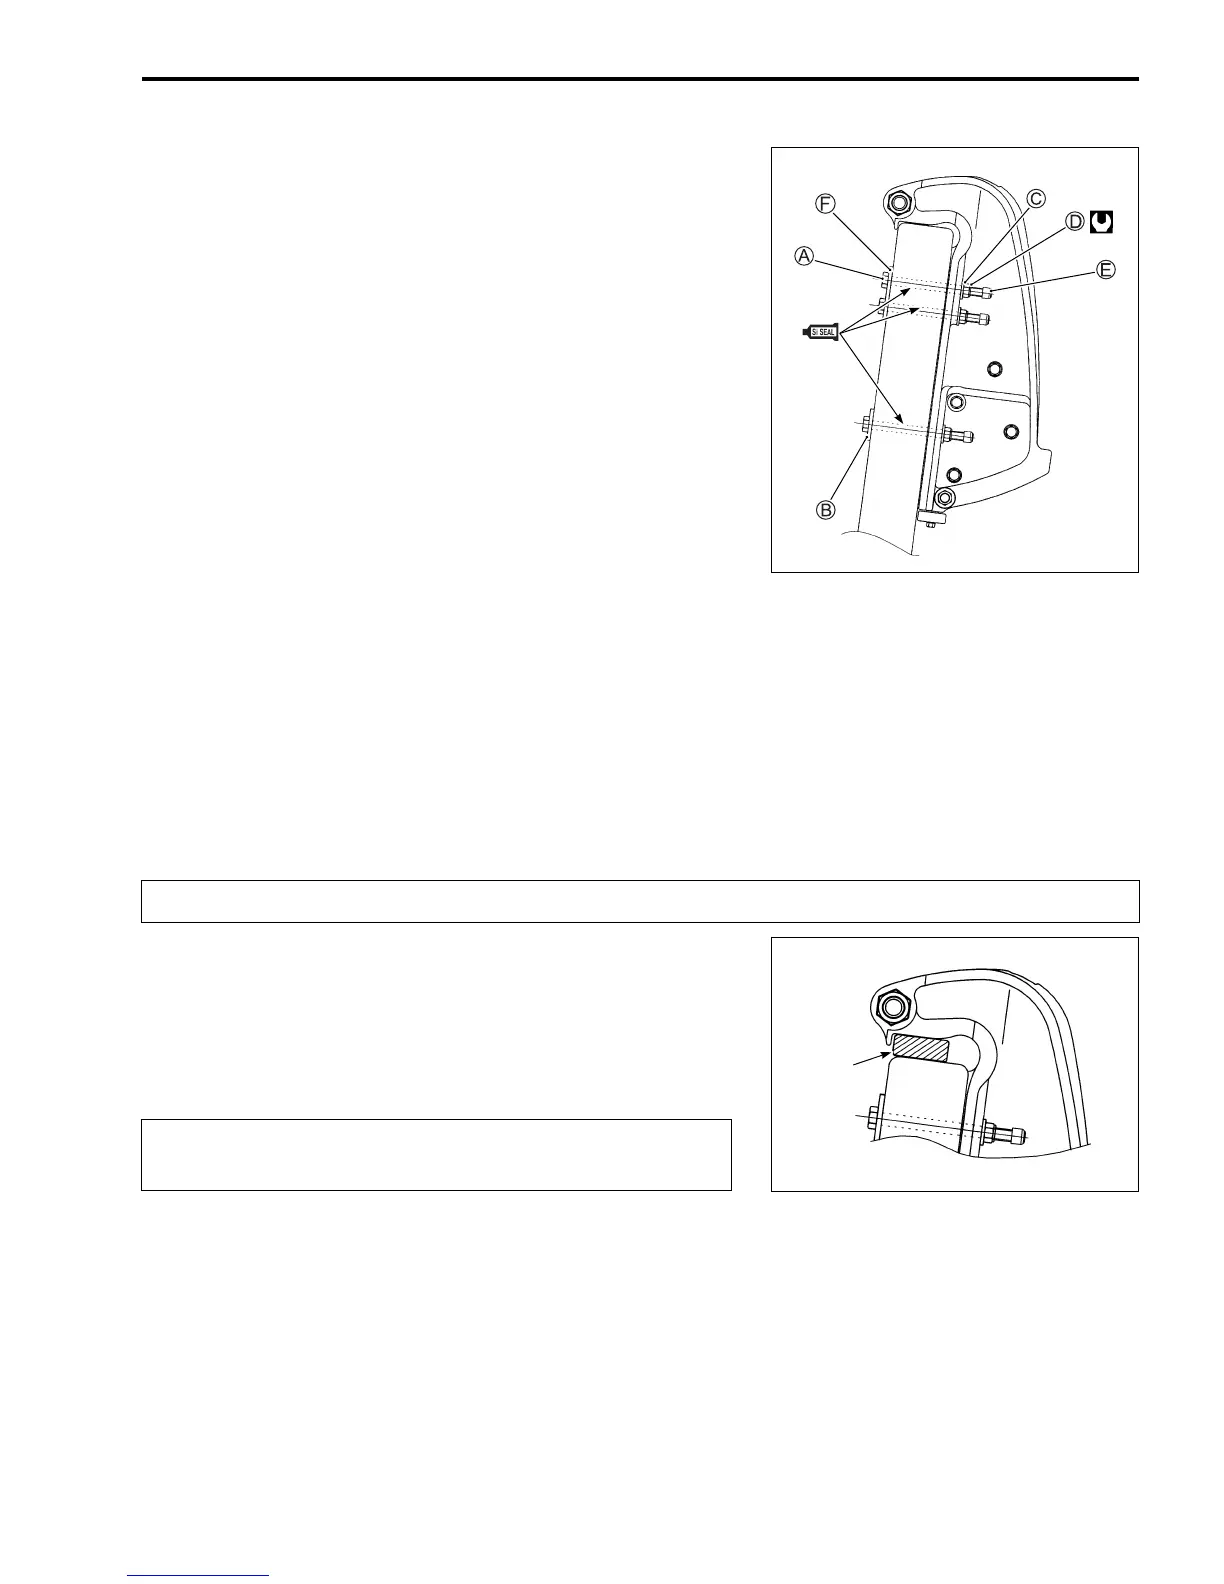
• If there is a clearance between the clamp bracket and the tran-
som top surface, place a proper spacer on the transom top
surface so that motor weight can be supported by the transom
through the spacer.
Never reuse the nut D after it has been threaded into position and torqued.
After completing a break-in operation (10 hours),
retighten the transom nuts by the specified torque.
Spacer

 Loading...