23
I25 I24 I23 I22 I21 I20 I19 I18 I17 I16 tr sv sl pt pl no nl it fr fi es en de da cz
Application technique
• 1 = Electr. spray device is not possible
• 2 = Machine performance is limited; for this reason not recommended
• 3 = Only when the additional weight from the front is taken away
• 4 = Machine weight only conditionally sufficient
• 5 = This application is only recommended when the power selection switch
is set to level 2 (high number of revolutions)
Beginning work
Transport over stairs
End of operation
Machine 165 200 238
type 43DLS/
43DLSL
43LS/
43LSL
38LSL
Wet cleaning & prime cleaning yes yes yes
Spray cleaning yes yes 1
Shampoo wet yes yes 2
Shampoo dry yes yes 2
Polish yes yes yes
Burnish 4 4 no
Crystallize 4 4 no
Machine 400 438 duo
type 43HS/
43HSL
38HSL 43LHS/
43LHSL
Wet cleaning & prime cleaning no no yes
Spray cleaning yes yes yes
Shampoo wet no no 3
Shampoo dry no no 3
Polish yes yes 5
Burnish no no yes
Crystallize no no yes
Caution:
It is recommended that inexperienced users should first practice
operating the machine on a smooth surface with free areas until
they have mastered the handling of the machine.
• Connect the power supply cord to the mains
socket.
The display lights up.
• Lead the power supply cord with your hand.
Make sure that the power supply cord does not touch the tool.
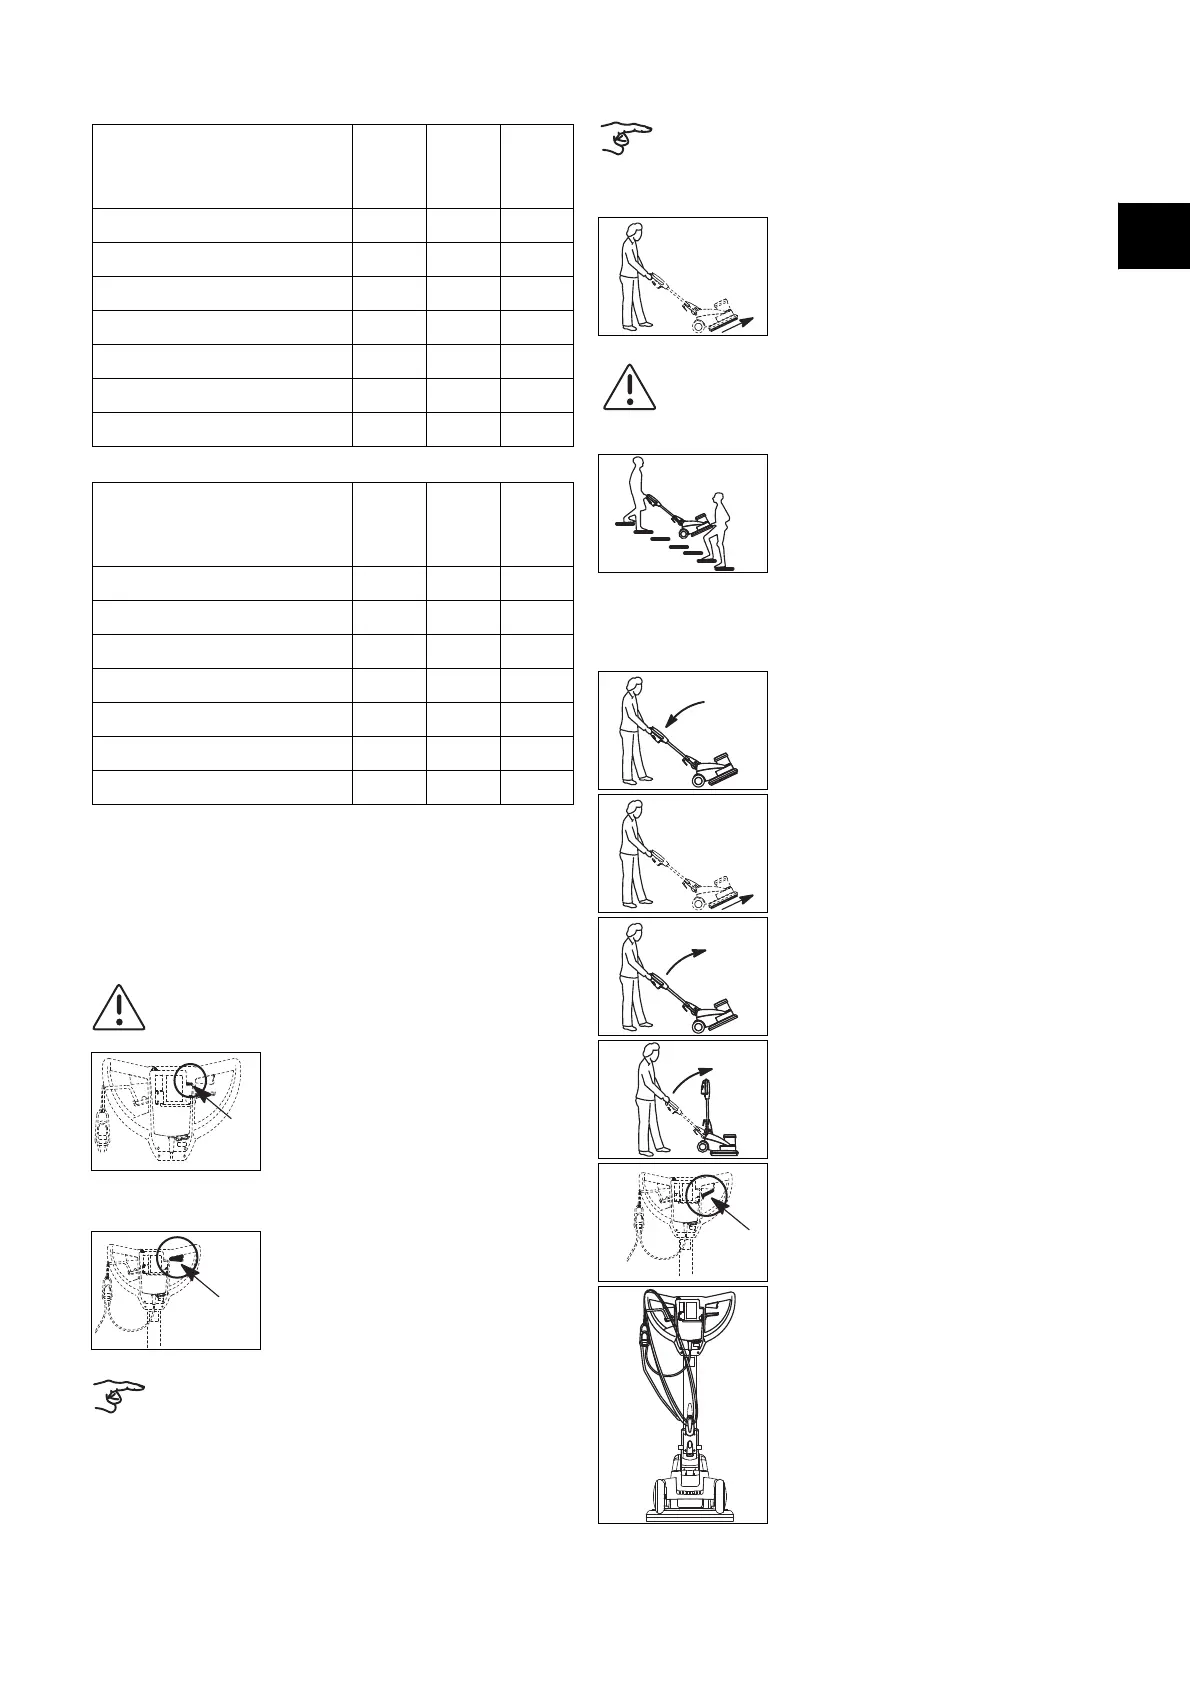
• Hold on to the machine.
• Push the safety switch and press the operating
levers at the same time.
By doing this the tool is activated.
By slightly lifting the guide pillar the machine moves to the right
and by lowering it the machine moves to the left.
We recommend the transporting of the machine up or down steps
to be performed by two people.
• Release the operation levers.
• Disconnect the power supply cord from the mains socket.
• Turn the tool away from the coupler.
Caution:
Due to the weight of the machine, there are risks involved in such
transportation!
Slipping can result in damage to the machine and injuries to
persons.
• When lifting, one person should hold the
machine at the brush cover, and the second
person at the machine handle.
• Release the operation levers.
• Pull the power supply cord out of the mains socket.
• Tilt the machine back slightly.
• Turn the tool away from the coupler.
• Carefully lower the machine onto the tool unit.
• Pull the height adjustment lever and slowly lift
the guide pillar until it is in the upright position.
• Let go of the height adjustment lever, the guide
pillar will locate into place and stay at that angle.
• Clean the power supply cord with a damp cloth
and wrap it around the machine handle and the
cord hook.
 Loading...