15
Complete the Initial Setup
7KHPHQXV\VWHPLQ\RXU79DOORZVDOORIWKH79¶VIHDWXUHVWRZRUNSURSHUO\7KH¿UVWWLPH\RXWXUQ
RQ\RXU79WKH,QLWLDO6HWXS:L]DUGRSHQVZKLFKJXLGHV\RXWKURXJKWKHVHWXSSURFHVVLQFOXGLQJ
/DQJXDJH79/RFDWLRQ7LPH=RQH7XQHUDQG&KDQQHO6FDQ
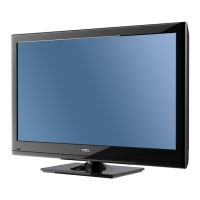
Set the Menu Language
7KH¿UVWVWHSRIWKHVHWXSUHTXLUHV\RXWRVHOHFW\RXU
preferred language for the menu system. If English is
your preferred language, press the OK button on the
remote control. To select another language use the
down arrow button ( ) until that language is selected
then press OK or the right arrow button ( ) to proceed
to the next screen.
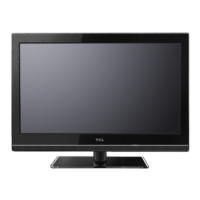
6HWWKH79/RFDWLRQ0RGH
$IWHUFKRRVLQJWKHODQJXDJHDPHQXVFUHHQDVNV\RXWR
VHWWKH79/RFDWLRQ
&KRRVLQJ³Home´IRUWKH79/RFDWLRQDVVLJQV
the optimal picture settings for most home
environments.
&KRRVLQJ³Retail,” which is not Energy Star
FRPSOLDQWVHWVWKHXQLWXSZLWKSUHGH¿QHG
settings for retail displays. In this setting, the power
consumption may exceed the requirements of the
(QHUJ\6WDUTXDOL¿FDWLRQ
Use the up or down arrow ( ) to select the desired
location setting (Home/RetailWKHQSUHVVWKHOK button
or right arrow ( ) to continue to the next screen.
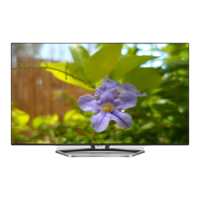
Set the Time Zone
Use the up or down arrows ( ) to select the current
local time zone. Press the OK button or right arrow ( )
to continue to the next screen.
 Loading...