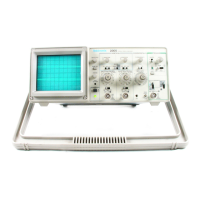
Operation
LEARNING THE CONTROLS
If you have not read Section 1 yet, you should do so now.
Then, after turning the power on, let the oscilloscope warm up for
a few minutes before starting this procedure.
1. Set instrument controls as follows:
Display
INTENSITY
FOCUS
Vertical (both channels)
POSITION
MODE
VOLTS/DIV
VOLTS/DIV Variable
Input Coupling
Horizontal
COARSE POSITION
MODE
SEC/DIV
SEC/DIV Variable
Trigger
SLOPE
LEVEL
MODE
HOLDOFF
SOURCE
COUPLING
2. Connect a probe to the input BNC connector for Channel 1
(labeled C H 1 OR X). Attach the probe ground lead to the collar
of the EXT INPUT connector and apply the probe tip to the
PROBE ADJUST terminal. If necessary, adjust the TRIGGER
LEVEL control to get a stable display.
3. Change the Channel 1 input coupling switch to GND and use
the Channel 1 POSITION control to align the baseline trace to
the center horizontal graticule line. This sets the zero reference
for the display.
4. Switch input coupling back to AC. Notice that the square wave
is centered vertically on the screen. Now switch input coupling
to DC and observe what happens to the waveform. The zero
reference is maintained at the center horizontal graticule line.
Midrange
Midrange
Midrange
CHI
0.5 V (10X PROBE)
CAL detent (fully clockwise)
AC
Midrange
XI
0.2 ms
CAL detent (fully clockwise)
Midrange
P-PAUTO
MIN
C H I
AC
2225 Operators 2-5
 Loading...